25
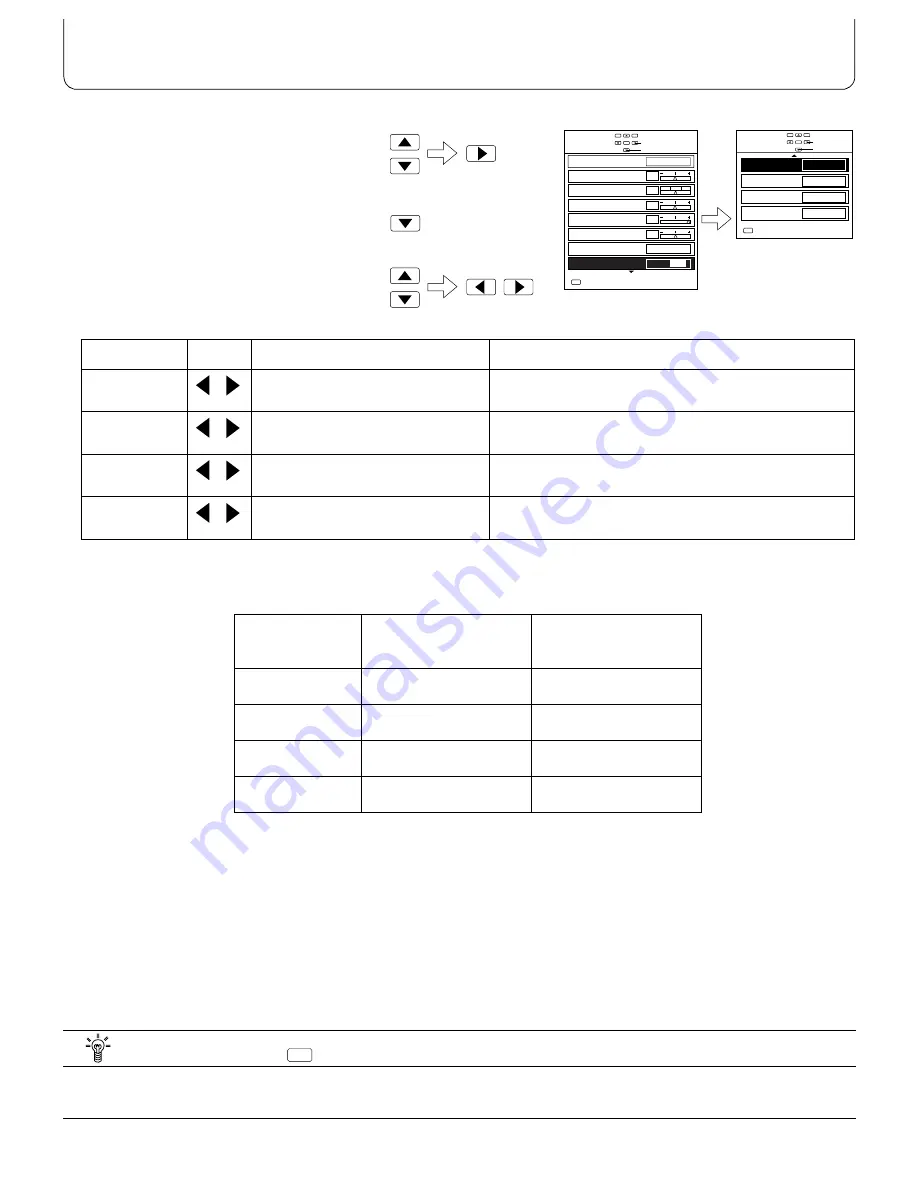
1.Use the Position Up “
F
” or Down “
G
”
buttons to select the “Manual W/B” menu
from the “Picture” menu, and then use the
Position Right “
H
” button to select “On”.
2.Press the Position Down “
G
” button.
(The “Manual W/B” menu screen will then
be displayed.)
3.Select the required function by pushing the
Position Up “
F
” or Down “
G
”buttons, and
access and alter the setting by pushing the
Position Left “
I
” or Right “
H
” buttons.
Note:
(1) Use the table below as a reference when making “W/B” adjustments.
(2) The adjusted values are memorised separately for each Picture Mode (Normal/Dynamic).
(3) The adjustment range values should be used as an adjustment reference.
Item
Effect
Adjustment range
Details
W/B High R
-30 – 30
Adjusts the white balance for light red areas.
W/B High B
-30 – 30
Adjusts the white balance for light blue areas.
W/B Low R
-30 – 30
Adjusts the white balance for dark red areas.
W/B Low B
-30 – 30
Adjusts the white balance for dark blue areas.
Item
Adjustment value for
cold white balance
Adjustment value for
warm white balance
W/B High R
-5
10
W/B High B
10
-5
W/B Low R
0
0
W/B Low B
0
0
1,2
Select
Adjust
Picture
Normal
Picture Mode
Manual W/B
White balance
Sharpness
Contrast
Brightness
Tint
Colour
Dynamic
Warm
Off
On
MENU
Exit
0
0
30
0
0
3
W/B Low R
W/B High B
0
0
0
W/B Low B
0
W/B High R
Select
Adjust
Manual W/B
Normal
MENU
Exit
Less
More
Less
More
Less
More
Less
More
Picture Menu
Helpful Hint (
Normalisation)
If the N button on the remote control unit is pressed when the “Manual W/B” menu is displayed, all adjustment values
will be returned to the factory setting level.
N


