11. ADJUSTMENT PROCEDURES
11.1. IMPORTANT POINTS IN ADJUSTMENT
11.1.1. IMPORTANT POINTS IN OPTICAL ADJUSTMENT
- Before starting optical adjustment be sure to take anti-static
measures.
- Optical pickup tilt adjustment is needed after replacement of the
following components.
1. Optical pickup unit
2. Spindle motor unit
3. Optical pickup peripheral parts (such as rail)
Notes
Adjustment is generally unnecessary after replacing other parts of the traverse unit. However,
make adjustment if there is a noticeable degradation in picture quality. Optical adjustments
cannot be made inside the optical pickup. Adjustment is generally unnecessary after replacing
the traverse unit.
11.1.2. IMPORTANT POINTS IN ELECTRICAL ADJUSTMENT
- Follow the adjustment procedures described in this Manual.
11.2. STORING AND HANDLING TEST DISCS
- Surface precision is vital for DVD test discs. Be sure to store and
handle them carefully.
1. Do not place discs directly onto the workbench, etc., after use.
2. Handle discs carefully in order to maintain their flatness. Place
them into their case after use and store them vertically. Store
discs in a cool place where they are not exposed to direct sunlight
or air from air conditioners.
3. Accurate adjustment will not be possible if the disc is warped
when placed on a surface made of glass, etc. If this happens, use
a new test disc to make optical adjustments.
4. If adjustment is done using a warped disc, the adjustment will be
incorrect and some discs will not be playable.
11.3. OPTICAL ADJUSTMENT
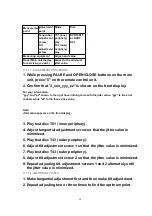
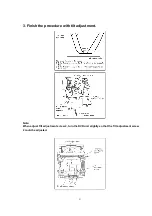
11.3.1. OPTICAL PICKUP TILT ADJUSTMENT
49
Содержание NV-VP23-33
Страница 13: ...C Stop unloading just before unloading would be completed D Then the tape becomes slack 13 ...
Страница 18: ...7 3 TOP PANEL 1 Unscrew the Screws 7 4 FRONT PANEL UNIT 1 Unscrew the Screw 2 Remove the Tabs 18 ...
Страница 22: ...7 9 MAIN PCB UNIT 1 Unscrew the Screws 2 Release the Connectors 3 Remove the Main PCB Unit 22 ...
Страница 23: ...7 10 POWER PCB UNIT 1 Unscrew the Screws 2 Release the Connectors 3 Remove the Power PCB Unit 23 ...
Страница 25: ...7 12 2 SERVICE POSITION OF THE POWER SUPPLY PCB 7 12 3 SERVICE POSITION OF THE DECODER PCB AND TERMINAL PCB 25 ...
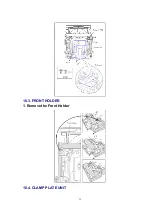
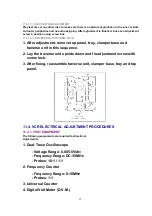
Страница 39: ...10 3 FRONT HOLDER 1 Remove the Front Holder 10 4 CLAMP PLATE UNIT 39 ...
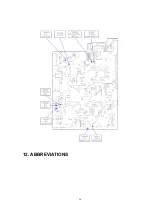
Страница 56: ...12 ABBREVIATIONS 56 ...
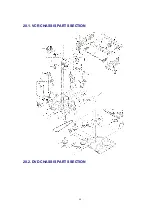
Страница 64: ...20 1 VCR CHASSIS PARTS SECTION 20 2 DVD CHASSIS PARTS SECTION 64 ...
Страница 65: ...20 3 CASING PARTS SECTION 65 ...
Страница 66: ...66 ...
Страница 67: ...20 4 PACKING PARTS SECTION 67 ...
Страница 86: ...LB1218 BEAD CORE J0JHC0000070 1 86 ...
Страница 122: ...5 VID_FROM_YC AV3_V_IN TO SYSCON JK4801 7 6 V_OUT_TO_YC FROM SS SECTION TO IO SECTION PP4801 PS7501 3 3 ...
Страница 123: ...NV VP23EG EC EP NV VP28EG EC NV VP33EG EC EB EBL EP VCR LUMINANCE CHROMINANCE 2 2 BLOCK DIAGRAM ...

