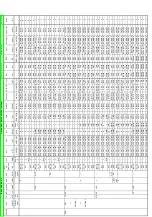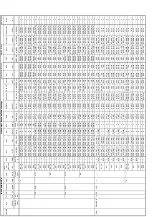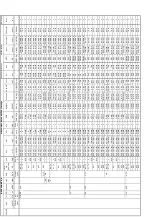
Item
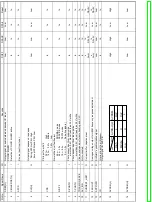
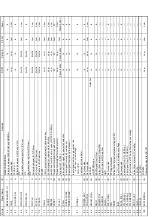
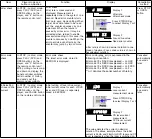
Player mode and
button combination
Function
Display
Cancellation
method
Timer 1 check
Timer 1 reset
Timer 2 check
Timer 2 reset
Timer 2 reset
Spindle motor operation timer
Timer 2 check
Spindle motor operation timer
In STOP (no disc) mode,
press PLAY (DVD), and
FF buttons on the player,
and “5” button on the
remote control unit.
While displaying Timer 1
data, press STOP (DVD)
and FF buttons on the
player, and “5” button on
the remote control unit.
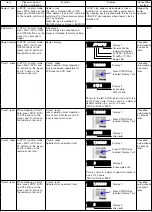
While displaying Timer 2
data, press STOP (DVD)
and FF buttons on the
player, and “6” button on
the remote control unit.
In STOP (no disc) mode,
press PLAY (DVD) and
FF buttons on the player,
and “6” button on the
remote control unit.
Time is shown in 4 digits of decimal notation in
a unit of 10 hours.
“0000” will follow “9999”.
Cancelled
automatically
5 seconds
later.
Cancelled
automatically
5 seconds
later.
Cancelled
automatically
5 seconds
later.
Cancelled
automatically
5 seconds
later.
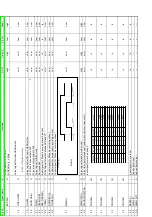
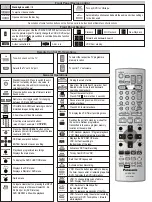
Dealer´s lock
Initialization
“INIT”
Region display
Region display
In STOP (no disc) mode,
press STOP button on the
player and POWER button
on the remote control unit.
In STOP (no disc) mode,
press PLAY (DVD), REW
and OPEN buttons on the
player for 3 seconds or
longer.
In STOP (no disc) mode,
press PLAY (DVD), and
OPEN buttons on the
player, and “6” button on
the remote control unit.
“LOCK” sign appears when dealer´s lock is
switched on, or when secondary power key or
tray opening key is pressed while the lock is on.
“UNLOCK” sign appears when dealer´s lock is
switched off.
Cancelled
automatically
5 seconds
later.
Repeat the
same
operation.
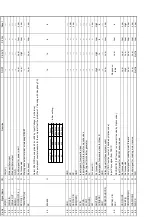
Dealer´s lock
The lock is switched ON or OFF.
When dealer´s lock is ON, it prohibits
switching off of the secondary power
and tray opening.
When the lock is switched, ist
ON/OFF status is stored in EEPROM.
Initialization
User settings are cancelled and
player is initialized to factory setting.
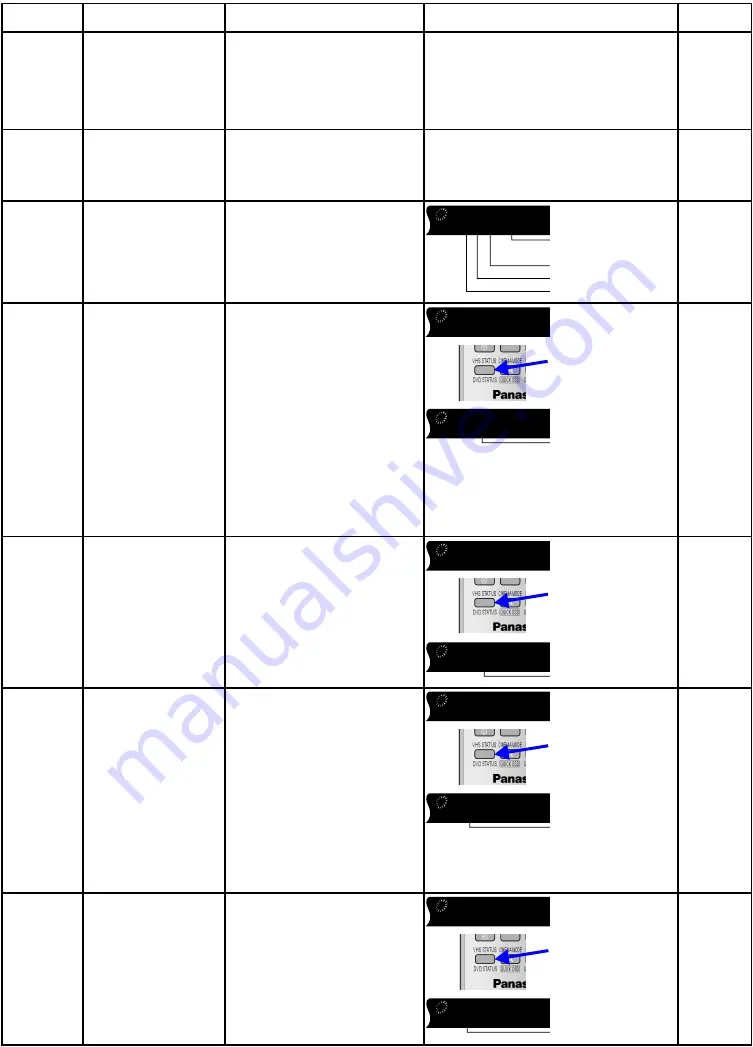
Timer 1 check
Laser operation timer Operation
time is measured separately for
DVD laser and CD laser.
Timer 1 reset
Laser operation timer Operation
time of both DVD laser and CD
laser is reset all at once.
Shown to the left is DVD laser time, and to the
right CD laser time. Time is shown in 4 digits of
decimal notation in a unit of 10 hours.
“0000” will follow “9999”.
Panel controller
jumper information
Display 1
2P6642
2P6642
N: NTSC / 6: PAL60
N: noPAL / P: PAL
Region No.
Display 1
Display 2
Press STATUS Key
to select Display 1 or 2
for example
0123=1230h
Ti0000
Ti0000
0123
0123
Display 1
Display 2
Press STATUS Key
to select Display 1 or 2
after reset
Ti0000
Ti0000
0000
0000
Display 1
Display 2
Press STATUS Key
to select Display 1 or 2
for example 3=3h
T20000
T20000
3
3
Display 1
Display 2
Press STATUS Key
to select Display 1 or 2
after reset
T20000
T20000
0
0
Содержание NV-VP23-33
Страница 13: ...C Stop unloading just before unloading would be completed D Then the tape becomes slack 13 ...
Страница 18: ...7 3 TOP PANEL 1 Unscrew the Screws 7 4 FRONT PANEL UNIT 1 Unscrew the Screw 2 Remove the Tabs 18 ...
Страница 22: ...7 9 MAIN PCB UNIT 1 Unscrew the Screws 2 Release the Connectors 3 Remove the Main PCB Unit 22 ...
Страница 23: ...7 10 POWER PCB UNIT 1 Unscrew the Screws 2 Release the Connectors 3 Remove the Power PCB Unit 23 ...
Страница 25: ...7 12 2 SERVICE POSITION OF THE POWER SUPPLY PCB 7 12 3 SERVICE POSITION OF THE DECODER PCB AND TERMINAL PCB 25 ...
Страница 39: ...10 3 FRONT HOLDER 1 Remove the Front Holder 10 4 CLAMP PLATE UNIT 39 ...
Страница 56: ...12 ABBREVIATIONS 56 ...
Страница 64: ...20 1 VCR CHASSIS PARTS SECTION 20 2 DVD CHASSIS PARTS SECTION 64 ...
Страница 65: ...20 3 CASING PARTS SECTION 65 ...
Страница 66: ...66 ...
Страница 67: ...20 4 PACKING PARTS SECTION 67 ...
Страница 86: ...LB1218 BEAD CORE J0JHC0000070 1 86 ...
Страница 122: ...5 VID_FROM_YC AV3_V_IN TO SYSCON JK4801 7 6 V_OUT_TO_YC FROM SS SECTION TO IO SECTION PP4801 PS7501 3 3 ...
Страница 123: ...NV VP23EG EC EP NV VP28EG EC NV VP33EG EC EB EBL EP VCR LUMINANCE CHROMINANCE 2 2 BLOCK DIAGRAM ...

