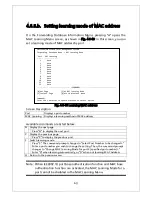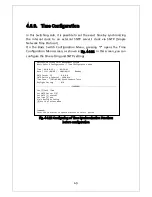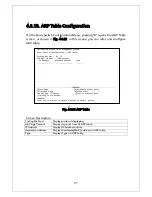
57
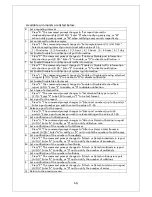
Available commands are listed below.
S Set an address of SMTP server.
Press "S." The command prompt changes to "Enter new SMTP server>." Enter an
address you wish to set.
D Set a mail address of destination.
Press "D." The command prompt changes to "Enter destination account entry
number>." Enter an address number you wish to set with a value of 1-3. Then, the
command prompt changes to "Add or Delete or Set destination account E-mail
address (A/D/M)>." Enter "A" or "M" when you wish to add or modify, or "D" when
you wish to delete.
C Display "Report Data Configuration." For details, refer to the next section (4.7.6.a).
N Set a domain name of mail address of sender.
Press "N." The command prompt changes to "Enter domain name>." Enter a domain
name you wish to set.
R Add a destination to which a report is sent.
Press "R." The command prompt changes to "Enter report destination entry
number>." Enter an account number you wish to set to destination to which a
report is sent with a value of 1-3.
E Delete a destination to which a report is sent.
Press "E." The command prompt changes to "Enter report destination entry
number>." Enter an account number you wish to release the setting with a value of
1-3.
T Add a destination to which a trap is sent.
Press "T." The command prompt changes to "Enter trap destination entry number>."
Enter an account number you wish to set to destination to which a trap is sent with
a value of 1-3.
P Delete a destination to which a trap is sent.
Press "P." The command prompt changes to "Enter trap destination entry
number>." Enter an account number you wish to release the setting with a value of
1-3.
Q Return to the previous menu.
Содержание M24PWR
Страница 5: ...5 malfunction When stacking Switching Hubs leave a minimum of 20 mm space between them is required ...
Страница 24: ...24 command If you enter a command or setting not available an error message is shown in the explanation field ...
Страница 26: ...26 ...
Страница 32: ...32 ...
Страница 45: ...45 ...
Страница 65: ...65 ...
Страница 74: ...74 Quit to previous menu Quits the Advanced Switch Configuration Menu and returns to the Main menu ...
Страница 77: ...77 setting and the management VLAN status of VLAN ID 1 is UP ...
Страница 92: ...92 Press S Q Return to the previous menu ...
Страница 94: ...94 ...
Страница 118: ...118 Q Return to the previous menu ...
Страница 121: ...121 ...
Страница 126: ...126 ICMP Type Displays the ICMP type ...
Страница 132: ...132 802 1p Priority Displays priority of IEEE802 1p TCP SYN Flag Displays the TCP SYN flag ICMP Type Displays ICMP type ...
Страница 152: ...152 Threshold Displays the threshold of the number of packets per second ...
Страница 169: ...169 Fig 4 7 49 Display of values accumulated after resetting the counters ...
Страница 181: ...181 Q Return to the previous menu ...
Страница 207: ...207 Q Return to the previous menu ...
Страница 228: ...228 RSTP MIB IEEE 802 1w IEEE8021 PAE MIB IEEE802 1X IEEE8023 LAG MIB IEEE 802 3ad ...
Страница 233: ...233 IEEE 802 3af standard ...


