


4.3 Quick Setup
44
Getting Started
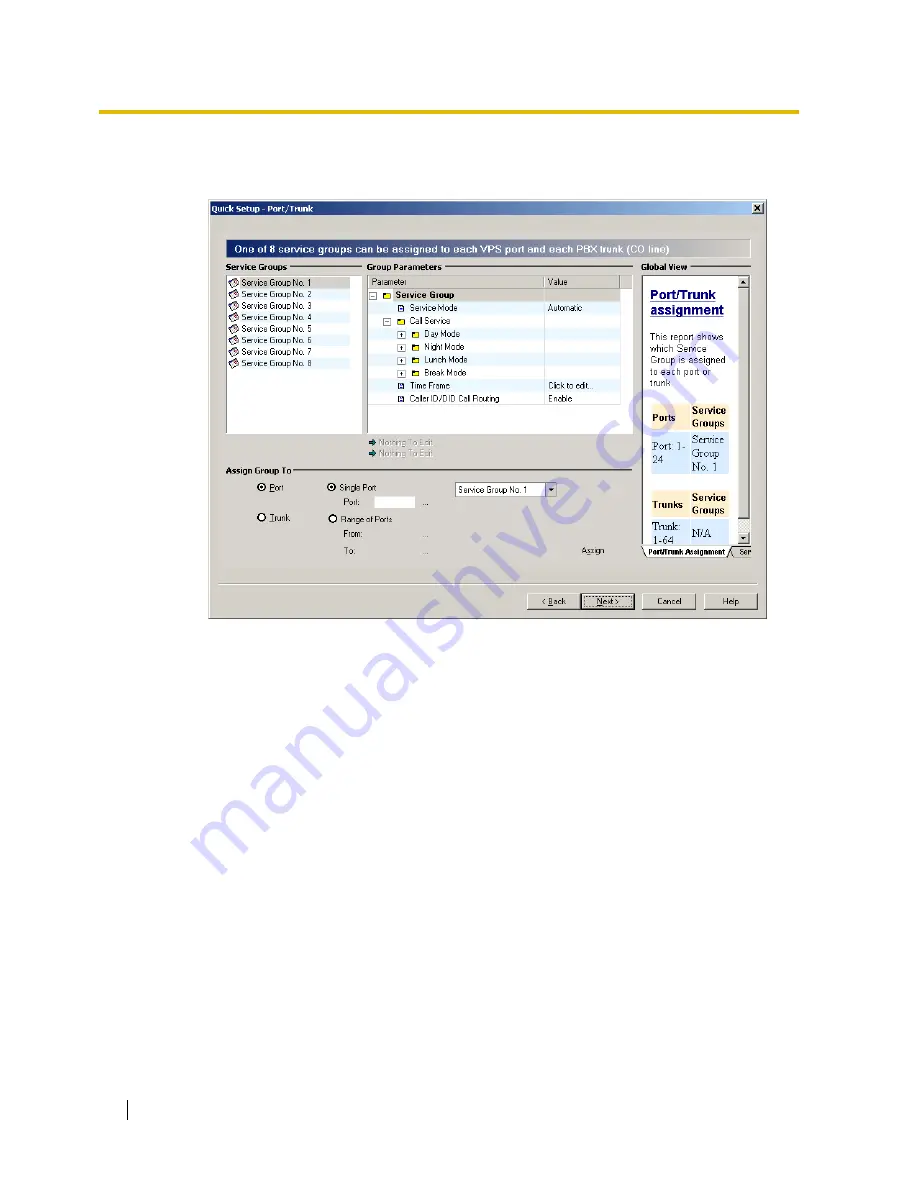
Port/Trunk settings
The next window displayed is the Port/Trunk window. The settings made here determine how the
VPS answers calls received on each of its ports.
Configure Service Groups for each trunk/port, then click "Next". For more information, refer to
2.3.1 Service Group in the Programming Manual.


