2.
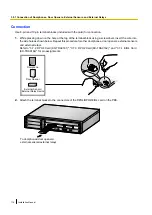
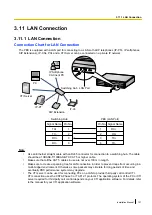
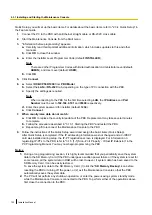
Plug the AC power cord into the PBX and pass the cord through the hook clip as indicated. Push the hook
clip in the direction of the arrow until it clicks.
Note
For safety reasons, do not stretch or pinch the AC power cord.
To earthed AC Outlet
3.
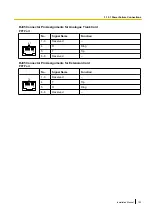
Plug the other end of the cord into an AC outlet and turn on the PBX. The RUN indicator will flash.
4.
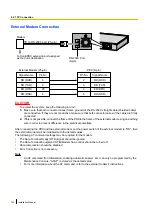
While the RUN indicator is flashing, slide the System Initialise Switch back to the "NORMAL" position.
Depending on the configuration, initialisation takes about 1 min to 3 min. If successfully executed, the
RUN indicator will stop flashing and stay lit.
All data will be cleared, and the PBX as well as all optional service cards will be initialised to the default values.
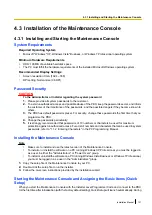
The DPTs should show the time as 01:00.
Note
When initialising the PBX, the built-in ESVM card will also be initialised. Therefore, the built-in ESVM card
feature may not be used for up to 2 minutes after the PBX starts.
LED Indications
Indication
Colour
Description
RUN
Green
PBX status indication
•
OFF: Power Off (includes normal reset)
•
ON: Power On and running (on-line)
•
Flashing (60 times per minute): Starting up
•
Flashing (120 times per minute): Starting up or resetting with:
•
the System Initialise Switch in "SYSTEM INITIALIZE" position
•
the SD Memory Card not inserted
ALARM
Red
Alarm indication
•
OFF: Normal
•
ON: Alarm (CPU stop, alarm for each optional service card)
•
Flashing: Alarm (IPCMPR file error in restarting)
Installation Manual
125
3.13.1 Starting the PBX
Содержание KX-NCP1000
Страница 42: ...42 Installation Manual 2 1 3 Activation Key File ...
Страница 52: ...Connector Type Pin Number Used for Mini Plug 2 4 IPCMPR 52 Installation Manual 3 2 5 Types of Connectors ...
Страница 134: ...134 Installation Manual 4 3 1 Installing and Starting the Maintenance Console ...
Страница 146: ...146 Installation Manual 5 1 5 Troubleshooting by Error Log ...
Страница 147: ...Section 6 Appendix Installation Manual 147 ...
Страница 151: ...Index Installation Manual 151 ...

