Running the Diagnostic Check
Run this utility using the default settings in the Setup Utility.
If the Setup Utility or other settings will not allow hardware to be executed, the hardware icon will be displayed in gray.
1.
Connect the AC adaptor, and be enabled the wireless function.
During the diagnostic check, do not remove the AC adaptor, or attach any peripheral devices.
2.
Start the Setup Utility.
1.
Touch
(Settings) - [Update & Security] - [Recovery].
2.
Touch [Restart now] under “Advanced startup”.
*2
3.
Touch [Troubleshoot] - [Advanced options] - [UEFI Firmware Settings] - [Restart].
The computer restarts, and the Setup Utility screen appears.
If the password is requested, enter the Supervisor Password.
If you are using the computer after changing the settings from the status at the time of purchase, we recommend that you make a note
of the settings that are changed.
*2 : Screen messages are explained in [English (United States)].
(Depending on the language preference, some screen messages in these instructions are different from the actual screen messages. For
example, [Advanced start-up] may be displayed instead of [Advanced startup] in some language preference.)
3.
Touch [Exit] menu, then double-touch [Load Default Values].
At the confirmation message, touch [Yes].
4.
Touch [Exit] menu, then double-touch [Save Values and Reboot].
At the confirmation message, touch [Yes].
The computer will restart.
5.
Touch the top left corner of the screen several times to display Setup Utility.
6.
Touch [Exit] menu, and then double-touch [Diagnostic Utility].
When the PC-Diagnostic Utility starts up, it will automatically begin the diagnostic check for all hardware components.
If the password is requested, enter the password.
<Only when connected to the external keyboard>
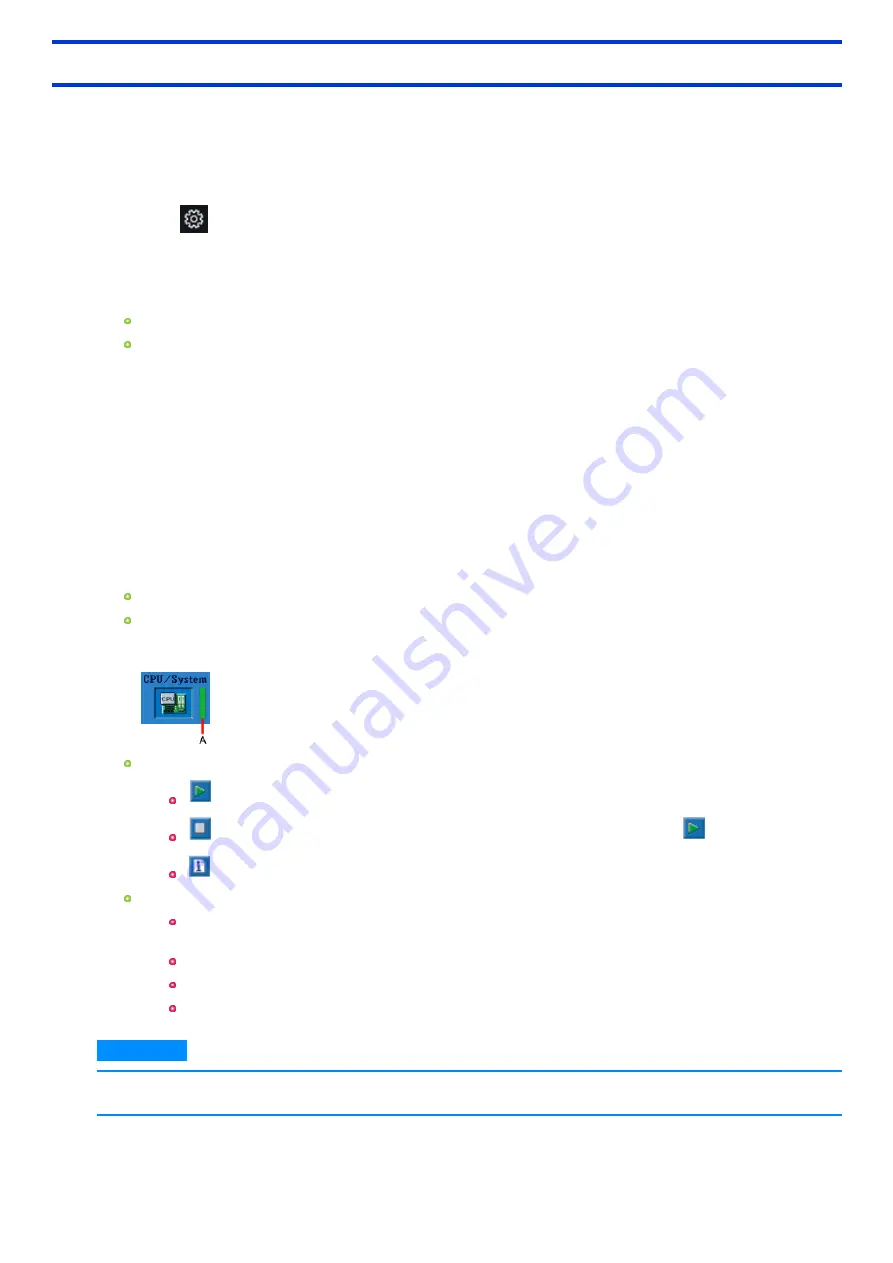
The keyboard may not be used when each hardware checking is running. While checking, a vertical green progress bar (A) is displayed
on the right side of the hardware icon.
You can perform the following operations by touching the icons on the screen:
: Start the diagnostic check from the beginning.
: Stop the diagnostic check (After the process is stopped, you cannot resume it by touching
).
: Display help (Touch the screen to return to the original screen.).
You can check the status and results of the diagnostic check via the progress bar displayed on the right of the hardware icon.
When the bar is progressing: The diagnostic check is in progress.
During memory diagnostic check, the display may stop for a long period of time. Wait until the process is complete.
When the bar is green: No problems discovered.
When the bar is red: Problems discovered.
When the bar is yellow: The diagnostic check has been stopped or is complete.
N O T E
n
Using the following procedure, you can run a diagnostic check on a specified hardware component, or run an extended dia-
gnostic check on the memory or the flash memory (The extended diagnostic check is only for the memory and the flash
-
122
-
Содержание FZ-M1 Series
Страница 49: ...n You can also touch on the task tray and then touch Disconnect 49...
Страница 76: ...To remove the card 1 Draw the card straight out 2 Close the cover 76...
Страница 91: ...Other Functions 91...
Страница 139: ...3 Check the model number The model number C starting with FZ M1 is described 139...


