


User’s Manual
56
5.
Backup Status
displays whether a target bank has already been backed up or not.
6.
Select the bank to back up by clicking the target bank in the list box. Multiple banks can be selected by using the
Ctrl
or
Shift
keys on the actual keyboard. Click each bank to be backed up while pressing and holding the Ctrl key.
If you want to select all banks in a specific range, click the first and last banks to be backed up within the range
while pressing and holding the Shift key.
7.
Move to
Destination
, and select a backup drive from a drop-down list.
8.
The number of selected banks will be displayed in the
Selected Banks
box. The
Free Backup
Banks
box
displays the number of banks that are available for backup.
9.
Click the
Update
button to update the record bank information. After you have set up the Manual Backup by List,
click the
OK
button. Selecting
Cancel
exits the dialog box without saving the settings.
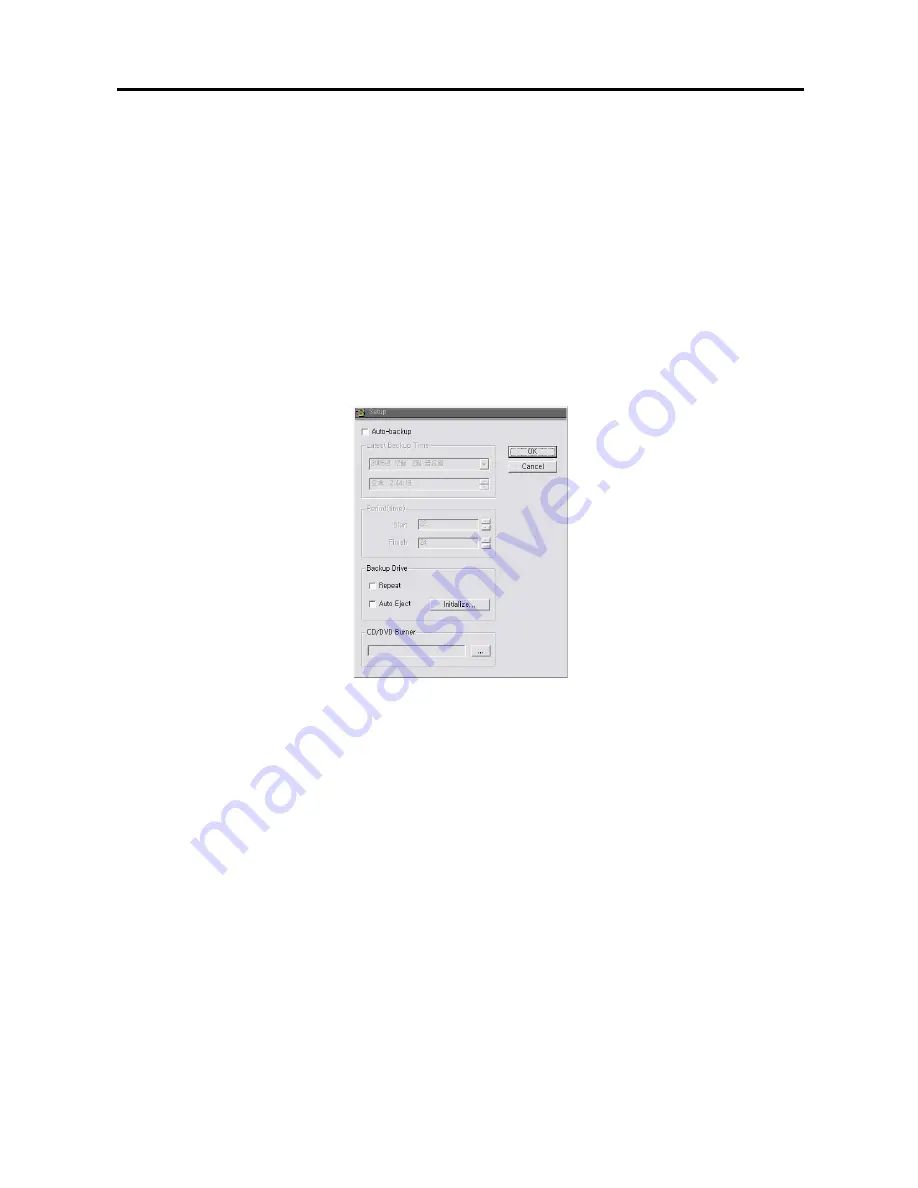
Setup
Click the
Setup
... button in the
SmartBackup
dialog box to set up the backup information. The following
Setup
dialog box appears.
1.
Move to
Auto-backup
, and check the box to set up auto backup. If this box is checked, the DVR will back up
automatically according to the established auto backup settings. If
Auto-backup
is not selected, the DVR is in the
manual backup mode and follows the established manual backup settings. See the
Manual Backup
section for
setting up the manual backup.
NOTE:
During Auto Backup, event recording data of camera channels that are set under pre-event recording
mode will NOT be backed up.
2.
Latest Backup Time shows the latest backup date and time. When the DVR is set to Auto Backup mode, only the
banks recorded after Latest Backup Time will be backed up.
3.
Move to
Period (time)
, and set the backup beginning time in
Start
, and ending time in
Finish
using the arrow
buttons. If you set the value to
0
for the Start and to
24
for the
Finish
, the DVR will back up from 0:00 to 24:00
automatically with checking out the bank periodically..
4.
Move to
Backup Drive
. If you want to recycle all the backup drive, click the
Repeat box.
If the Repeat box is
not checked, the DVR stops backing up when all the backup drive is full. Click the
Auto Eject
box to use the auto
eject feature of the backup drive if the drive is so equipped.
NOTE:
Repeat
and
Auto Eject
can not be selected at the same time.
NOTE:
Active menus under the Backup Drive will vary depending on the type of media used.
5.
Click the
Initialize
... button to initialize the backup space. The backup drive should be initialized before backing
up.
Содержание PDR16-RMT Series
Страница 1: ......
Страница 2: ......
Страница 6: ...User s Manual iv ...
Страница 10: ...User s Manual 4 ...


