


User’s Manual
52
5.
Move to
Overlay text-in data
, and check the box to display the text-in information on the image. If this box is
not checked, the text-in information will be displayed on another dialog box.
6.
Move to
Show Field Image
, and check the box to display recorded video with 640x480 (704x480 (704x576
PAL) for
PDR16-RMT-LIVE, PDR16-RMT-LIVE-X and
PDR16-RMT-RT models) resolution as the field image
not the frame image. This option may help to reduce distorted patterns that might occur on frame images.
7.
Move to
Use Keyframe FF Playback
, and check the box to reduce playback time and enable more fast
searching in the single-screen mode. When releasing this option, the DVR returns to the normal playback speed,
however, it displays natural playback video.
8.
Move to
OSD
, and select the OSD information to be displayed on the playback image by checking the box next to
desired options;
Location
and
Time
.
9.
Move to
CD/DVD Burner
, and click the … button to register the location where the CD/DVD burning program is.
When using the CD/DVD burning program provided by the manufacturer, select
SmartBurnerPlus.exe
in the
C:\IDR-Series folder. Recorded data can be saved on the CD or DVD drive using the CD/DVD burning program.
NOTE:
If the operating system version is lower than Windows XP Embedded 2.0, select SmartBurner.exe
instead of SmartBurnerPlus.exe. However, SmartBurner.exe will not support saving recorded data on the DVD
drive.
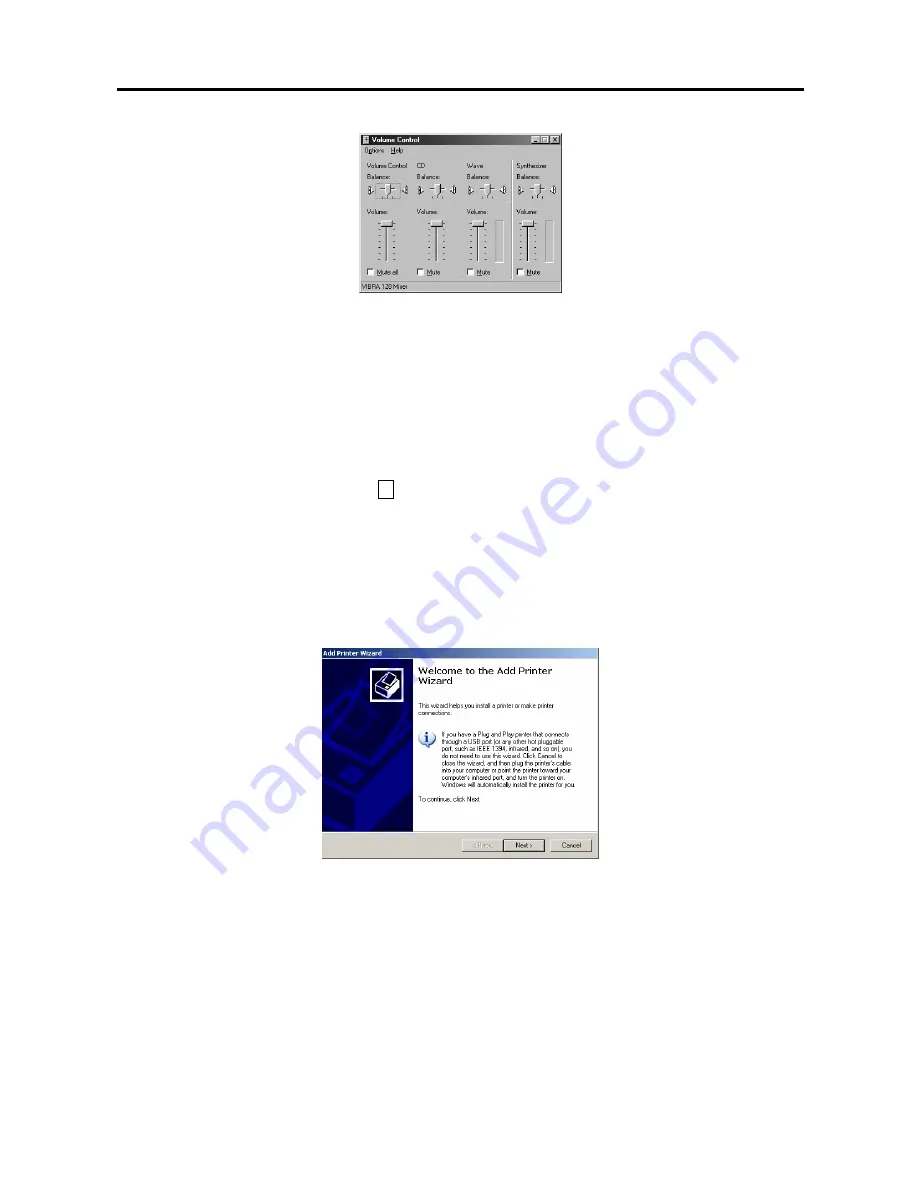
10.
Click the
Add Printer...
button, and set up the printer. Follow the instructions to install and set up the printer.
11.
Click the
Default
button to reset the system to default values. After you have changed all the settings, you can
save your changes by clicking the
OK
Button. Selecting
Cance
l exits the dialog box without saving the changes.
Содержание PDR16-RMT Series
Страница 1: ......
Страница 2: ......
Страница 6: ...User s Manual iv ...
Страница 10: ...User s Manual 4 ...


