Instruction Manual
Updated11/2013
12
| 24
5. Installation
5.1 reQuireD installation material
We recommend that you use the following tools to ensure a correct and com-
pliant installation of the Wallbox Duo:
•
Hexagon socket wrench size 4
•
Screwdriver with 6-Lobe bit TX40
•
Flat-head slot screwdriver
•
Masonry drill Ø10.0mm (depending on wall structure)
5.2 preparing for the installation
A few preparatory steps must be taken prior to commencing the installation.
5.3 removal of packaging
Please do not cut packaging to a depth of more than 2mm when unpacking
the product to avoid damage to the surface of the Wallbox. Remove both foam
inlay side protections by pulling them upwards. Lift the Wallbox Duo together
with its rear mounting panel out of the (cardboard) box. The rear mounting
panel is neither connected to the base plate nor to the housing. Please do
not remove the device simply by its housing as this may result in damage to
cabling, particularly to cable strings leading to the charging sockets.
5.4 preparing the Wallbox Duo
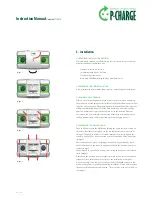
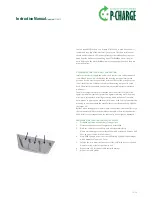
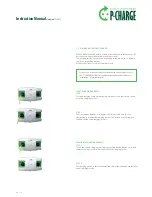
Open the front cover to the Wallbox by turning the key in the lock located on
the underside either to the right or to the left (both directions are possible)
(image 1)
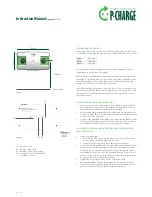
. The push-in cylinder is released outwards from its casing and the
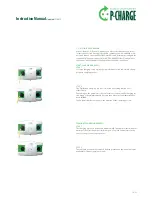
system is unlocked. The front cover can now be removed by lifting it upwards
(image 2)
.
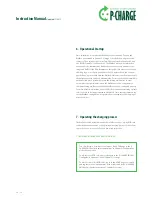
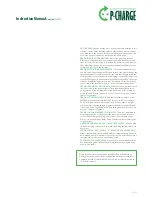
Now remove the two green charging point hoods. Using both hands, work
the bevelled ends on the inner side upwards and fold the hood backwards to
remove
(image 3)
.
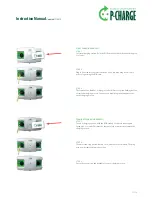
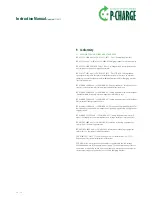
You now need to open the 8 housing screws using an hexagon socket wrench
size 4
(image 4)
.
Please keep the 8 screws and their respective washer seals safe as they will be
required to close the Wallbox correctly once the installation is complete.
A protective strip of red rubber on the underside of the Wallbox protects the
plastic housing from scratch damage during installation. Please do not remove
this until the Wallbox has been mounted. The protective strip is not visible on
the images.
Image 1
Image 2
Image 3
Image 4


