78
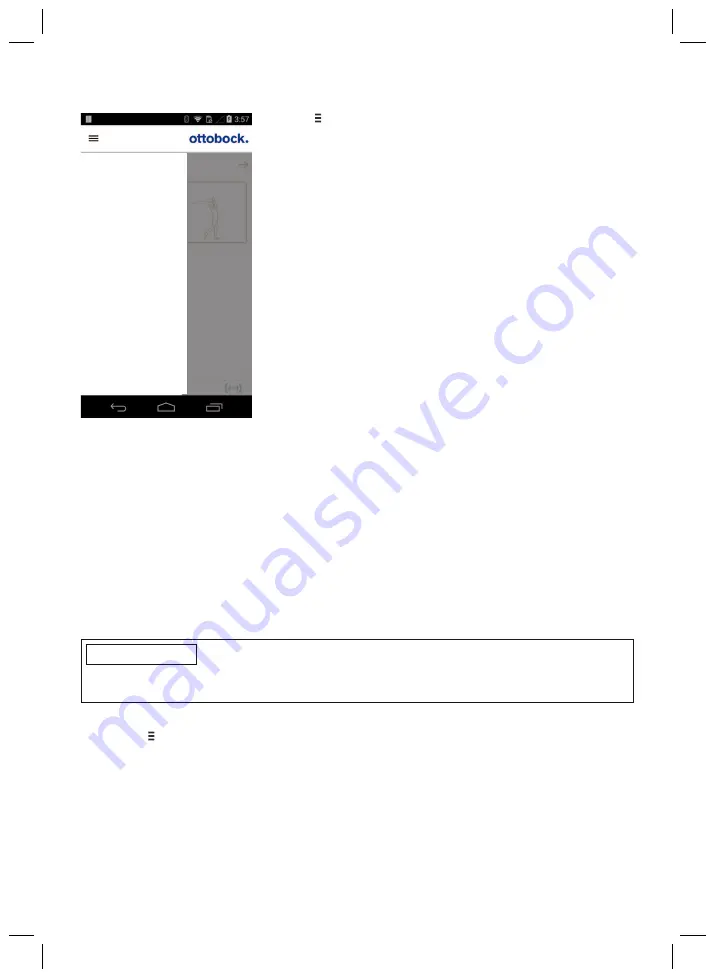
8.3.1 Cockpit app navigation menu
2. Golf
change
MyModes
Functions
Settings
Status
General
Manage components
Imprint/Info
Product
Tap the symbol in the menus to display the navigation menu.
Additional settings for the connected component can be con
figured in this menu.
Product
Name of the connected component
MyModes
Return to the main menu to switch MyModes
Functions
Call up additional functions of the component (e.g. turn off
Bluetooth) (see Page 86)
Settings
Change settings of the currently selected mode (see Page 83)
Status
Query status of the connected component (see Page 87)
Manage components
Add or delete components (see Page 78)
Imprint/Info
Display information/legal notices for the cockpit app
8.4 Managing components
Connections with up to four different components can be stored in the app. However, a compon
ent can only be connected to one device at a time.
The following points need to be observed before establishing the connection:
•
Bluetooth of the component must be switched on (see Page 86).
•
Bluetooth on the mobile device must be switched on.
•
The device must not be in "flight mode" (offline mode), otherwise all wireless connections are
turned off.
•
The device must be connected to the internet.
•
The serial number and Bluetooth PIN of the component being connected must be known.
They are found on the enclosed Bluetooth PIN card. The serial number begins with the letters
"SN".
INFORMATION
If the Bluetooth PIN card with the Bluetooth PIN and serial number of the component is lost,
contact your O&P professional.
8.4.1 Adding component
1) Tap the symbol in the main menu.
→
The navigation menu opens.
2) In the navigation menu, tap the entry "
Manage components
".
3) Hold the prosthesis with the sole of the foot facing up, or connect and then disconnect the
battery charger, in order to activate recognition (visibility) of the Bluetooth connection for
2 minutes.
4) Tap the "
+
" button.
→
The Connection Wizard opens and guides you through the process of establishing a con
nection.
5) Follow the subsequent instructions on the screen.
Содержание 3B5-X2
Страница 2: ...2...
Страница 56: ...56...
Страница 61: ...61 Using the 4X350 X3 remote control is no longer possible on products with the marking DUAL...


