SoundDrive 16 User's Manual
43
Chapter 3:
Audio Applications
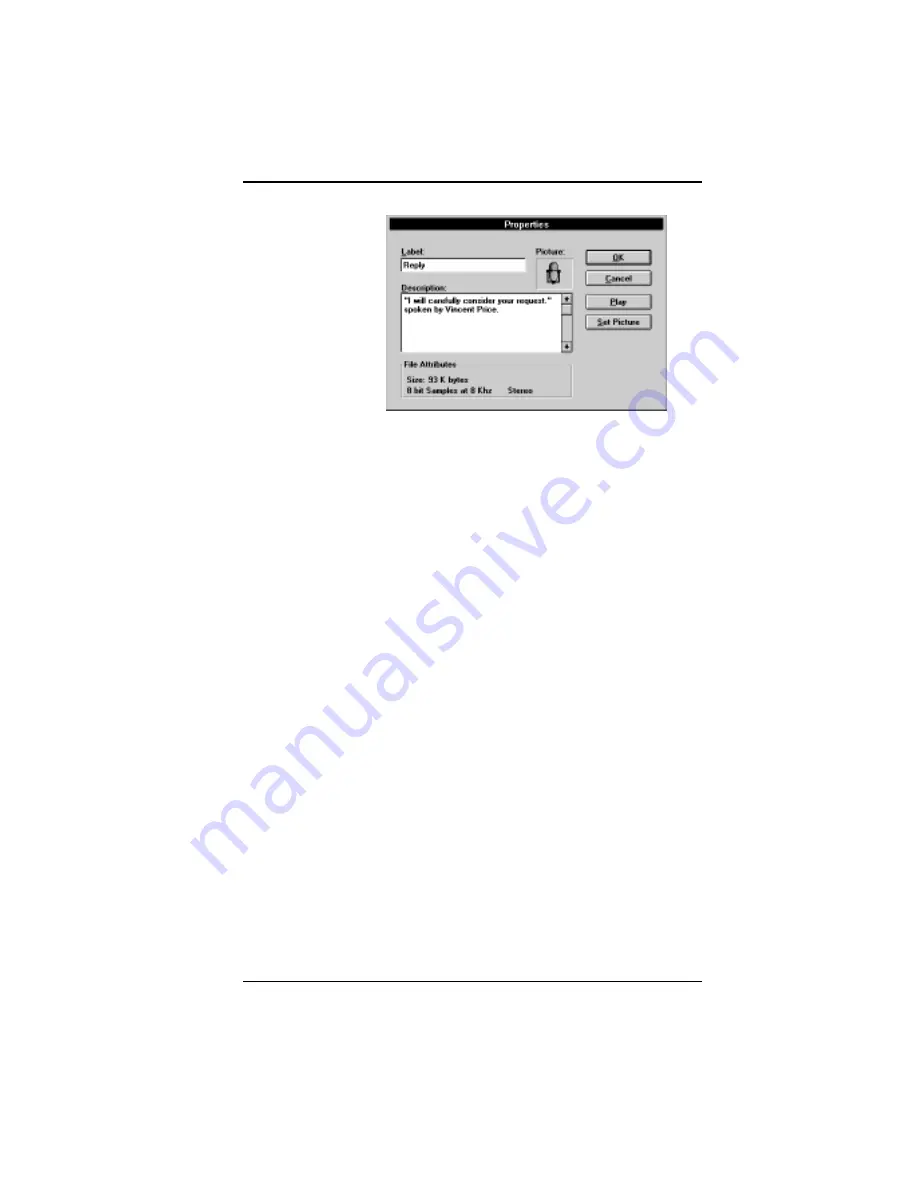
From this screen, you can place the cursor in the
Label or Description area to add or change the
label or description for the audio file.
2. Click the Play button to hear the audio file.
3. The Audio Recorder assigns a default picture of
a microphone to each audio file. To select an-
other picture more representative of the audio
file’s contents, click on the Set Picture button.
4. From the Set Picture screen, select the picture to
appear with the audio file. It can be any graphic
saved in a bitmap (.BMP or .DIB), wave (.WAV),
icon (.ICO), executable (.EXE) or library (.DLL)
file. The picture selected will appear in the
Audio Recorder. It will also appear in any
document in which you embed the audio file.
5. When you are finished, click on the OK button.
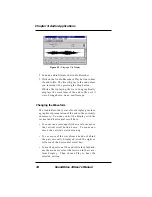
Figure 3.4: Changing the Properties
Содержание SoundDrive 16
Страница 1: ...SoundDrive 16 User s Manual ORCHID ...
Страница 6: ...4 SoundDrive 16 User s Manual ...
Страница 12: ...10 SoundDrive 16 User s Manual ...
Страница 38: ...36 SoundDrive 16 User s Manual Chapter 2 Orchid Utilities ...
Страница 72: ...70 SoundDrive 16 User s Manual Appendix A Technical Help ...


