PREVIOUS | CONTENTS | NEXT
One Talk—
T49G IP desk phone guide
User guide
5
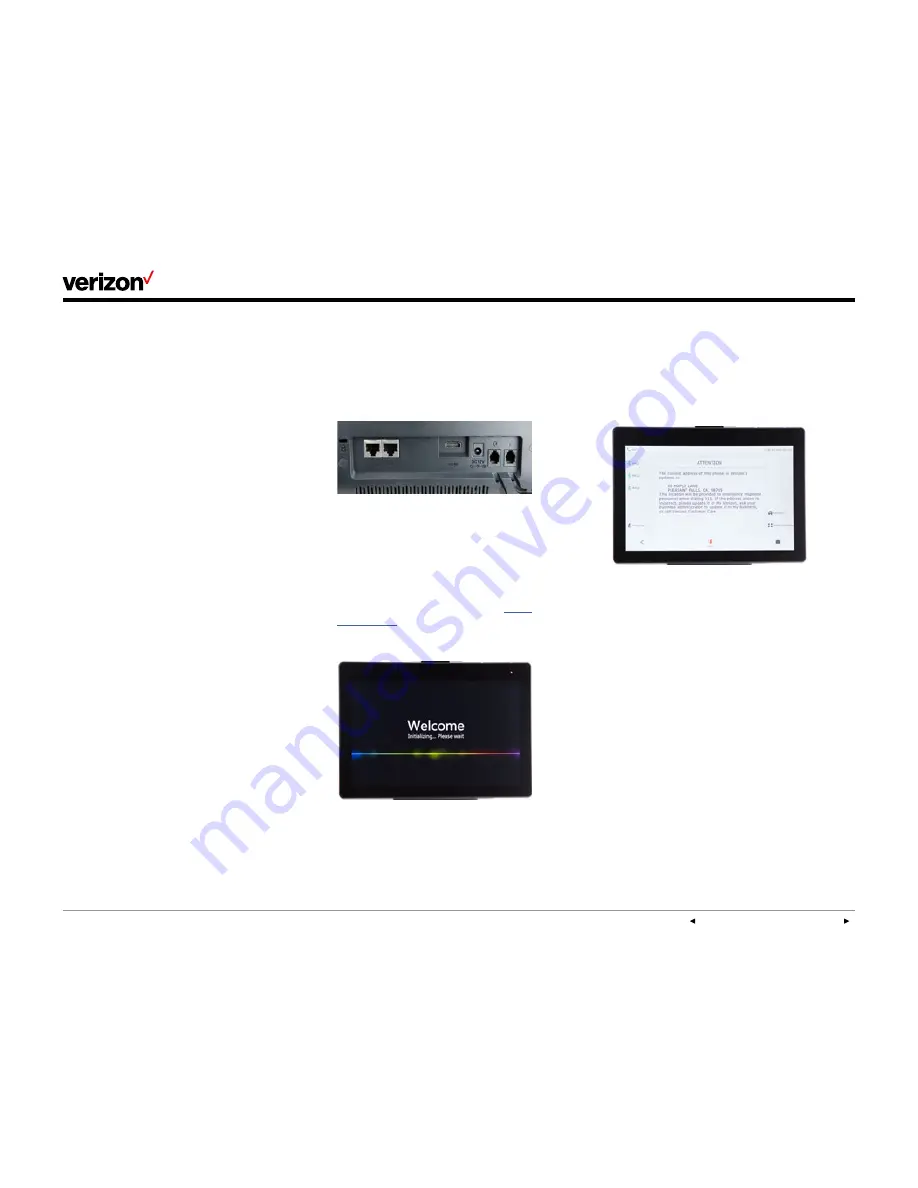
View E911 address.
Emergency 911 (E911) is a location technology
that enables emergency responders to know the
geographical location of a caller when dialing 911.
To view 911 address, tap the
911 Address
line key
on the right side of your touch screen.
Welcome
The T49G IP desk phone is an elegant solution
for managers and teleworkers who need all the
business features of One Talk
SM
from Verizon
combined with integrated HD video and audio
communications. Its intuitive design enables video
calling at the touch of a button, while the large,
high-resolution touch screen and advanced data
transmission capabilities will make you feel like
you’re meeting face to face.
The T49G features integrated 802.11 a/b/g/n
Wi-Fi and Bluetooth® 4.0 connectivity, 24
programmable line keys, a centralized notification
hub, and an advanced control center for fast
access to your most popular features.
Most importantly, the T49G with One Talk
seamlessly complements your mobile devices.
So, wherever you are—at your desk or on the
move—you never have to miss a call.
Initial setup
If your T49G desk phone is not already
connected and set up for using the One Talk
service, please verify the following with your
system administrator before proceeding:
1. You have a One Talk number.
2. Your user information has been updated in the
One Talk Admin Portal with your 911 address
and email address.
3. Your phone number has been included in any
business group features.
4. The preferred options for broadband and
power connections.
Connect to broadband and power.
Connect the AC power as shown below.
Note: Your T49G desk phone should be used with
the original Yealink power adaptor (12V/sA) only.
The use of a third-party power adaptor may
cause damage to the phone.
Wired Ethernet connection
Attach Ethernet cable to the internet port on the
back of the phone (see photo above).
Wireless Ethernet connection
As an alternative, you may connect to the network
using your local Wi-Fi broadband connection. For
setup instructions, please refer to
Wi-Fi
connectivity
in the “Basic settings” section of this
user guide.


