


DirectRIP Image Adjustment Settings (Cont’d)
Color Strength
The Color Strength setting is located in your toolbar and labeled as the “Color Strength”
column. This option would be the equivalent to your “saturation” option In any graphic design
software in which it controls the intensity of your colors. Increasing the Color Strength will
make the colors in your image appear more intense and darker as you increase the Color
Strength. Decreasing the Color Strength will decrease the saturation and contrast of your
Image and make it appear lighter as you decrease the color strength. The default setting for
Color Strength varies depending on the environment. You should only adjust as needed if a
certain color is not translating well onto your print or if you are experiencing some detail loss
in dark portions of the print. If the resolution is increased, Color Strength will need to be lower-
ed and adjusted as needed to achieve the desired saturation.
Resolution
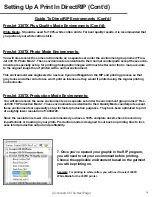
The Resolution setting is located in the Print Set-Up Properties window under the Device Option
tab. This is located in the same window normally used to set the print margins. Raising the reso-
lution of your white underbase is useful in a situation where you have a thicker material to print
on such as denim, bags, and more. This setting increases your white ink output so only use this
setting as needed. Resolution change is not recommended unless advised by a technician.
Color Booster
Increases color saturation / vividness by increasing color contrast. This feature is helpful for any
images that are washed out or have a faded appearance.
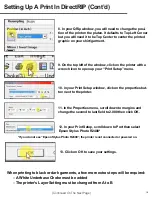
Change Dot Size
Changing the dot size will increase the amount of ink it fires during passes. The default is set to
SML, a combination of various ink drop sizes optimized to give you the best possible print. Chan-
ging the dot size is best used for thicker garments such as jackets, hats, denim, etc. Below are all
of the options for drop sizes:
○
S - Small
○
M - Medium Drop Size
○
L - Large Drop Size
○
SM - Small, Medium Combination
○
SL - Small, Large Combination
○
ML - Medium, Large Combination
○
SML - Combination of Small, Medium, Large
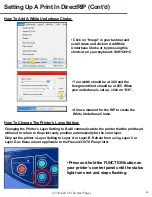
White Underbase Choke
A choke is needed for the white underbase due to the nature of the inks and garment. When white
ink is being laid down as it starts to dry, it will expand. This could cause a white outline around
your image that is not in the graphic. Adding the choke setting will decrease the size of the under-
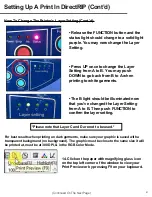
base layer, allowing the color layer to completely cover the underbase below. To add the choke.
Go to Image >add white underbase choke. When the choke window opens you the default values
will be 2 and 225. The value 2 represents the amount of pixels that will be removed around the
image. 90% of the time, 2 what is recommended by Omniprint, but if you find that there is still some
white showing, the pixel reduction can be increased.
(Continued On The Next Page)
24
Содержание FREEJET 330TX
Страница 1: ...F r e e J e t 3 3 0 T X O f f i c i a l U s e r M a n u a l 2 0 1 9 E d i t i o n ...
Страница 2: ......
Страница 65: ...62 ...
Страница 66: ...63 ...
Страница 67: ...64 ...


