40496501TH Draft Version
86
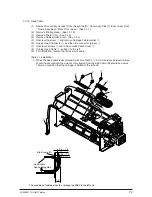
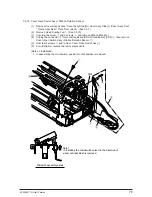
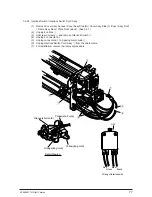
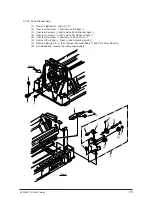
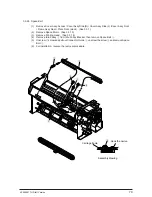
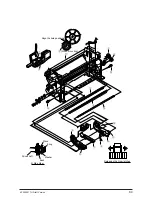
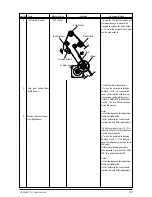
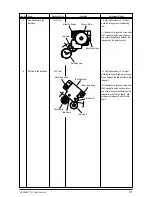
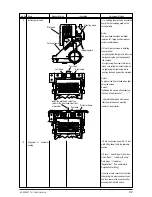
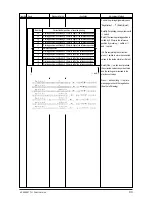
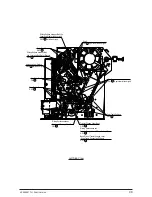
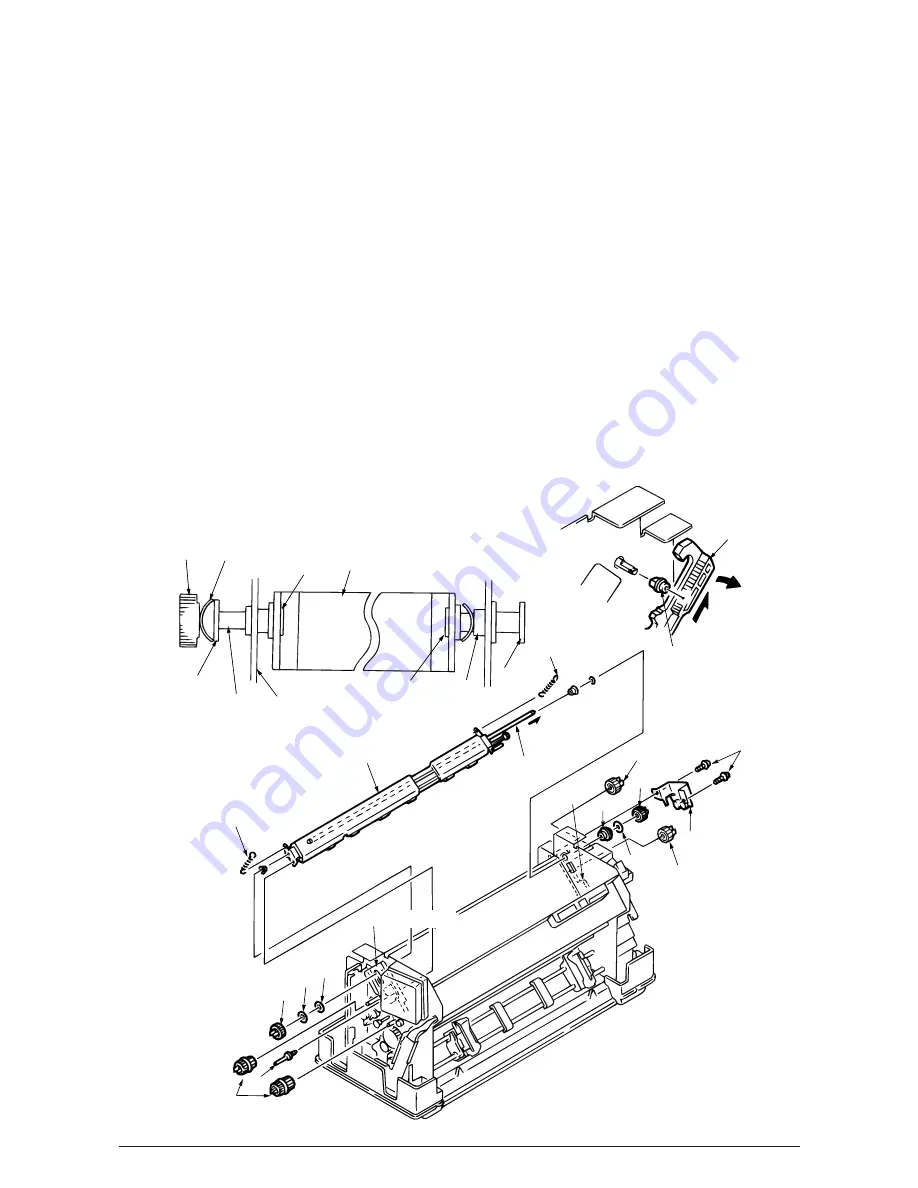
3.3.31 Bail Assy
(1)
Remove Cover Assy Access / Cover Assy Side (R) / Cover Assy Side (L) /Cover Assy Front
/ Frame Assy Rear / Plate Front (stuck). (See 3.3.1)
(2)
Remove Mini Pitch Belt. (See 3.3.9)
(3)
Remove Bail Motor Assy (See 3.3.11)
(4)
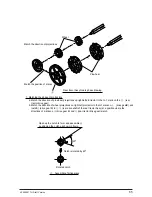
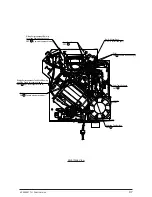
Remove 2 Drive Pulleys
1
.
(5)
Unscrew 2 screws
2
and remove Bail Gear Assy
3
.
(6)
Release the claws at right/left Drive Gears B
4
then remove Drive Gears B
4
, Wave Washers
5
and Flat Washers
6
.
(7)
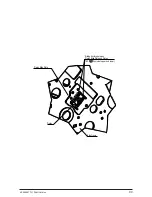
Slide Bail Lift Lever (R)
9
, Drive Gear B
7
and Drive Gear C
8
to the oblique upper direction
and remove Bearing (Bail)
0
.
(8)
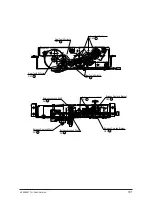
Remove 2 Bail Springs
A
.
(9)
Remove Screw Stud
B
.
(10) Slide Bail Support Shaft
C
to the right then remove it from left Bearing (Bail)
D
.
(11) Lift Bail Assy
E
to the oblique upper direction and pull it out to the left.
(12) For installation, reverse the removal procedure.
(Note on Installation)
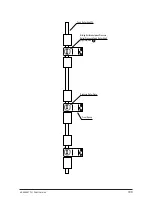
1. The wave washers should be attached, paying attention to the direction of them.
2. The phase of bail lift lever (L), (R) should be matched in assembling them.
C
C
A
A
2
3
8
4
7
0
9
6
5
4
B
1
6
9
D
E
D
Gear
Wave washer
Bush
Washer
Bush
Left Side Flame
Bush
Washer
Bail Lift Lever(L)
Содержание PACEMARK 4410
Страница 1: ...PACEMARK 4410 PRINTER SERVICE HANDBOOK...
Страница 52: ...40496501TH Draft Version 52 Figure 3 1 3 2 Parts Layout...
Страница 95: ...40496501TH Draft Version 95...
Страница 151: ...40496501TH Draft Version 151 No Yes End Replace PHA Board Recovered No Yes End Replace PMA Board...
Страница 168: ...XXXXXXXXTH Draft Version 8 5 Fig 8 5 45 38 38 40 42 39 44 44 122 41...
Страница 169: ...XXXXXXXXTH Draft Version 8 6 142 141 11 119 Fig 8 6...
Страница 170: ...XXXXXXXXTH Draft Version 8 7 Fig 8 7 105 102 61 33 104 100 101...
Страница 171: ...XXXXXXXXTH Draft Version 8 8 Fig 8 8 55...

