OFITE, 11302 Steeplecrest Dr., Houston, TX 77065 USA / Tel: 832-320-7300 / Fax: 713-880-9886 / www.ofite.com
34
Software
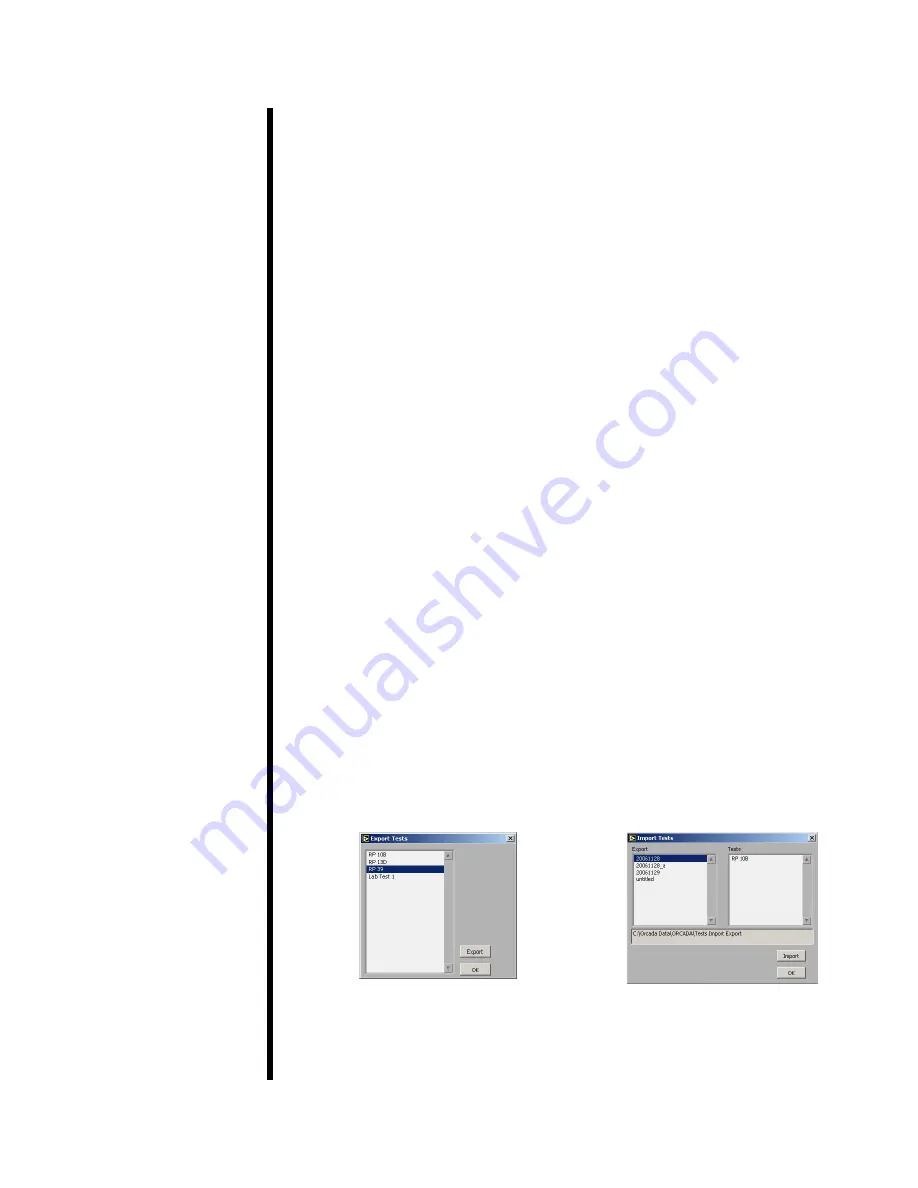
Import/Export
The Import/Export feature of the ORCADA
®
Software makes it possible to
transfer a test from one PC to another.
1.
Begin on the Main Screen. Choose “Export” from the “File” menu.
2. Select the tests you wish to export. Hold down the CTRL key to select
multiple tests.
3.
Click the “Export” button. You will be asked to choose a destination and
filename and then click “OK”.
4.
Copy this file to the destination PC.
The file must be placed in the correct folder for it to be available for
import. To find this folder, first navigate to the folder specified in the “Data
Archive Directory” field in the Options screen (see page 23 for details).
From there go to the “ORCADA
®
” folder and then the “Tests Import
Export” folder.
5.
On the destination PC, choose “Import” from the “File” menu.
6. Choose the tests you wish to import. Hold down the CTRL key to select
multiple tests.
The “Export” field lists all of the files that are available for import. Once
you have selected one, the “Tests” field shows which individual tests can
be imported from that file.
Below the “Export” and “Tests” fields is a display-only field that shows the
folder being scanned for exported tests. Make sure the tests you want to
import have been placed in that folder.
7.
Click the “Import” button. The new tests will appear in the list in the upper
left-hand corner of the Main Screen.
Export
Import


