INTEGRATING I401 SAFETY FEATURES
PAGE
|
92
Perform the firmware upgrade
1
In the firmware upgrade folder, double-click the Update.bat file.
2
Wait until the batch file dialog displays the “Done! Press any key to continue...” message.
3
Press any key to exit the batch file.
4
Remove DC power from the laser, wait 15 seconds, and then re-apply 48 VDC power.
5
Launch your web browser, type: “http://192.168.50.50” (without the quote symbols) and
then press Enter.
6
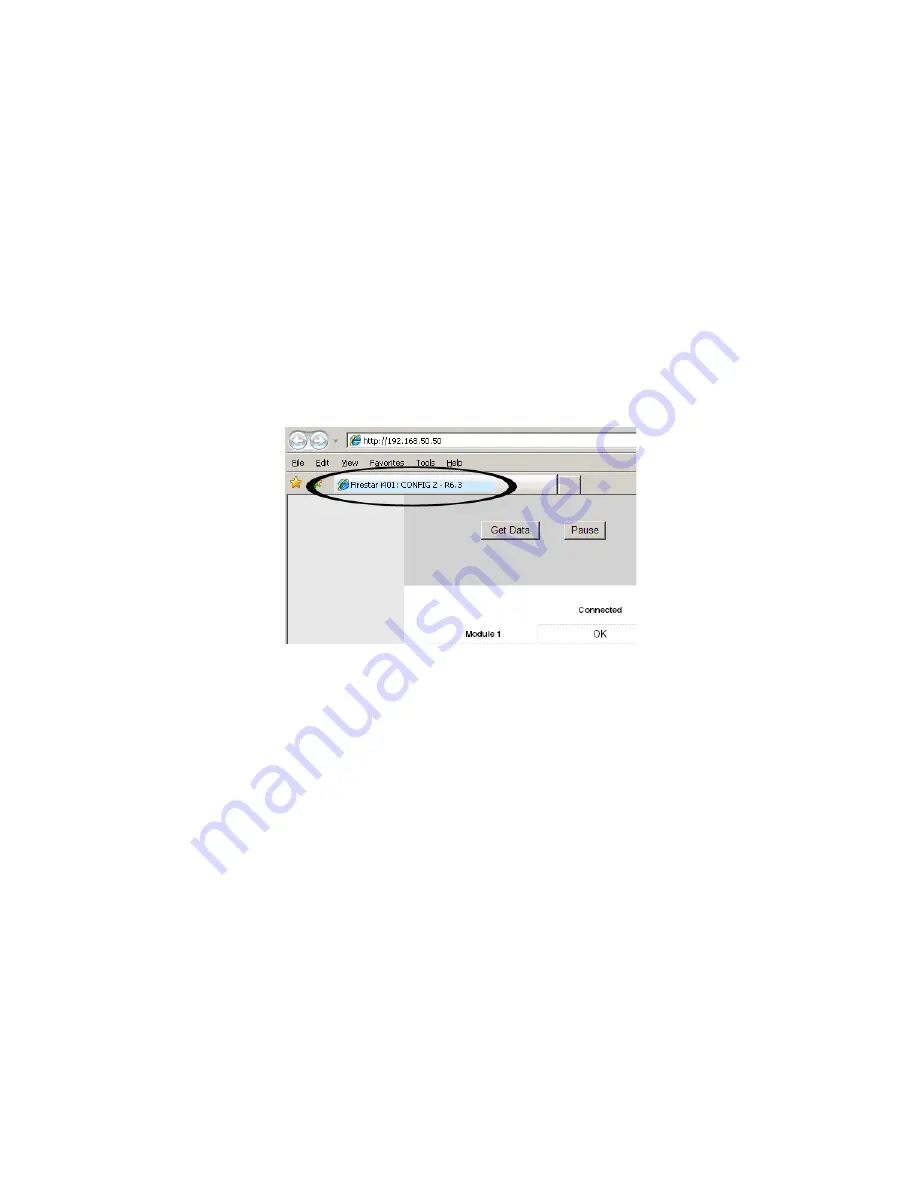
When the i401 Home page appears (Figure below), check the label on the web browser’s
tab. It should read: I401: CONFIG 2 – Rx.x to indicate the laser is running upgraded
firmware.
Figure 4-27 I401 web browser display
7
If necessary, click the Configure IP Address link at the bottom of the i401 web page and
reset the default IP address to the specific address required for your application.
Re-enable your computer’s firewall
If your computer’s firewall was disabled for this procedure, notify your IT Administrator and re-enable
the firewall.
Integrating i401 safety features
The Integrating I401 safety features section includes subsections:
•
Key switch functions
•
Shutter functions
•
Remote interlock functions
Содержание i401
Страница 1: ...ENGINEERED BY SYNRAD i401 Laser User Manual...
Страница 43: ...I401 LABEL LOCATIONS PAGE 43 i401 label locations Figure 2 1 Hazard label locations...
Страница 49: ...DECLARATION OF CONFORMITY PAGE 49 Declaration of conformity Figure 2 2 i401 Declaration of conformity...
Страница 97: ...I401 OUTLINE MOUNTING DRAWINGS PAGE 97 Figure 4 29 I401 outline mounting dimensions mounting feet removed...
Страница 98: ...I401 PACKAGING INSTRUCTIONS PAGE 98 i401 packaging instructions Figure 4 30 i401 packaging instructions...
Страница 132: ...INDEX PAGE 11...


