


WindRunner™ self-balancing electric vehicle user’s manual
25
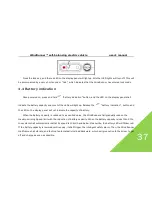
3) Next, please press the
“lock” of intelligent remote key once until you hear a sound or “tick.” One red LED
on display panel shall come on. Just then you may push the operating bar forward and backward. The WindRunner
shall shake, and give an alarm sound. At this moment if you want to draw the WindRunner, you will experience
difficulty. Simply press
“ON/OFF” to unlock.
4) Press and hold the
“battery capacity indication” of intelligent remote key and the corresponding LED
on display panel shall come on. Once the key is released, the corresponding LED light will turn off. The battery
indication of a new WindRunner is approximately 2
~
5 blue LEDs (that is, 40%
~
100% battery capacity).
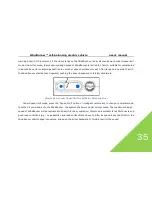
5) Press
“Speed limit” button and the red LED on display panel comes on. Once this button is pressed, the
color of the LED will change to blue. Press this button once again and the LED will no longer be blue.
6) Hold the
“ON/OFF” button on the intelligent remote key for about 1s, and the WindRunner will turn off.
It will be accompanied by a buzz, and a light shake just similar to that of stopping an engine of a car.
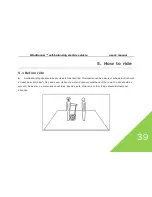
7) Once all the above mentioned steps are fulfilled, the WindRunner has passed the basic test. Please continue
to read chapter 3
~
4 of this manual, then follow Chapter V step by step to get on and do a test ride!


