VI Basic Operations
TOOL
3 Measuring Two-point Distance or Entering Information—TOOL Menu
- 81 -
3.5.3
Using XY Scales to Measure the Dimensions of the Subject
By displaying XY scales on the screen, you can measure the approximate dimensions of the
subject. Because the X and Y scales can be moved independently, you can move the scales close
to the subject before measuring its dimensions.
1)
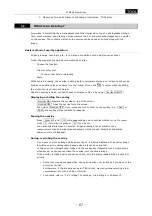
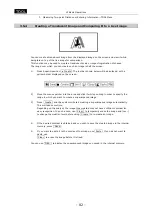
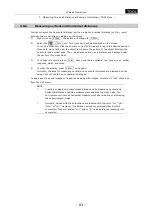
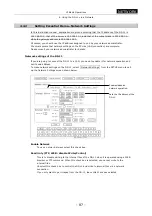
Select the calibration value you want to use from s1 through s7 .
2)
Press C.Scale to display scales corresponding to the selected calibration value.
3)
Point to part of the X scale and click the mouse button. Hold down the button while you
move the mouse. The position of the X scale moves as you move the mouse.
4)
When the X scale position is where you want it, release the mouse button to set the
position of the X scale.
5)
The position of the Y scale can be moved in the same way.
6)
To hide the displayed scales, press C.Scale again.
NOTE:
*
It may not be possible to display XY scales, depending on the selected
calibration value. If XY scales cannot be displayed, a message “C.Scale NG!”
is displayed in the Info area. In that case, change the calibration unit that
has been set, for example, from 1 mm to 1000 µm.
*
Normally, values with these functions are labeled with the units "nm," "
µ
m,"
"mm," or "cm." However, if calibration values are selected after inch/mil
conversion, they are labeled "mil," and an "E" is indicated, representing inch
conversion.
*
If you perform an electronic zoom while using this function, the screen
display will reflect the zoom magnification.
*
If you change the optical zoom of the digital imaging head while using this
function with the Nikon 80i/90i microscope connected to your system, the
screen display will reflect the zoom magnification.
*
If you change the objective while using this function, and if the microscope
connected to your system is the Nikon 80i/90i microscope using a motorized
nosepiece or intelligent nosepiece, the screen display will change
accordingly.
*
If the microscope connected to your system is the Nikon 80i/90i microscope
using a motorized nosepiece or intelligent nosepiece, note that each
calibration value call number is linked to the hole number of the nosepiece.
This means you cannot change calibration values by selecting s1 through
s7 . Calibration values are automatically changed when you change the
objective.
Содержание DS-2MBW
Страница 2: ......
Страница 9: ...CONTENTS vii 3 DS Remote Controller DS RC 169 4 DS AC adapter 170 5 Overall Specifications 170 ...
Страница 10: ......

