6
– English
EN
10
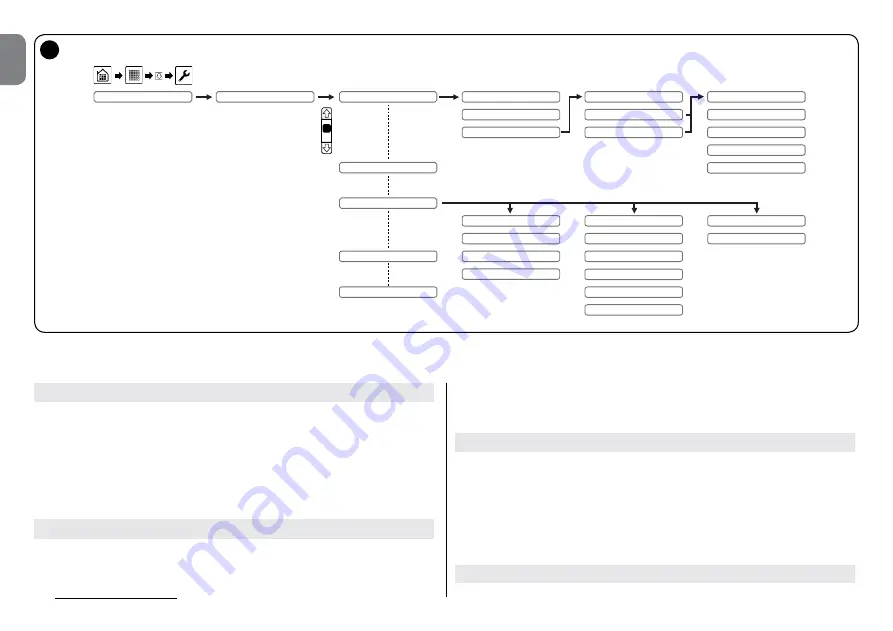
Command customisation
Should you wish to set the commands with different names to those associ-
ated by default (
Table 1
), proceed as follows.
Follow procedure 4.1 up to choosing the command type, (05).
01.
Select “
Commands
” and in the next screen select “
Custom 1
” or “
Custom 2
”;
02.
In the following screen select “
Name
” and assign a title to the commands;
03.
Select the 4 commands one by one and assign the name;
04.
Confirm by pressing “
OK
”.
Customise the commands of an automation unit previously entered
01.
Select the automation unit to be customised and in the next screen press
“
Edit
”;
02.
Select “
Commands
” and in the next screen select “
Custom 1
” or “
Custom 2
”;
03.
Name the 4 commands and confirm with “
OK
”.
Caution
– Once the 4 commands for “Custom 1” or “Custom 2” are named,
for the three types of automation unit, these will be available at each command
configuration.
Editing or deleting an automation unit
01.
Select one of the programmed automation units;
02.
To edit select “
Edit
” then resume from paragraph 4.1 paragraph 05;
03.
To delete select “
Delete
” then confirm by selecting “
YES
” and pressing
“
OK
”.
Warning
– The procedure described does not delete the command stored in
the automation but simply disables their transmission. To delete definitively, see
the instruction manual of the receiver of the automation unit.
Display or associate the automation unit to Groups or Scenarios
If groups or scenarios have already been created (if not see chapters 4.4 and
Name
Type
Commands
Standard
Custom 1
Custom 2
Name
Command 1
Command 2
Command 3
Command 4
Step by step
Open partially
Open
Close
Up
Stop
Down
Open partially
Sun On
Sun Off
On
Off
GATES
BLINDS
LIGHTS
Automation xx
Edit
Execute
Delete
Add to groups
Add to scenarios
Automations
Содержание HSTS2
Страница 2: ......
Страница 93: ......
Страница 94: ...www niceforyou com Nice SpA Oderzo TV Italy info niceforyou com IS0028A00MM_23 04 2014 ...


