Connect the Power & Start Up
Xn120 Getting Started Guide
17
8- Connect the Power & System Start Up
The power cable is plugged into the left side of the unit via an IEC-C13 socket using the cable supplied with the
Xn120.
Before connecting the power:
·
Ensure the power switch on the left side of the unit of OFF.
·
Ensure the power is switched off at the source.
System Start Up – First Time
!
The first time you start up the Xn120 it is important to clear the system memory. This will ensure that the
system is set to the default configuration.
1
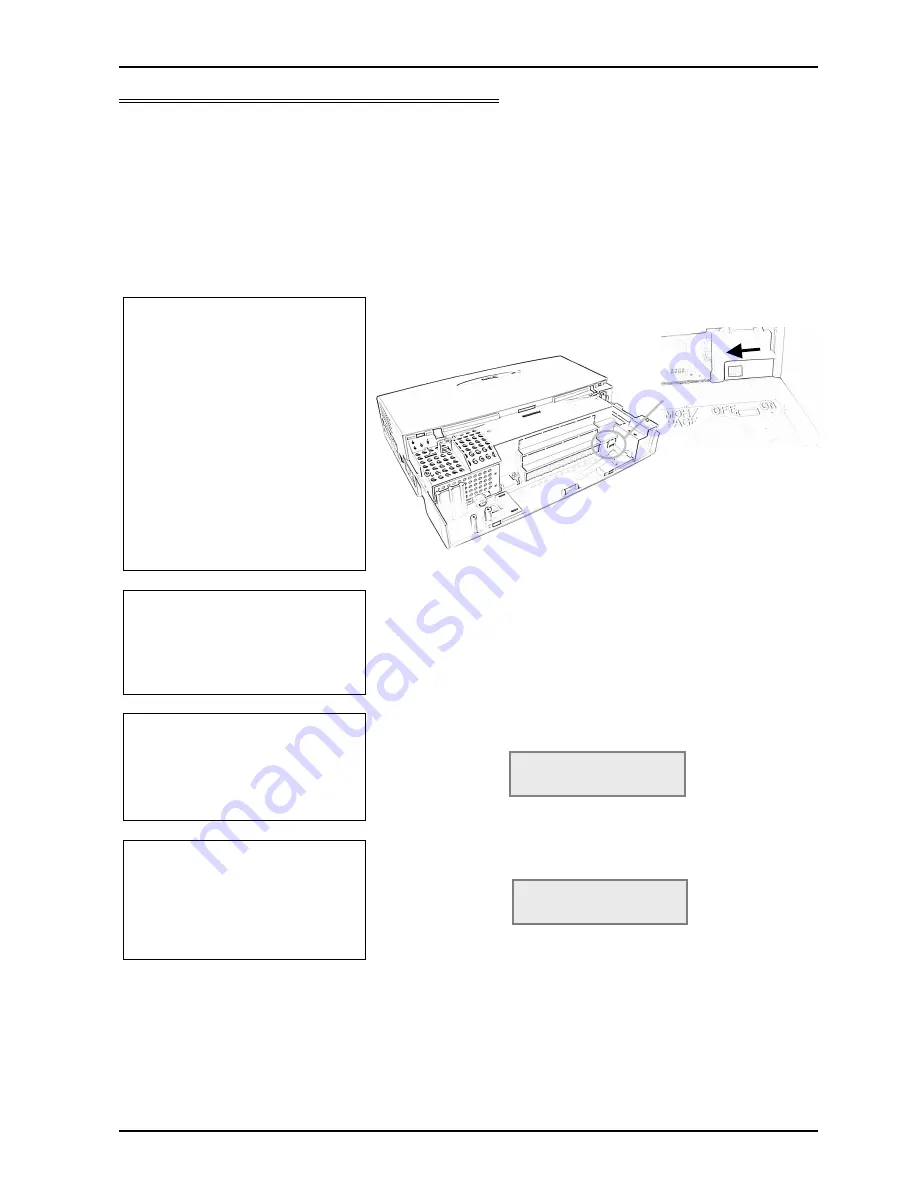
Set the NORMAL switch to the
OFF
position.
This will ensure that the
system is set to the default
configuration.
The NORMAL switch is located under the sub cover on the right side
of the ST1-ST8 connection sockets.
2
Switch ON the power at the
source.
Switch ON the power switch
on the left side of the Xn120
unit.
The lamp within the cover of Xn120 will
come on
3
Wait for 2 minutes while the
system starts up.
The Xn120 system telephones will ‘click’ while the system starts up.
If you have a Xn120 system telephone connected that has an LCD
display it will show:
while the system is starting up.
4
When the start up is complete
the Xn120 phones will show
time and date.
You can set the time/date
when you configure the
system, see later in this guide.
If you have a Xn120 system telephone connected that has an LCD
display it will show the time/date, for example:
when the system has started up successfully.
SUN 0 0 00AM
MON 13 9:34AM
200 EXT 200
Slide


