66
5.
Follow the screen prompts to install NavDesk:
Review and accept the Licence Agreement for NavDesk when prompted.
Select a destination folder for NavDesk when prompted.
When the installation is complete, click Finish. NavDesk will open.
6.
If prompted to connect your Navman to your computer, complete the following:
Plug the large end of the USB cable (supplied) directly into a USB port on your computer (not a USB
hub) and plug the small end into the USB Socket (
) on the bottom of your Navman.
Where possible, plug the USB cable into a USB port at the
back
of your computer.
Slide the Power switch to the ON position, to turn on your Navman. A
USB Connection
screen will
display on your Navman.
7.
If prompted to update your Navman software, follow the on-screen prompts.
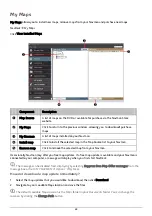
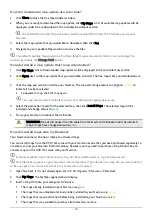
You are now ready to use NavDesk to install maps to your Navman.
From now on, you can access NavDesk via:
Start
Æ
All Programs
Æ
Navman
Æ
NavDesk
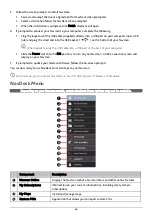
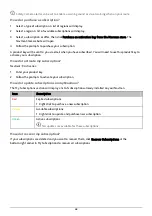
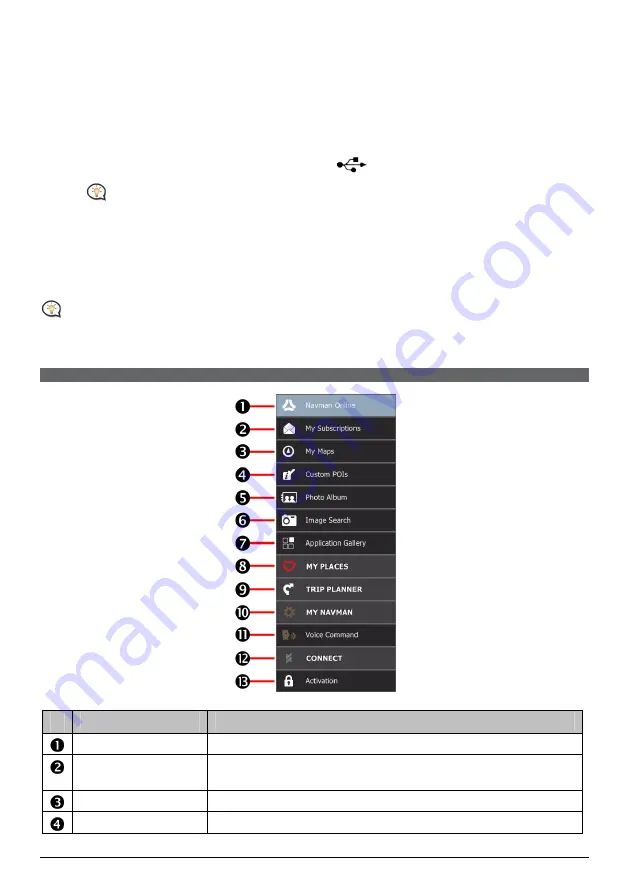
NavDesk Menu
Depending on your Navman model, certain NavDesk Menu options may not be available.
Component
Description
Navman Online
Display the Navman website, Navman Store and other online features.
My Subscriptions
Information on your current subscriptions, including safety camera
subscriptions.
My Maps
Install and manage maps.
Custom POIs
Application that allows you to import custom POIs.
Содержание EZY15/45 MY80T/85XLT/90XLT
Страница 1: ...MY Series EZY Series MY T XLT XLT EZY Hardware User Manual...
Страница 8: ...EZY 2 1 3 4 5 8...
Страница 9: ...MY T 2 1 3 4 5 9...
Страница 11: ...Getting to know your Navman EZY Series EZY EZY 11...
Страница 12: ...MY Series MY T MY XLT 12...
Страница 22: ...MY T XLT XLT Software User Manual MY Series EZY Series EZY...


