Chapter 3: Operation
3-15
1. Select
EDIT ROUTE
and press
ENTER
; the
PLACE WAYPOINT
function
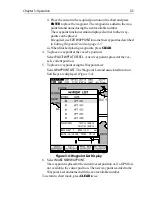
is shown as above (see Figure 3-19).
2. Add waypoint(s) to the route by moving the cursor and pressing
ENTER
in the same way as the route was first created.
3. Remove waypoints from a route by pressing
CLEAR
in the same way
as the route was first created.
Note: When deleting waypoints, if the route has not been saved, the way-
point is erased. If the route has been saved, the waypoint remains on the
screen.
➤
To insert a waypoint into a route:
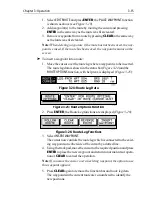
1. Move the cursor over the route leg where a waypoint is to be inserted.
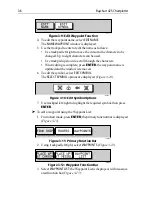
The route leg data is shown in the status bar (Figure 3-24)and the
ROUTE OPTIONS
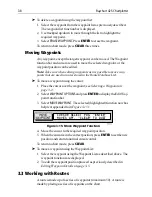
function, with help text, is displayed (Figure 3-25):
Figure 3-24: Route Leg Data
Figure 3-25: Route Options Function
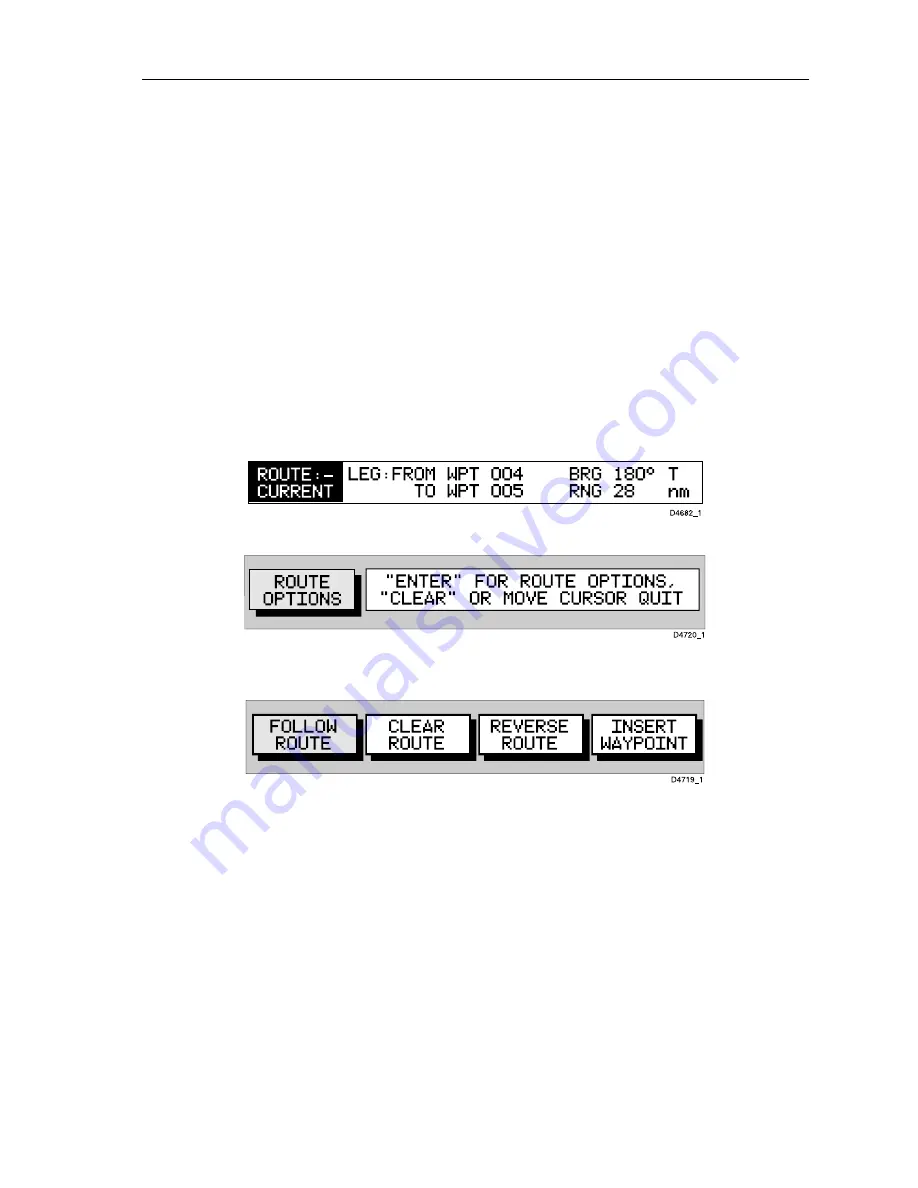
2. Press
ENTER
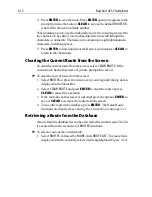
; the Route Leg functions are displayed (Figure 3-26):
Figure 3-26: Route Leg Functions
3. Select
INSERT WAYPOINT
.
The cursor now controls the route leg which is connected to the exist-
ing waypoints on either side of the cursor by a dotted line.
4. Using the trackpad, move the cursor to the required position and press
ENTER
to place the new waypoint and return to normal cursor opera-
tion or
CLEAR
to cancel the operation.
Note: If you move the cursor over an existing waypoint, the option to use
this waypoint appears.
5. Press
CLEAR
again to remove the function bar and route leg data.
The waypoints in the current route are re-numbered to identify the
new positions.
Содержание Raychart 425
Страница 1: ...Raychart 425 Chartplotter Owner s Handbook Document 81172_2 Date January 2001...
Страница 2: ......
Страница 70: ...3 44 Raychart 425 Chartplotter...
Страница 100: ...6 4 Raychart 425 Chartplotter...
Страница 104: ...B 2 Raychart 425 Chartplotter...
Страница 106: ...C 2 Raychart 425 Chartplotter...
Страница 108: ...D 2 Raychart 425 Chartplotter...
Страница 110: ......
Страница 112: ...T 2 Raychart 425 Chartplotter...
Страница 114: ...T 4 Raychart 425 Chartplotter...


