Section 14- Archived Data and Data Viewer
All data are written to the archive file immediately upon completion of the measurement. Inadvertent software or PC
shutdowns should not affect the archive file.
Data Viewer
Data Viewer is a versatile data reporting software program incorporated into the NanoDrop software that offers the user
the ability to customize report structures, import stored data and re-plot data generated from NanoDrop instruments.
Using the Data Viewer is the most expedient method to review data. This feature may be accessed during measurement
sessions from the Show Report function found within each method module. It may also be accessed from the Main Menu
page. An ND-1000 Spectrophotometer does not need to be connected to the PC to use the Data Viewer module.
Data Viewer Features
The Data Viewer is composed of two or three pages in a tabular form consisting of Plots, Reports and Standard Curves
(where utilized). The user may access any page by clicking on the tabs.
The software opens to the Report page whether accessed through the Main Menu or Show Report. Note: Recording
rather than Start Report must be selected in order to access the Data Viewer via Show Report.
Tool Bar Features
common to all three pages include:
File:
Options controlled by this tool bar function include File Page set-up, Print Window and Save Window.
Configuration:
Options controlled by this tool bar function include ‘Auto Scale’, ‘Include graph in printout’ and ‘Include
standards in printout’.
Data:
Includes options to import data, rename samples and delete sample data. Note: After deleting all samples, it is
important to exit out of the Data Viewer module and re-enter if importing data for a different application type.
Reports
:
This tool bar function allows the user to select columns of interest to be included in a report. See section on
Reports Page for more detail.
Help/Context Help:
This feature is enabled in the Main Menu, all function modules, and the application modules. The
help feature is enabled by choosing ‘Show Context Help’ from the Help menu pull down or by selecting ‘Ctrl H’. Once
enabled, placing the cursor on elements of the screen will automatically generate an explanation of that element.
Context Help remains active until deselected.
Import
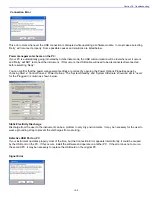
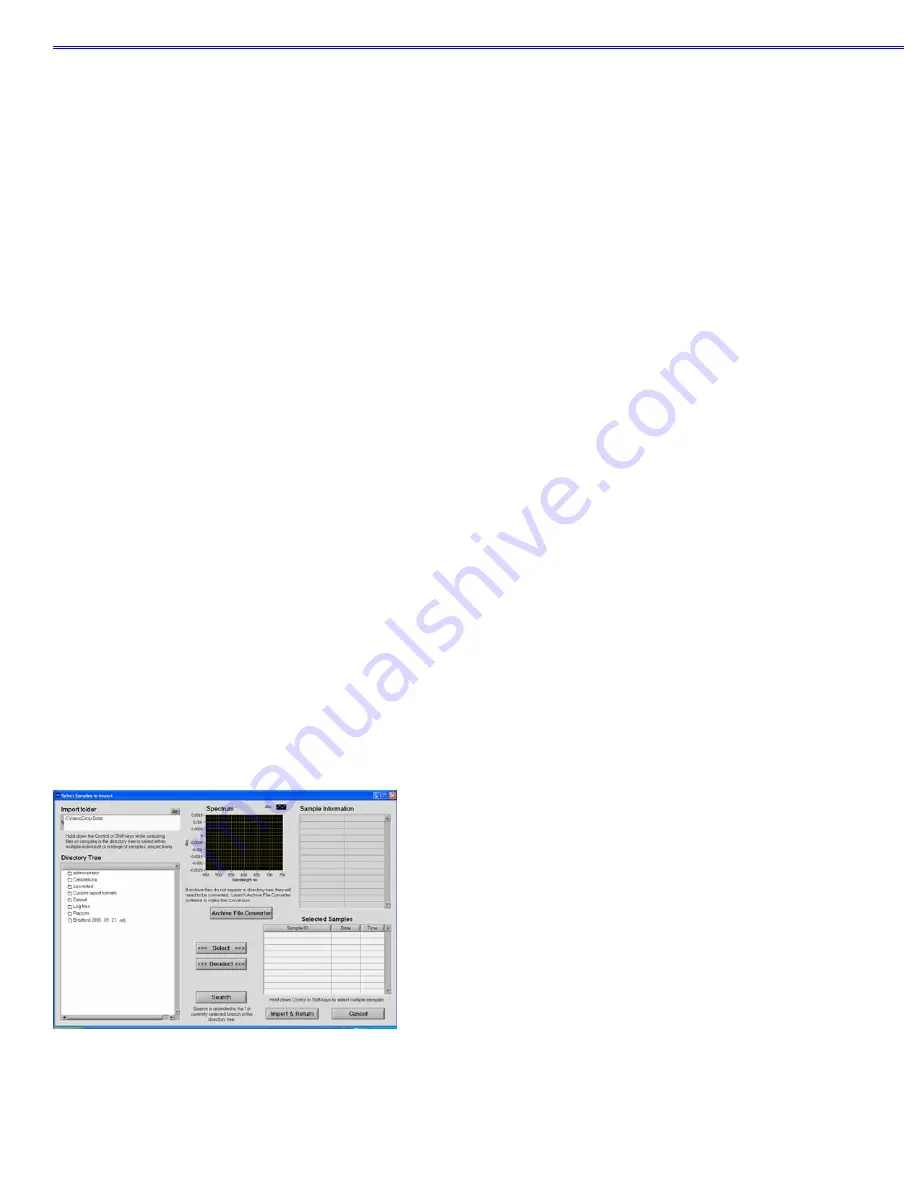
To import samples for viewing, select Import Samples from the Data drop down of either the Plots or Report pages within
the Data Viewer software. This will bring up a new window with an Import Folder box and a Directory Tree as shown seen
in the following image:
Import Features include:
Import folder
:
Used to select folder from where data are imported. Folder selection must be at the level of user or
higher--may not select an application or method folder within a user in this activity box.
14-2


