MultiScree
∂
Channel
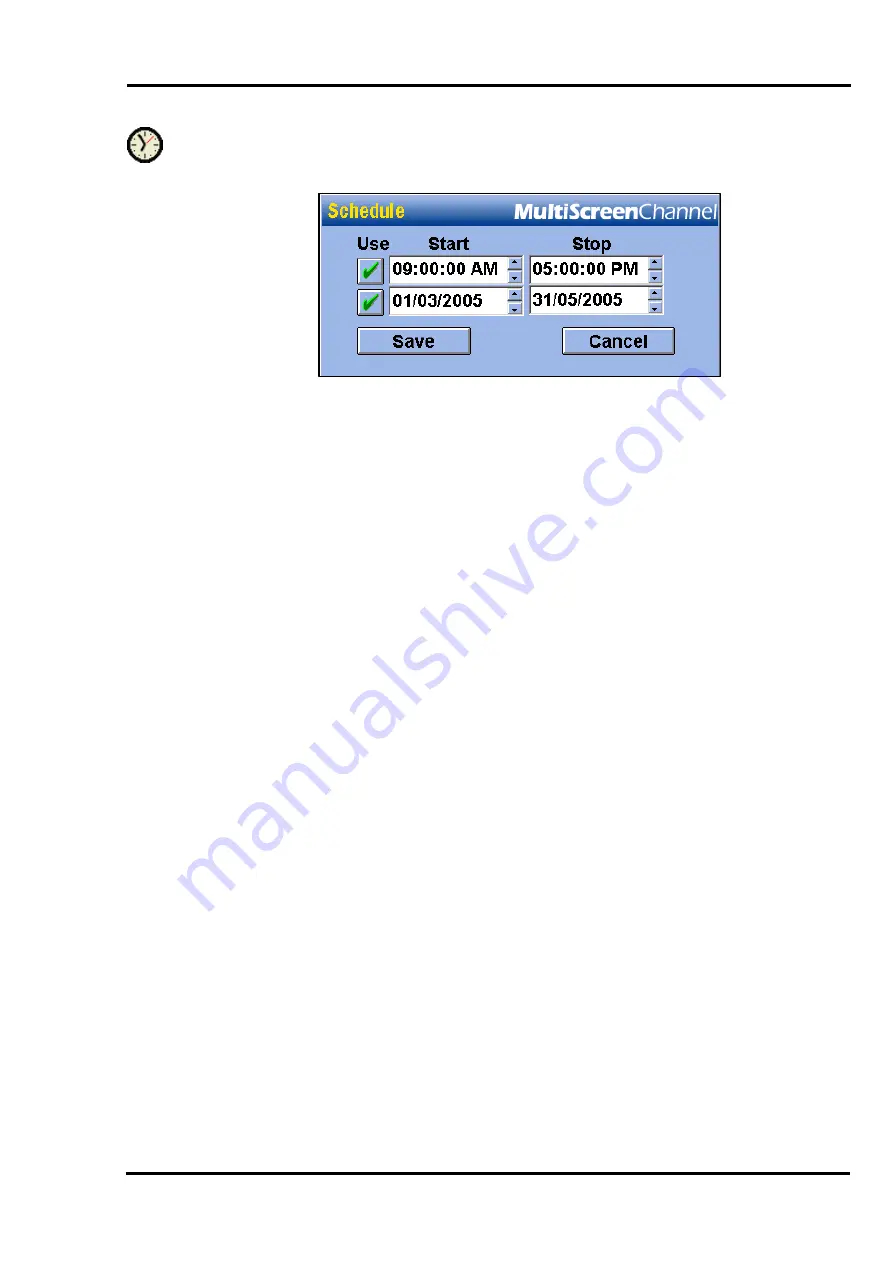
Clicking the clock icon (shown left) will bring up the Schedule dialog. This can
be used to set up a time and date range over which the screen should be used.
The top control is used to set a range of hours during the day over which the
screen should be used. If the checkbox has a red cross, the screen will display at
all times. If a time range is set up, the screen will only display when it is part of
the active sequence, and the time is within the hour range. Outside these hours,
the screen will not display. To adjust the time range, use the following procedure :-
[a]
[b]
[c]
[a]
[b]
First click the checkbox so that it changes from a red cross to a green tick.
The grey boxes will turn white, allowing the times to be edited.
Click on the hours, minutes or seconds value that you wish to change. There
are several ways to change the value. You can type a new number on the
keypad. You can also increase or decrease the number by one by pressing
+
or
-
on the keyboard, or pressing the up and down arrows at the right side of
the entry box.
Continue changing numbers until the start time and finish time are set as
you want them. The screen will only display between these times.
The bottom control can be used to set a range of dates. This is similar to setting a
time range. To change the date ranges, use the following procedure:
First click the checkbox next to the date so that it changes from a red cross
to a green tick. The grey boxes will turn white, allowing the dates to be
edited.
Click on the day, month or year value that you wish to change. There are
several ways to change the value. You can type a new number on the
keypad. You can also increase or decrease the number by one by pressing
+
or
-
on the keyboard, or pressing the up and down arrows at the right side of
the entry box.
Alternately, you may prefer to use a calendar to change the date. The calendar is
useful if you need to see which day of the week a particular date falls on.
38


