


MultiQ Digital Signage – DSMS 3 User’s Manual Ver. 2, 2010-06-08
77
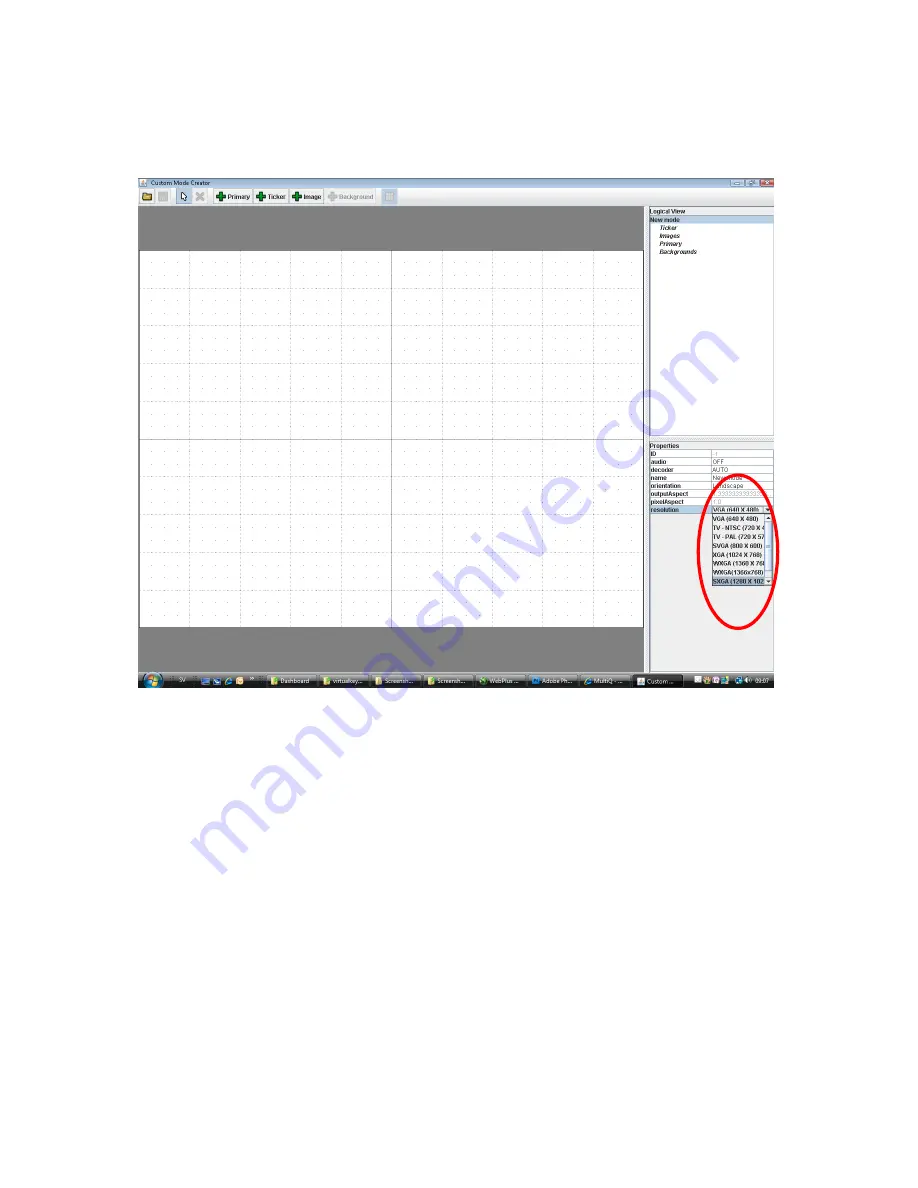
When in the “Mode Editor” the first thing is to select the resolution of the monitor to be used. In this
case SXGA 1280x1024 pixels.
Figure 106. The first thing to do in the Mode Editor is to select the resolution of the monitor (In this case
SXGA 1280x1024 pixels).
The toolbar at the top contains a number of buttons. Press the “Primary” button to add a primary region
to your video mode. Drag the region across the screen to the desired location and dimensions. You may
also enter numerical values at the lower left of the interface. In this case the “Primary” region should
cover the upper part of the screen and have the dimensions 1280 x 1024 pixels. This corresponds to
the 720p format (Figure 107).
Next, add a “Ticker” region by clicking the “Ticker” button and dragging the corner of the region to the
desired size and position. For this exercise we choose the maximum height of the ticker which is 96
pixels (Figure 108).
At the bottom of the screen we need an image region to house the dashboard. Click the “Image” button
and drag region to the desired location and size which is 1280 x 208 pixels in this exercise (Figure
109). Finally change the name from “New mode” to “Ticker” and press “Enter” before you click the
“Save” button on top (Figure 110).


