29
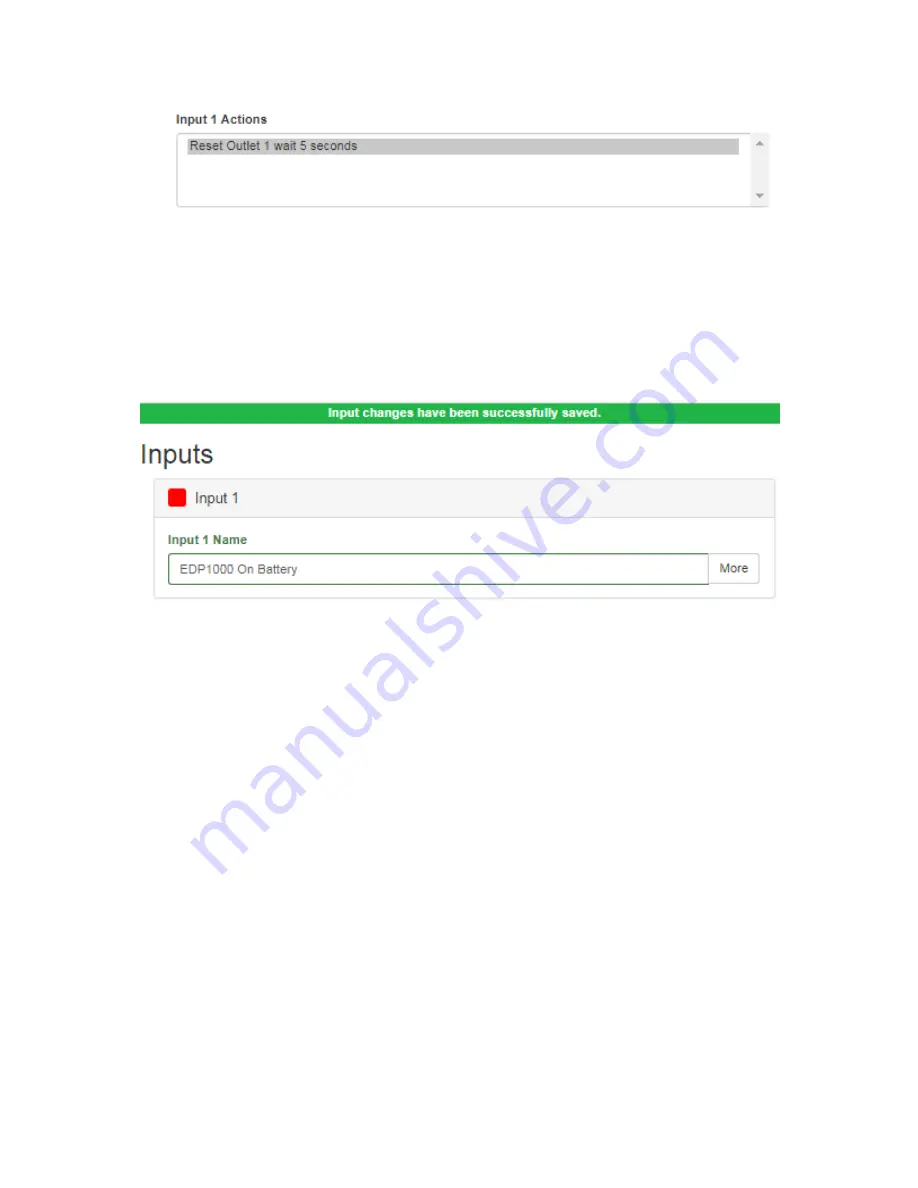
Be sure to click the “Save” button to save the action(s) that each input contact will perform. Once saved, the selected
action(s) will appear in grey under each respective input contact.
Refer to the
Scheduling
section of this user manual for step-by-step instructions to create, edit, and remove actions.
Saving Input Changes
:
Click the “Save” button to save any changes. When the “Save” button is clicked, all text boxes will illuminate Green
to indicate the changes have been saved and a prompt at the top of the page will indicate the changes have been suc-
cessfully saved. Once saved, the new name for Input 1 will be displayed on the Inputs and Summary pages. Addition-
ally, changes to any of the names will be reflected in the Event History page for clarity.


