1
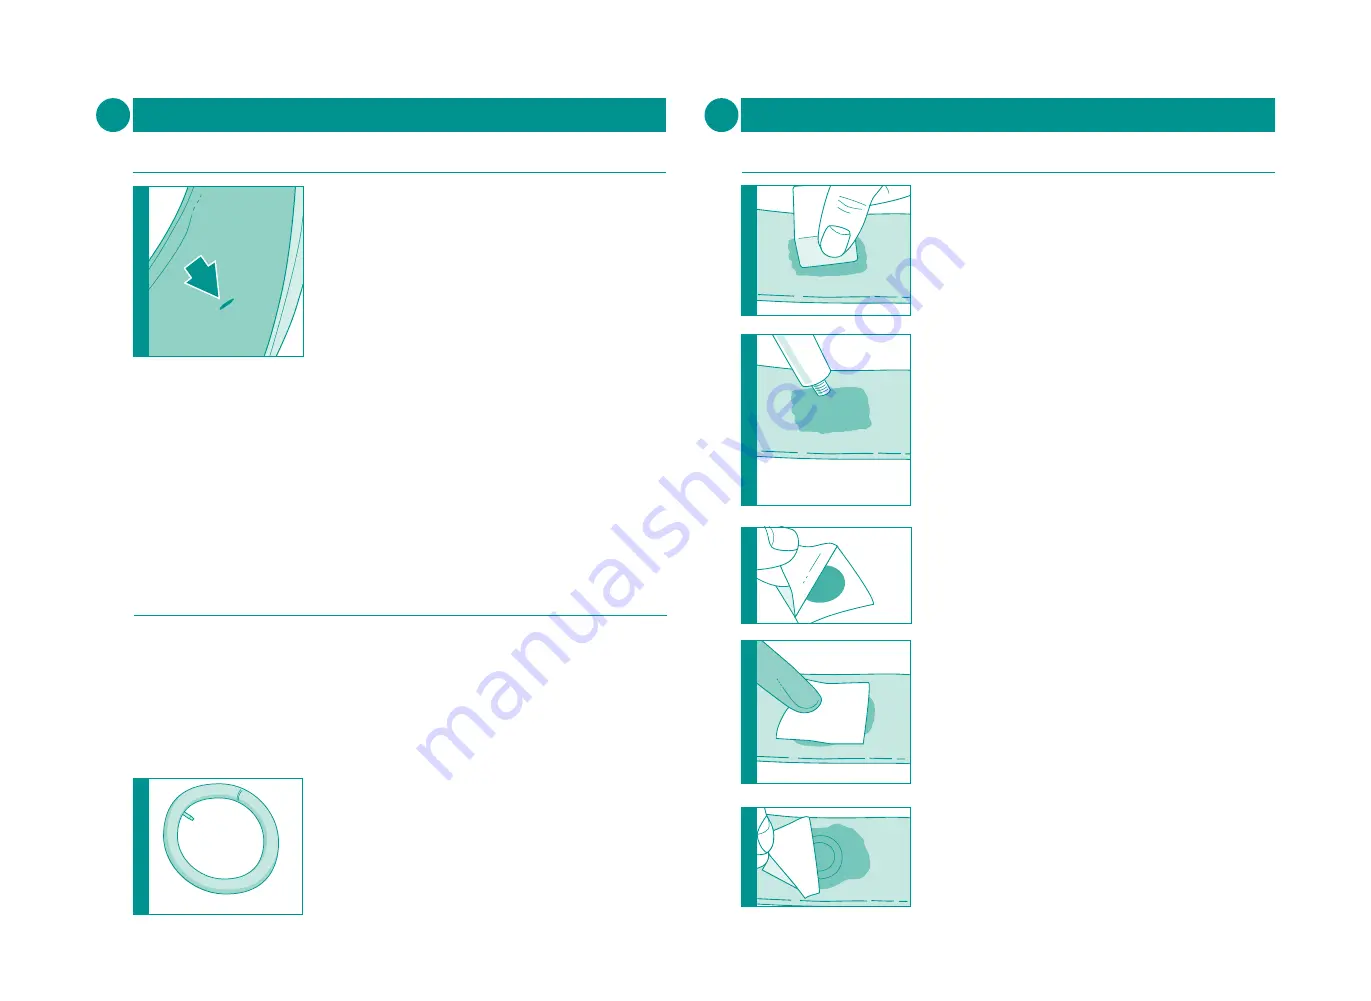
Inspect the tyre, inside and out, for the cause of the
puncture. It may help to run your fingers around the
inside of the tyre but this should be done slowly and
carefully as the object that caused the puncture may still
be sticking through the tyre.
If there are any objects in the tyre remove them. If none
are found the puncture may have been caused by the
tyre being too soft and the inner tube becoming pinched
between the rim and a hard object.
Inspeccionar la rueda, por dentro y por fuera, para
detectar la causa del pinchazo. Una opción es deslizar
los dedos a lo largo de la parte interior del neumático,
pero esto debe hacerse lentamente y con cuidado ya que
el objeto que ha causado el pinchazo todavía puede
estar clavado en el neumático.
En caso de hallar algún objeto en el neumático,
extráigalo. Si no encuentra ninguno, el pinchazo puede
haberse producido porque el neumático estaba
demasiado flojo y el tubo interior ha quedado pinzado
entre la llanta y un objeto duro.
Repairing a puncture • Reparar un pinchazo
9
Identify the cause
Identificar la causa
3
Smear a thin layer of rubber solution over the roughened
area. Less is better as it gives the best patch adhesion.
Wait around 5 minutes until the rubber solution is
‘touch dry’.
Extienda una capa fina de solución de caucho sobre el
área lijada. Es recomendable utilizar poca cantidad ya que
proporciona una mejor adhesión del parche.
Deje transcurrir 5 minutos hasta que la solución de caucho
esté seca al tacto.
Repairing a puncture • Reparar un pinchazo
9
Repair the inner tube
Reparar el tubo interior
Repair the inner tube
Reparar el tubo interior
4
Cut one patch from the strip and remove the FOIL backing
only.
Corte un parche de la tira y separe solamente el dorsal
metálico.
5
Press the patch firmly over the hole and onto the ‘touch
dry’ rubber solution. Then rub on the backing paper firmly
until the patch is securely attached.
Aplique el parche sobre el agujero y sobre la solución de
caucho, seca al tacto, presionando con firmeza.
A continuación frote el dorsal, presionándolo hasta que el
parque quede firmemente sujeto.
6
Carefully peel the backing paper off the patch, without
lifting the rubber patch.
Retire con cuidado el dorsal del parche sin levantar el
parche de caucho.
1
Partly inflate the inner tube and listen carefully for airleaks.
Immersing the partly inflated tube in a bucket of water will
help locate small holes and valve leaks.
Infle parcialmente el tubo interior y escuche con atención
para detectar cualquier fuga de aire. Sumergir el tubo
parcialmente inflado en un cubo de agua le ayudará a
localizar pequeños agujeros y posibles fugas en la válvula.
2
Once the hole has been located roughen an area of
approximately 2cm all around the hole using the grater or
sandpaper from the puncture repair kit.
Una vez haya localizado el agujero, lime un área de
aproximadamente 2 cm alrededor del agujero utilizando el
rallador o el papel de lija del kit de reparación de
pinchazos.
WARNING: Rubber solution is flammable and gives off a strong vapour. It should only be
used in a well-ventilated area, away from heat sources. It may also cause skin irritation,
so appropriate protective clothing should be worn.
ADVERTENCIA: La solución de caucho es inflamable y desprende un vapor fuerte.
Únicamente debe utilizarse en un área bien ventilada y alejada de cualquier fuente de
calor. También puede provocar irritación cutánea, por lo que deben utilizarse prendas
protectoras.
16
17


