Moneris® Go Plus: Using Your Terminal
23
11.
The application prints receipts if requested.
If the customer requested a printed receipt, give them the cardholder
copy.
If you enabled merchant receipt printing, keep the merchant copy for
your records.
12.
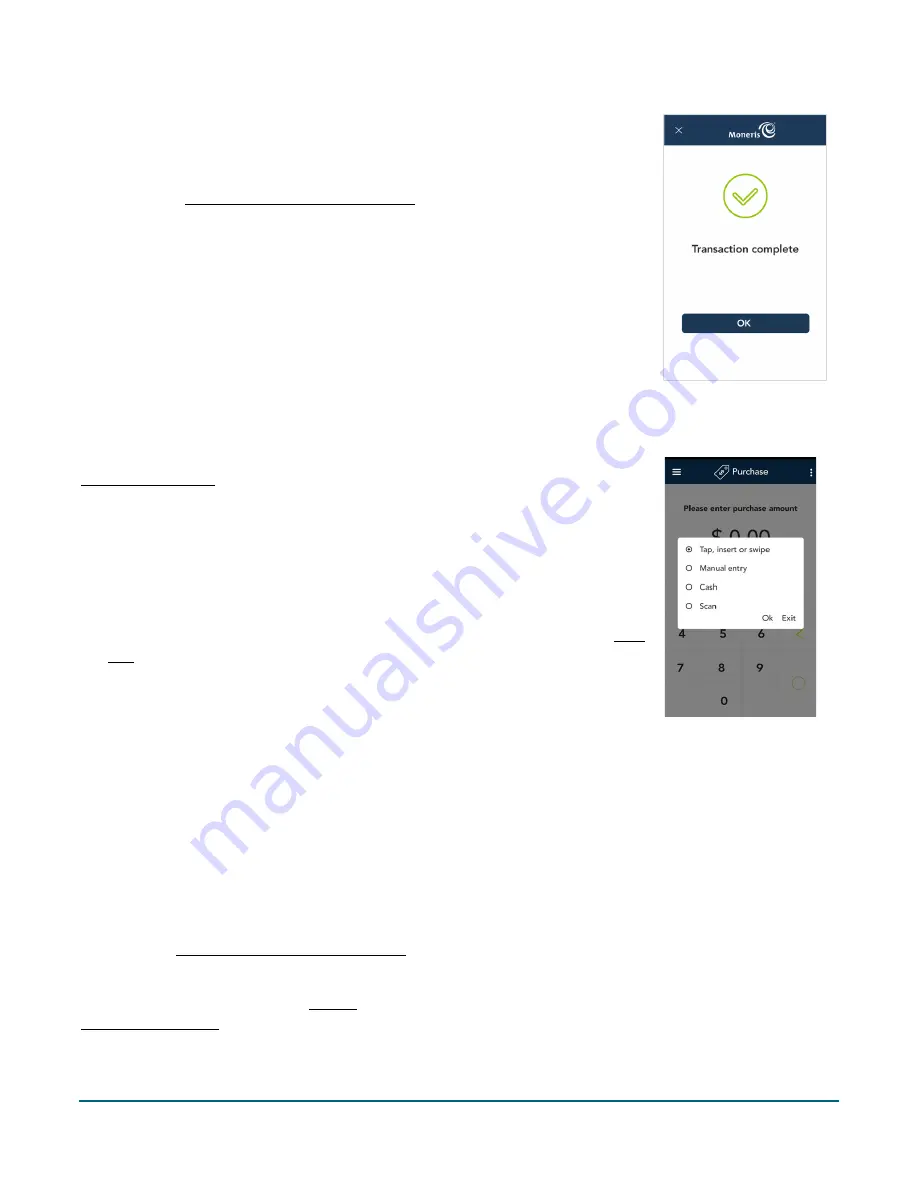
Once the total purchase amount is paid for, the “Transaction Complete”
screen appears. Tap
OK
to return to the default transaction screen.
Purchase - Cash
In order to perform cash transactions, they must be enabled in your user role and in
Transaction settings. The application will provide receipts for cash transactions and
will also include cash transactions in your reports.
1.
Start at the Purchase screen as usual.
2.
Tap the card entry field to display the card entry options. Tap
Cash
, then
Ok
.
3.
Enter the purchase amount then tap the OK
key.
4.
If the password screen appears, enter your password to continue. This step
appears when password protection for cash transactions is enabled in your User
role (page 58).
5.
Pass the terminal to the customer.
6.
If tip entry is enabled, the customer enters a tip or no tip.
7.
At the total amount confirmation screen, the customer taps
OK
to confirm the total amount, including any
tip.
8.
The receipt options screen appears.
9.
The customer selects a receipt format (or no receipt) by tapping one of the options on screen. If the
customer chooses Text or Email, they are prompted to enter the appropriate information.
10.
The customer passes the terminal back to you, as directed by the application.
11.
The application prints receipts if requested.
If the customer requested a printed receipt, give them the customer copy.
If you enabled merchant receipt printing, keep the merchant copy for your records.
12.
When the “Transaction Complete” screen appears, tap
OK
to return to the default transaction screen.
To process a cash refund, refer to Refund (page 32). To process an independent cash refund, refer to
Independent Refund (page 36).


