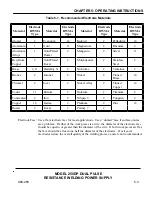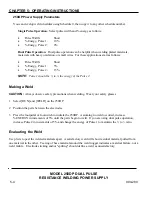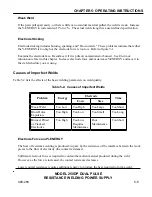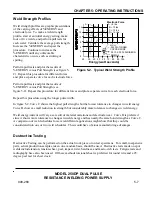
MODEL 250DP DUAL PULSE
RESISTANCE WELDING POWER SUPPLY
990-280
4-1
CHAPTER 4
GETTING STARTED
Powering Up
1 Set the front panel POWER Switch to ON.
2 To prevent the 250DP from firing until you are ready to weld, select [NO WELD].
3 Press
[
]
to change the weld schedule number.
4 Press [CHNG] to change the format of the RUN state screen.
5 Press [HELP] to obtain help.
6 Press [MENU] to change any of the system options or to use any of the 250DP utilities.
7 Press [PROG] to make changes to weld schedules 0 to 127. Schedules 1 through 127
cannot be changed when the system security is PROTECTED. If SCHEDULE LOCK is also ON, only
the schedule displayed can be used to weld. To change system security and/or turn OFF SCHEDULE
LOCK, press [MENU] and select SYSTEM SECURITY.
NOTE:
To override the security code, refer to Appendix A under
Weld Schedules.
8 If appropriate, change the output relay configuration with the PROGRAM screen.
Adjusting an Air Actuated Weld Head
NOTE:
If an alarm occurs, press [RUN] to silence the alarm, then press [HELP] to receive an explanation.
Alarm messages will be erased from the display as soon as the alarm condition is corrected or when [PROG]
is pressed. Refer to Appendix A under
Control Signals
to remotely clear alarms.


