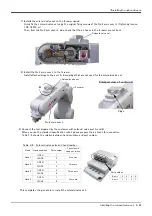
3Installing the option devices
Installing the solenoid valve set 3-61
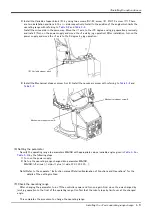
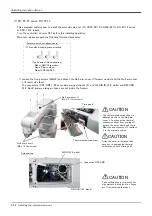
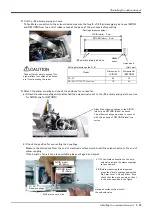
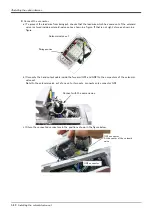
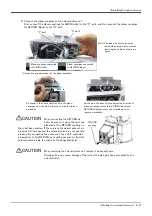
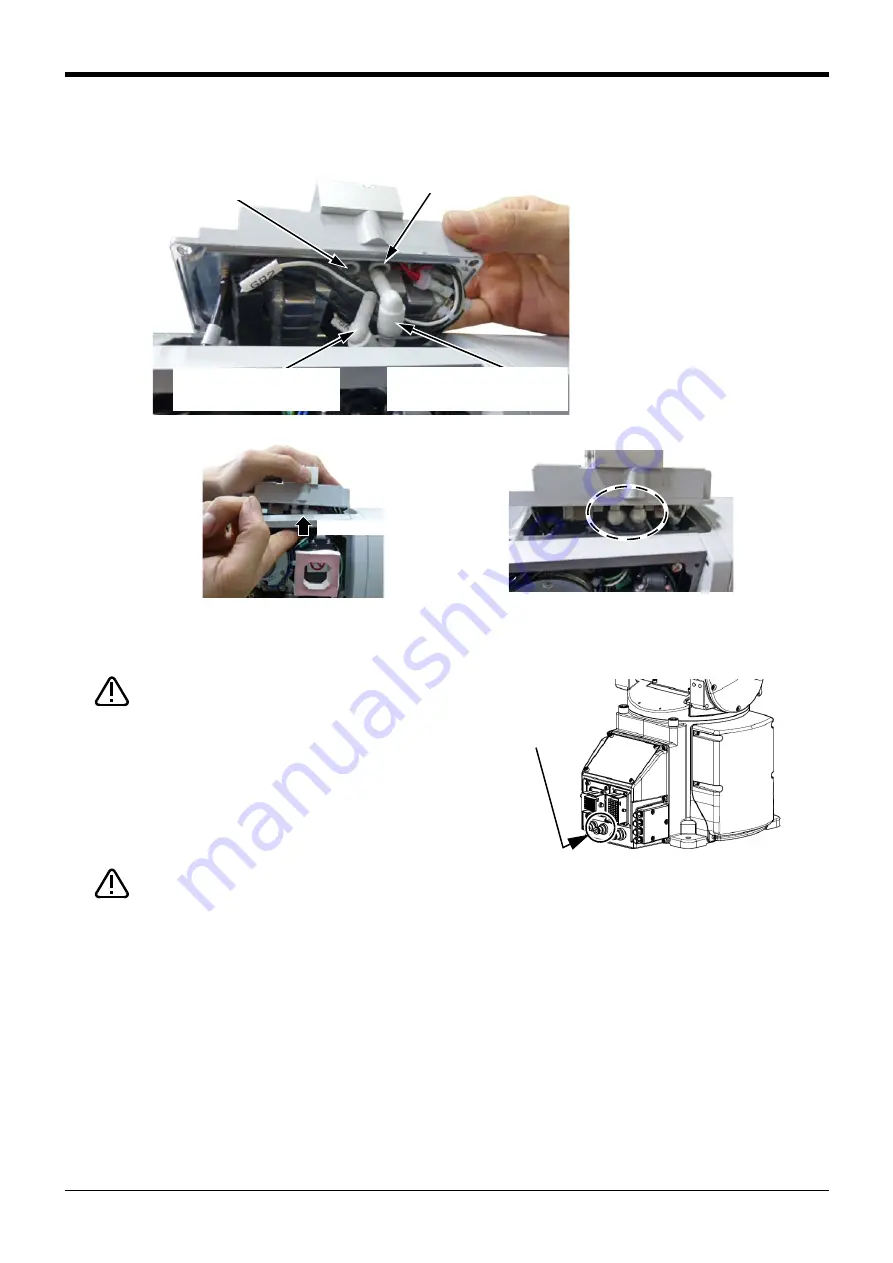
5) Connect the elbow couplings to the solenoid valve set.
First, connect the elbow couplings for AIR IN (white) to the "P" port, and then connect the elbow couplings
for RETURN (black) to the "R" port.
"P"
port
"R"
port
Elbow couplings connected
to AIR IN (white)
Elbow couplings connected
to RETURN (black)
As shown in the above figure, push in the elbow
couplings from the No.2 arm cover L side to improve
workability.
As shown in the above figure, adjust the direction of
elbow couplings connected to AIR IN (white) and
RETURN (black) as cross the solenoid valve to
improve workability.
Push-in
<Connection and adjustment of the elbow couplings>
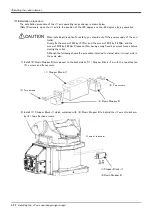
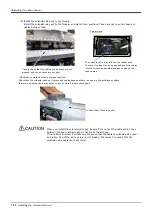
When connecting the RETURN air
hose, be sure to remove the dust cap
attached at the RETURN coupling on
the robot base section. If the cap is not removed, exhaust air
pressure will increase and the solenoid valve may not operate
properly. By connecting the exhaust air hose (φ6: customer
preparation) to this RETURN air coupling, exhaust air from the
solenoid valve is able to escape to the designated point.
CAUTION
RETURN
coupling
Note) The lead wire should be wired
inside elbow couplings to prevent
inserting the cable as shown in a
figure
When removing the solenoid valve set, remove it slowly with care.
Strong pulling may cause damage of the joint or the piping air hose connected to the
solenoid valve.
CAUTION
Содержание RV-13FM-SE Series
Страница 2: ......
Страница 138: ...Appendix 128 Configuration flag 6Appendix ...
Страница 139: ......

