EN-62
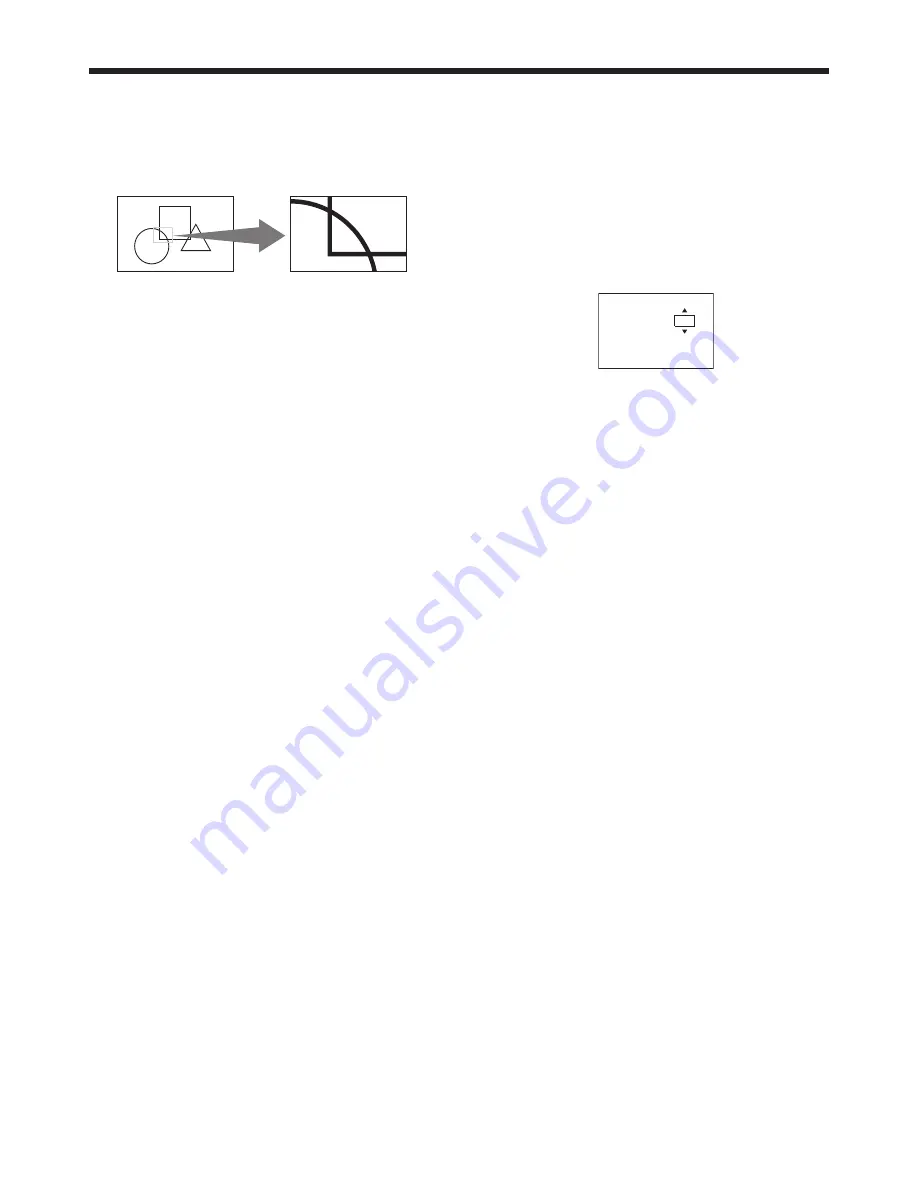
Magnifying the displayed image
By pressing the MAGNIFY button on the remote
control, you can magnify the image to view the details.
• While viewing the image from the COMPUTER1,
COMPUTER2, HDMI, LAN DISPLAY, or USB
VIEWER input source, you can magnify the image.
Magnifi ed image
To use the MAGNIFY mode:
1. Press the MAGNIFY button on the remote control.
• You can select the area to be magnifi ed by
pressing the
,
,
or
button on the
remote control.
• You can change the magnifi cation of the
selected area by pressing the + or - button.
2. Press the MAGNIFY button again to exit the
MAGNIFY mode.
• The regular operation screen will appear.
Important:
• The MAGNIFY mode doesn’t function with some
input signals. For details, see pages 72 and 73.
• In the MAGNIFY mode, you can’t adjust the
volume.
Freeze
To stop the motion in the image temporarily (or to
display a still image):
Press the FREEZE button on the remote control.
• The image will freeze temporarily.
To resume the motion in the image:
Press the FREEZE button on the remote control again.
Important:
• Do not display a still picture for a long time
because the afterimages may persist on the screen.
(See page 67.)
Advanced features (continued)
Presentation timer
By pressing the TIMER button on the remote control,
you can set up and display presentation timer on the
screen.
• Presentation timer is available while viewing the
image from the COMPUTER1, COMPUTER2,
HDMI, LAN DISPLAY, or USB VIEWER input source.
To display the TIMER:
1. Press the TIMER button on the remote control.
• The TIMER menu appears at the center of the
screen.
TIMER
min
10
START : ENTER
CANCEL : MENU
TIMER PERIOD
2. Press the
or
button to adjust the timer period.
• The timer period can be set between 1 to 60
minutes.
• The default timer period is 10 minutes.
• The timer period changes 1-minute per step
during the period is 1 to 20 minutes and
5-minute per step during the period is 20 to 60
minutes.
3. Press the ENTER button to start the coutdown.
• The countdown timer appears on top right
corner of the screen.
• When other OSD appears, the TIMER dialog
disappears temporarily. The TIMER dialog
reappears after the other OSD disappeared.
• When the countdown is fi nished, it continues to
count until the time reaches -10 minutes. Then
the dialog disappears.
• To stop the timer, press TIMER button and when
a confi rmation dialog appears, press the ENTER
button.
• If the input source is changed while the timer is
working, the timer stops.
Important:
• In the following conditions, the countdown is
cancelled:
• When the power is turned off.
• When the input source is changed.
• When the input signal is lost.
• When the test pattern is displayed.
• When the TIMER button is pressed while the
countdown timer is displayed, countdown stop
dialog appears. If ENTER button is pressed, the
countdown stops.


