31
•••••••••••••••••••••••••••••••••••••••••••••••••••••••••••••••••••••••••••••••••••••••••••••••••••••••••••••••••••••••••••••••••••••••••Setup wizard
step
6
-1
.
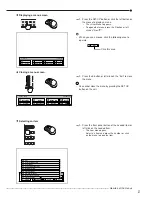
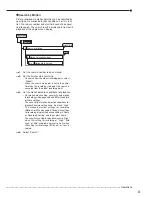
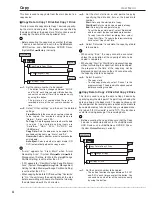
Set the HDD configuration.
Normal:
Does not set partition.
Partition
: Sets an independent partition for alarm
recording within the total HDD memory. When
selecting “Partition,” set the partition capacity.
• Select “Next” when selecting “Normal.”
• Select “Setting” to set the partition capacity when
selecting “Partition.”
step
6
-2
.
(When selecting “Partition”)
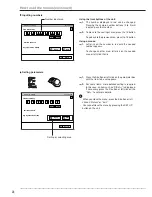
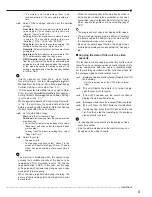
Set the desired partition capacity.
Normal Recording Area:
The area for normal
recording.
Alarm Recording Area
: The area for alarm
recording.
Long Pre-Alarm Area
: The area for long pre-alarm
recording.
• Set the partition capacity for each area in 5 %
unit.
• You cannot set “Normal Recording Area” to “0
%.”
• When the setting is completed, return to the
screen of step 6-1 and then select “Next.”
step
7.
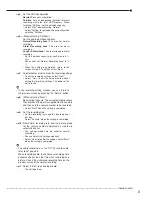
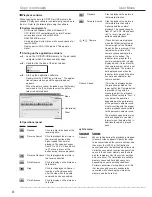
Select whether or not to make the recording settings.
• To set the recording settings, select “Next.”
• Select “Quit” to exit the setup wizard without
setting the recording settings. The power of the
unit turns on.
• In the recording setting screens, you can return to
the previous screen by pressing the “Return” button.
step
8.
(When selecting “Next”)
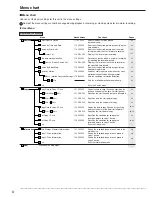
By selecting “Execute,” the unit automatically checks
the condition of the picture supplied from the camera
and then sets the camera number to be recorded.
• Select “Next” when the setting is completed.
step
9.
Set the recording time.
• Set the recording cycle and the recording hour
per day.
• Select “Execute” when the setting is completed.
step
10.
Frame/field, recording rate, and the picture grade
for the camera numbers detected on step 8 are
automatically set.
• The settings made here are used for normal
recording.
• You can adjust the settings manually.
• Select “View” to confirm the settings. Select “Next”
when the setting is completed.
• The audio recording is set to “Off.” To record audio,
refer to
page 55.
When recording audio, the continuous recording time
becomes shorter than the time when recording only
picture. Check the estimated recording time on the
preview screen of the normal recording.
step
11.
Select “Finish” to exit setup wizard.
• The unit boots-up.
Содержание 16CH DIGITAL RECORDER DX-TL5000U
Страница 143: ...872C355B2 PRINTED IN MALAYSIA ...

