22
*
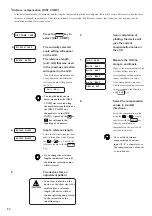
Cutting area
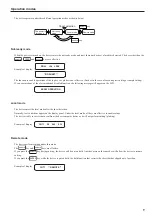
An area in which the device performs cutting is specified. The area
that has a diagonal line extending from the origin and a given UL
(upper left) point is the effective cutting area. If you tilt the sheet
set lever toward you, the cut area specified will be cleared.
• Be sure to specify an upper left point in
the area that is located in the normal
direction from the origin.
• Be sure to set an origin in the cutting area.
If you establish an origin outside the
cutting area, an operation error will
result.
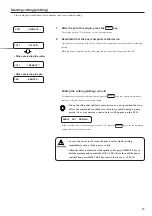
1.
Press
REMOTE
key to
switch to local mode.
2.
Press either one of the
keys.
3.
Press
FEED
key.
4.
Set the area to be cut.
Set the cut area on the UL point
on the diagonal line using
keys.
5.
Press
ENTER
key.
Now, the cut area is registered.
The system will return to the
local mode.
0.0 0.0
0.0 0.0
CUT1 20 050 0.30
0.0 258.0
**CUT AREA**
• When the cut area is desired to be nullified.
Press
SHEET SET
key, and set the sheet once again.
(--->See pages 12 and 13)
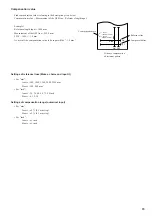
Point UL
Cut area specified
Origin
•
θ
θθ
θ
θ
range is –45
°
θ
θθ
θ
θ
45
°
.
Outside of this range will be treated as
operational error.
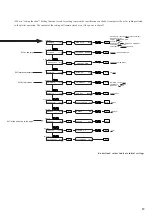
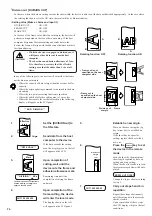
1.
Set the Origin.
2.
Press either one of the
keys.
Press
FUNCTION
key. Then
"p" will be displayed at
the right edge.
3.
Move to the correction
point.
4.
Press
ENTER
key.
Correction point is stored, and
the machine will go to local
mode.
100.0 150.0p
100.0 235.4p
CUT1 20 050 0.30
**COMP. X, Y**
• When the Axis inclination (
θ
) is desired to be
nullified.
Press
SHEET SET
key, and set the sheet once again.
(--->See pages 12 and 13)
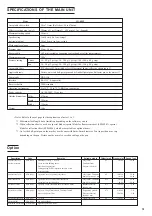
*Axis alignment
When cutting a contour of a printed matter of which
positioning is made, axis of the preset sheet and axis of
this machine will be aligned. Axis inclination (
θ
) is
corrected by the origin and the correction point which
is provided by this function.
<
=
<
=
Correction point
Origin
B
A
θ


