13
Loading a leaf sheet
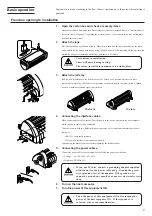
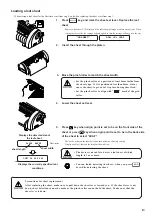
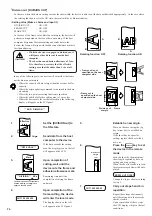
When setting a leaf sheet for the first time, start from step 2, and when replacing the sheet, start from step 1.
1.
Press
SHEET SET
key, and raise the sheet set lever. Replace the leaf
sheet.
Replace a leaf sheet. LCD display will be indicating the image as shown on the right. When
setting the sheet, slide the carriage by hand lightly so that the carriage will not get in the way.
2.
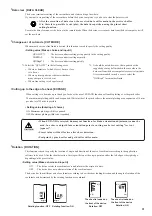
Insert the sheet through the platen.
3.
Move the pinch roller to match the sheet width.
• Set the pinch roller at a position at least 5mm inside from
the sheet edge. If it is positioned less than 5mm, it may
cause the sheet to get out of its place during sheet feed.
• Set the pinch roller to align with " " mark of the grid
roller.
4.
Lower the sheet set lever.
5.
Press
key when origin point is set to be on the front side of the
sheet or press
key when origin point is set to be in the back side
of the sheet to select “LEAF.”
The device performs the sheet detection, then performs a dummy cutting.
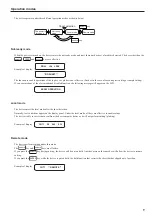
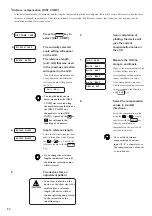
Display panel will indicate the image as shown below.
• The device is not able to detect a leaf sheet of which
length is 3 m or more.
• You can finish detecting the sheet, when you press
END
key while detecting the sheet.
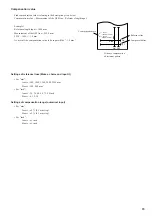
Displays the detected size of
the leaf sheet.
A=654 B=459
CUT1 20 050 0.30
Unit: mm
Displays the currently specified tool
conditions.
Precautions for sheet replacement
After replacing the sheet, make sure to pull down the sheet lever toward you. If the sheet lever is not
down, sheet detection cannot be made as the pinch roller cannot hold the sheet. Make sure that the
sheet lever is down.
ROLL <R> LEAF
**NO SHEET**
1
2
SHEET SET
sheet length
sheet width


