background image

OM-267043 Page 1

SECTION 1 

 SAFETY PRECAUTIONS - READ BEFORE USING

som 2015

09

7

Protect yourself and others from injury —


read, follow, and save these important safety precautions and operating instructions.

1-1. Symbol Usage

DANGER! 

 Indicates a hazardous situation which, if

not avoided, will result in death or serious injury. The

possible hazards are shown in the adjoining symbols

or explained in the text.

Indicates a hazardous situation which, if not avoided,

could result in death or serious injury. The possible

hazards are shown in the adjoining symbols or ex-

plained in the text.

NOTICE


 Indicates statements not related to personal injury.

.

Indicates special instructions.

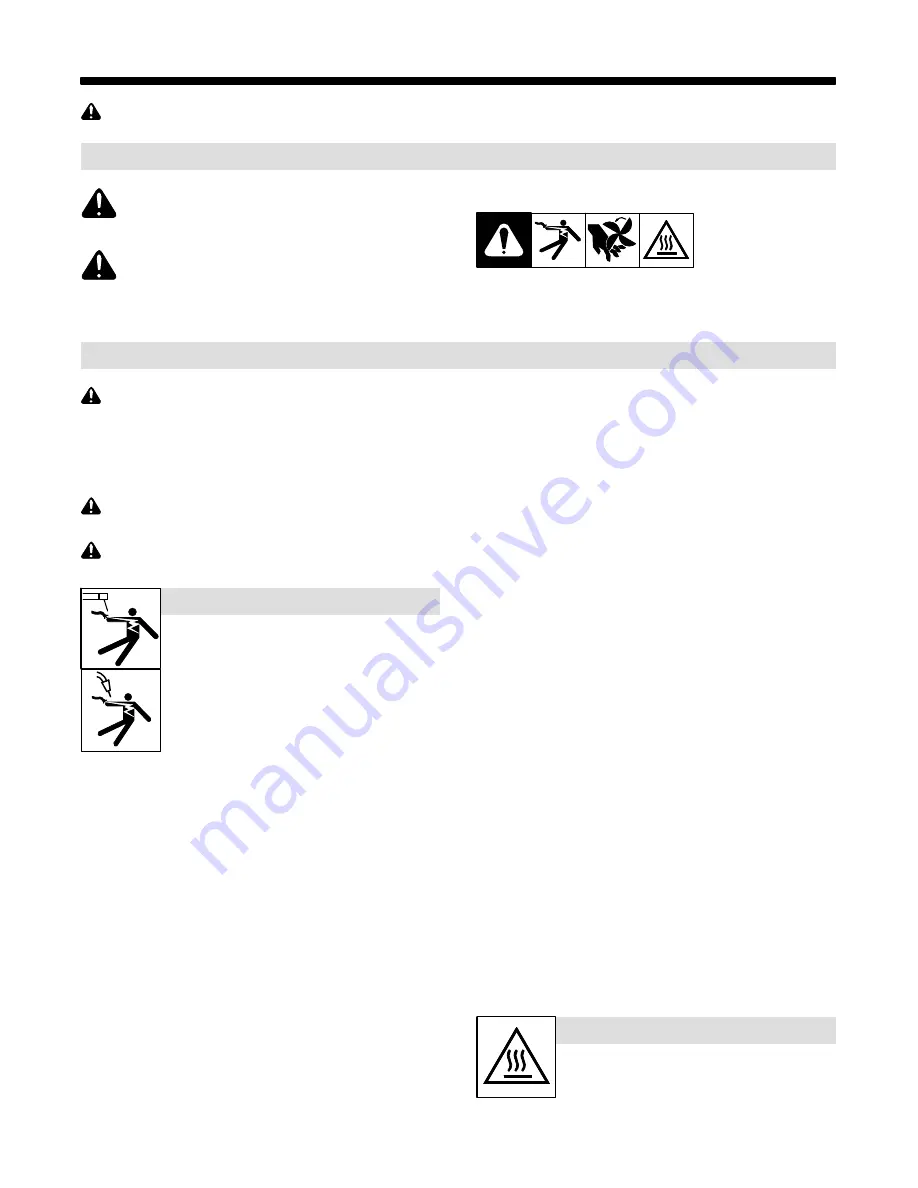
This group of symbols means Warning! Watch Out! ELECTRIC

SHOCK, MOVING PARTS, and HOT PARTS hazards. Consult sym-

bols and related instructions below for necessary actions to avoid the

hazards.

1-2. Arc Welding Hazards

The symbols shown below are used throughout this manual

to call attention to and identify possible hazards. When you

see the symbol, watch out, and follow the related instructions

to avoid the hazard. The safety information given below is

only a summary of the more complete safety information

found in the Safety Standards listed in Section 1-5. Read and

follow all Safety Standards.

Only qualified persons should install, operate, maintain, and

repair this unit.

During operation, keep everybody, especially children, away.

Touching live electrical parts can cause fatal shocks

or  severe burns. The electrode and work circuit is

electrically live whenever the output is on. The input

power circuit and machine internal circuits are also

live when power is on. In semiautomatic or automatic

wire welding, the wire, wire reel, drive roll housing,

and all metal parts touching the welding wire are

electrically live. Incorrectly installed or improperly

grounded equipment is a hazard.

D

Do not touch live electrical parts.

ELECTRIC SHOCK can kill.

D

Wear dry, hole-free insulating gloves and body protection.

D

Insulate yourself from work and ground using dry insulating mats

or covers big enough to prevent any physical contact with the work

or ground.

D

Do not use AC output in damp areas, if movement is confined, or if

there is a danger of falling.

D

Use AC output ONLY if required for the welding process.

D

If AC output is required, use remote output control if present on

unit.

D

Additional safety precautions are required when any of the follow-

ing electrically hazardous conditions are present: in damp

locations or while wearing wet clothing; on metal structures such

as floors, gratings, or scaffolds; when in cramped positions such

as sitting, kneeling, or lying; or when there is a high risk of unavoid-

able or accidental contact with the workpiece or ground. For these

conditions, use the following equipment in order presented: 1) a

semiautomatic DC constant voltage (wire) welder, 2) a DC manual

(stick) welder, or 3) an AC welder with reduced open-circuit volt-

age. In most situations, use of a DC, constant voltage wire welder

is recommended. And, do not work alone!

D

Disconnect input power or stop engine before installing or

servicing this equipment. Lockout/tagout input power according to

OSHA 29 CFR 1910.147 (see Safety Standards).

D

Properly install, ground, and operate this equipment according to

its Owner’s Manual and national, state, and local codes.

D

Always verify the supply ground 

 check and be sure that input

power cord ground wire is properly connected to ground terminal in

disconnect box or that cord plug is connected to a properly

grounded receptacle outlet.

D

When making input connections, attach proper grounding conduc-

tor first 

 double-check connections.

D

Keep cords dry, free of oil and grease, and protected from hot metal

and sparks.

D

Frequently inspect input power cord and ground conductor for

damage or bare wiring – replace immediately if damaged – bare

wiring can kill.

D

Turn off all equipment when not in use.

D

Do not use worn, damaged, undersized, or repaired cables.

D

Do not drape cables over your body.

D

If earth grounding of the workpiece is required, ground it directly

with a separate cable.

D

Do not touch electrode if you are in contact with the work, ground,

or another electrode from a different machine.

D

Do not touch electrode holders connected to two welding ma-

chines at the same time since double open-circuit voltage will be

present.

D

Use only well-maintained equipment. Repair or replace damaged

parts at once. Maintain unit according to manual.

D

Wear a safety harness if working above floor level.

D

Keep all panels and covers securely in place.

D

Clamp work cable with good metal-to-metal contact to workpiece

or worktable as near the weld as practical.

D

Insulate work clamp when not connected to workpiece to prevent

contact with any metal object.

D

Do not connect more than one electrode or work cable to any

single weld output terminal. Disconnect cable for process not in

use.

D

Use GFCI protection when operating auxiliary equipment in damp

or wet locations.

SIGNIFICANT DC VOLTAGE exists in inverter weld-

ing power sources AFTER removal of input power.

D

Turn Off inverter, disconnect input power, and discharge input

capacitors according to instructions in Maintenance Section

before touching any parts.

HOT PARTS can burn.

D

Do not touch hot parts bare handed.

D

Allow cooling period before working on

equipment.

D

To handle hot parts, use proper tools and/or wear heavy, insu-

lated welding gloves and clothing to prevent burns.

Содержание FieldPro Feeder CE

Страница 1: ...Pro Feeder With Weld Cable Control CE And Non CE Models OM 267043F 2016 07 Processes Description MIG GMAW Welding Flux Cored FCAW Welding Wire Feeder File MIG GMAW Visit our website at www MillerWelds...

Страница 2: ...ntinue the tradition They re just as committed to providing equipment and service that meets the high standards of quality and value established in 1929 This Owner s Manual is designed to help you get...

Страница 3: ...11 4 2 Unit Specifications 11 4 3 Environmental Specifications 11 4 4 Wire Type Size and Feed Speed Capability Table 12 4 5 Gun Recommendation Table 12 SECTION 5 INSTALLATION 13 5 1 Equipment Connecti...

Страница 4: ......

Страница 5: ...PRO FEEDER TWECO 301228 Council Directives 2014 35 EU Low Voltage 2014 30 EU Electromagnetic Compatibility 2011 65 EU Restriction of the use of certain hazardous substances in electrical and electroni...

Страница 6: ......

Страница 7: ...neeling or lying or when there is a high risk of unavoid able or accidental contact with the workpiece or ground For these conditions use the following equipment in order presented 1 a semiautomaticDC...

Страница 8: ...ared according to AWS F4 1 and AWS A6 0 see Safety Standards D Do not weld where the atmosphere can contain flammable dust gas or liquid vapors such as gasoline D Connect work cable to the work as clo...

Страница 9: ...S can injure D Keep away from moving parts such as fans D Keep all doors panels covers and guards closed and securely in place D Have only qualified persons remove doors panels covers or guards for ma...

Страница 10: ...PA Standard 51B from National Fire Protection Association Quincy MA 02269 phone 1 800 344 3555 website www nfpa org OSHA Occupational Safety and Health Standards for General Indus try Title 29 Code of...

Страница 11: ...s dans un environnement humideou si l on porte des v tements mouill s sur des structures m talliquestelles que sols grilles ou chafaudages en position coinc e comme assise genoux ou couch e ou s il y...

Страница 12: ...br lures Le contact accidentel de l lectrode avec des objets m talliques peut provoquer des tincelles une explosion un sur chauffement ou un incendie Avant de commencer le soudage v rifier et s assur...

Страница 13: ...areil D Tenir l quipement c bles et cordons distance des v hicules mobiles lors de toute op ration en hauteur D Suivre les consignes du Manuel des applications pour l quation de levage NIOSH r vis e P...

Страница 14: ...ational Electrical Code NFPA Standard 70 from National Fire Protec tion Association Quincy MA 02269 phone 1 800 344 3555 website www nfpa org and www sparky org Safe Handling of Compressed Gases in Cy...

Страница 15: ...Safe37 2012 05 Safe57 2012 05 Wear dry insulating gloves Do not touch electrode wire with bare hand Do not wear wet or damaged gloves Protect yourself from electric shock by insulating yourself from...

Страница 16: ...with correct shade of filter Wear complete body protection Safe66 2012 06 Become trained and read the instructions before working on the machine or welding Safe65 2012 06 3 2 Miscellaneous Symbols An...

Страница 17: ...tant Voltage CV Or Constant Current CC DC Power Source Only 25 800 ipm 0 64 20 3 mpm Depending On Arc Voltage Solid Wire 023 052 in 0 6 To 1 3 mm Flux Cored 030 5 64 in 0 8 To 2 mm 425 Amperes At 60 D...

Страница 18: ...us Substance Information ComponentName if applicable Hazardous Substance Pb Hg Cd Cr6 PBB PBDE Brass and Copper Parts X O O O O O Coupling Devices X O O O O O Switching Devices O O X O O O Cable and C...

Страница 19: ...ng clamp to workpiece 7 Gun 8 Gun Trigger Receptacle 9 Wire Feeder 10 Gas Cylinder Use of shielding gas is dependant on wire type Shieldinggas pressure not to ex ceed 100 psi 689 kPa 7 5 2 WCC Weld Ca...

Страница 20: ...dashes until connected Allow 10 15 seconds for system to connect 3 Once feeder is communicating with power source the power source will display Acc and the wire feeder will display preset voltage and...

Страница 21: ...ve Roll Carrier Turn nut one click until lobes of nut line up with lobes of drive roll carrier 3 Drive Roll Slide drive roll onto drive roll carrier Turn nut one click Repeat procedure for top drive r...

Страница 22: ...to drive rolls without touch ing Align the gun power pin groove with the gun locking tab Tighten gun securing knob If the gun power pin does not have a groove loosen knob to ro tate the gun locking ta...

Страница 23: ...a maximum of 100 in lbs 12 N m 2 Shielding Gas Cylinder Shielding gas pressure not to exceed 100 psi 689 kPa 3 Valve 4 Flowmeter Close valve on cylinder when fin ished welding 1 Rear View 2 3 4 5 8 C...

Страница 24: ...4 20 3 30 2 35 1 50 1 0 60 1 0 60 150 3 30 3 30 2 35 1 50 1 0 60 2 0 70 3 0 95 3 0 95 200 3 30 2 35 1 50 1 0 60 2 0 70 3 0 95 4 0 120 4 0 120 250 2 35 1 50 1 0 60 2 0 70 3 0 95 4 0 120 2x2 0 2x70 2x2...

Страница 25: ...angle with nozzle about two inches from a wooden surface While feeding the wire against the wooden surface increase the pres sure to one half turn past the point where the wire stops slipping If the w...

Страница 26: ...tch Settings Display Hold OFF Set switch 1 so the depressed section is toward OPEN as labeled on the switch Displays will not hold values The voltage displayed while welding is an average reading over...

Страница 27: ...me This is the time the feeder has actually been used for welding This information will be displayed in two halves First being years and days second in hours and minutes Top display will show years ho...

Страница 28: ...control has no function when the wire feeder is not associated with a WCC compatible welding power source or WCC Control 5 Power Control Switch 6 Soft Start Switch The Soft Start feature provides a s...

Страница 29: ...t will display the active wire speed whether it is standard wire speed or reduced wire speed Weld Gun With Internal Mounted Dual Schedule Switch Comparable To PipeProR Dura Fluxt Gun 1 Gun Trigger Rec...

Страница 30: ...ose n l Cracked Cables And Cords Every 6 Months n Drive Rolls Blow Out Or Vacuum Inside 7 2 Overload Protection And Thermostat Protection Ref 257 794 B Turn Off wire feeder and welding power source St...

Страница 31: ...e fitting from gas valve on back panel of feeder Blow compressed air through the threaded male end of fitting to dis lodge debris from internal mesh screen Replace fitting if blowing com pressed air t...

Страница 32: ...Section 6 2 Check and replace contact tip or liner if necessary see gun Owner s Manual Check that DIP switches on Motor Control Board PC1 are set correctly see section 7 6 Have Factory Authorized Serv...

Страница 33: ...o CC mode see Section 6 1 Weld amperage on Meter Board PC22 is not accurate Amperage displayed at feeder is approximate Refer to power source for actual amperage see Section 5 12 Check DIP switch sett...

Страница 34: ...power On Trigger Error The trigger error occurs if the user has feed approximately 35 feet 10 7 meters of wire without striking an arc The error may be cleared by releasing the trigger Motor Overload...

Страница 35: ...OM 267043 Page 29 SECTION 8 ELECTRICAL DIAGRAM 257 274 C Figure 8 1 Circuit Diagram For Wire Feeder...

Страница 36: ...257 072 B Hardware is common and not available unless listed 6 1 2 3 4 5 5 7 8 9 10 11 12 13 14 15 16 17 18 19 20 21 22 23 24 25 26 27 28 29 30 31 32 33 34 35 36 37 38 39 40 41 42 43 44 45 46 47 48 49...

Страница 37: ...racket Capacitor Support SC12 1 26 C1 C2 200606 Capacitor Elctlt 1200 Uf 300 VDC Can 1 39 Dia 2 27 207678 Insulator Capacitors 1 28 211989 Fitting w Screen 1 29 215980 Bushing Strain Relief 709 984 ID...

Страница 38: ...Rcpt Skts Service Kit 1 PLG17 222397 Housing Plug Skts Service Kit 1 PLG22 115092 Housing Plug Skts Service Kit 1 PLG23 208730 Housing Plug Skts Service Kit 1 PLG24 131204 Housing Plug Skts Service K...

Страница 39: ...Assy WCC Meter Suitcase HDD 1 8 252262 Cable Trigger 25 in w Strain Relief Includes 1 9 139042 Bushing Strain Relief 270 470 ID x 804 Mtg Hole 2 10 PLG6 115094 Housing Plug Skts Service Kit 1 11 04883...

Страница 40: ...ware is common and not available unless listed 5 1 2 3 9 10 11 14 13 12 15 16 17 18 19 20 29 30 31 32 33 24 13 25 42 45 44 46 43 37 38 40 39 34 35 36 23 6 7 21 22 8 27 4 28 257 016 B 41 10 26 Figure 9...

Страница 41: ...Hd Hex Gr 8 Pln 1 26 264611 O Ring 187 ID x 312 OD x 063 CS 75 Duro Fluor 1 27 144172 Ftg Hose Brs Barbed M 3 16 TBG x 250 20 1 28 263877 Wire Drive Bus Bar Service Kit Includes 1 259857 Screw 375 16...

Страница 42: ...mm 053700 V Grooved 0 040 in 0 040 in 1 0 mm 053696 V Grooved 0 045 in 0 045 in 1 2 mm 053697 V Grooved 0 052 in 0 052 in 1 3 mm 053698 V Grooved 1 16 in 0 062 in 1 6 mm 053699 V Grooved 0 035 in 0 0...

Страница 43: ...ns and Subarc SAW Torches Remote Controls and RFCS RJ45 Replacement Parts No labor Roughneck Guns Spoolmate Spoolguns Miller s True Blue Limited Warranty shall not apply to 1 Consumable components suc...

Страница 44: ...your personal records Always provide Model Name and Serial Style Number Contact a DISTRIBUTOR or SERVICE AGENCY near you Welding Supplies and Consumables Options and Accessories Personal Safety Equip...

Отзывы: