17.3.2005
Rev. 2.0
Adjustment instructions
25
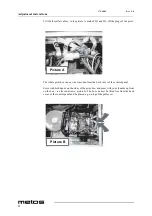
Dismantle the four nuts holding the control panel itself in place, see picture C - take good
care not to drop the panel.
The control panel can now be removed from the mixer.
Mount the new control panel by following the above explanation backwards - remember
to place the three flat cables in the correct plugs.
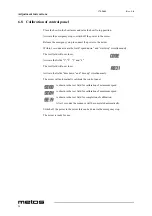
Then follow the instructions “Calibration of control panel”.
6.7
Exchange of emergency stop in control panel
When the control panel has been removed from the mixer, loosen the two nuts holding the
back cover of the control panel. By using the special tool the emergency stop can now be
loosened from the control panel, see picture D.
Mount the new emergency stop, assemble the control panel and mount it into the mixer.
3LFWXUH&
3LFWXUH'
Содержание AE40 Series
Страница 1: ...MIXER VL3 TYPE AE40 Installation and Operation Manual S N Rev 2 0...
Страница 2: ......
Страница 4: ...17 3 2005 Rev 2 0 2...
Страница 34: ...17 3 2005 Rev 2 0 Troubleshooting 28...
Страница 37: ...AE40 VL3 Installation drawing...
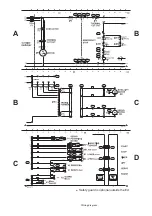
Страница 38: ...Wiring diagram 6DIHW JXDUG LV RSWLRQDO RXWVLGH WKH 8...

