


3. Network Connection and Configuration
NCR875E(H)/NCR875PRO(H)
l
User Manual 13
3. Network Connection and
Configuration
3.1 Network Connection Types
There are many different ways that you can connect the camera to your network, depending on your
applications requirements. You should always set the camera’s network settings according to your network
configurations. The following diagrams depict some typical applications with guidelines on network settings.
For more information on network settings, always consult with your network administrator or ISP as required.
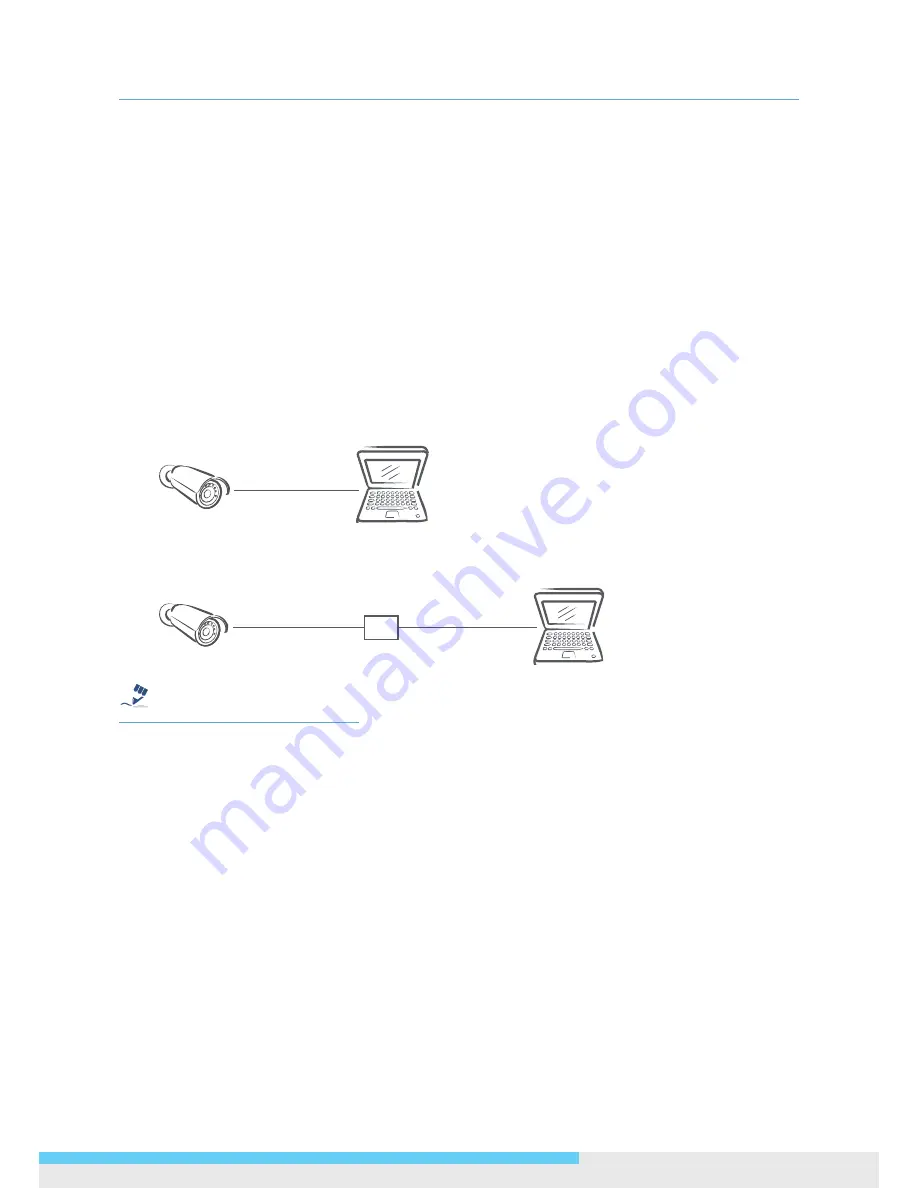
Type 1— Direct Connection to a PC
Directly connect the camera to a PC using a standard Ethernet cable.
To extend the connection length, you should use a RJ-45 female/female coupler to connect two Ethernet
cables together.
RJ-45 Coupler
Tip
Caution
Warning
Note
The LAN port of the camera supports auto MDI/MDIX (Medium dependent interface crossover) so there is no
need to use cross-over cable.
To access the camera, the PC must be on the same network as the camera. The default IP address of the
camera is a static one (192.168.1.30). Configure your PC’s IP address as 192.168.1. X (where X is a number
between 2 to 254, excluding 30 and subnet mask as 255.255.255.0, and then your PC should be able to access
the camera.
Type 2: Connecting Camera(s) to LAN
To add the camera(s) to an existing LAN, just connect the camera(s) to the hub or switch on your network. If
you want to provide the camera power via the Ethernet connection, a PoE-enabled hub/switch is required.


