8
Matrox RAD LPX Series – User Guide
Connection setup
This section describes how to connect monitors to your low-profile Matrox products.
1
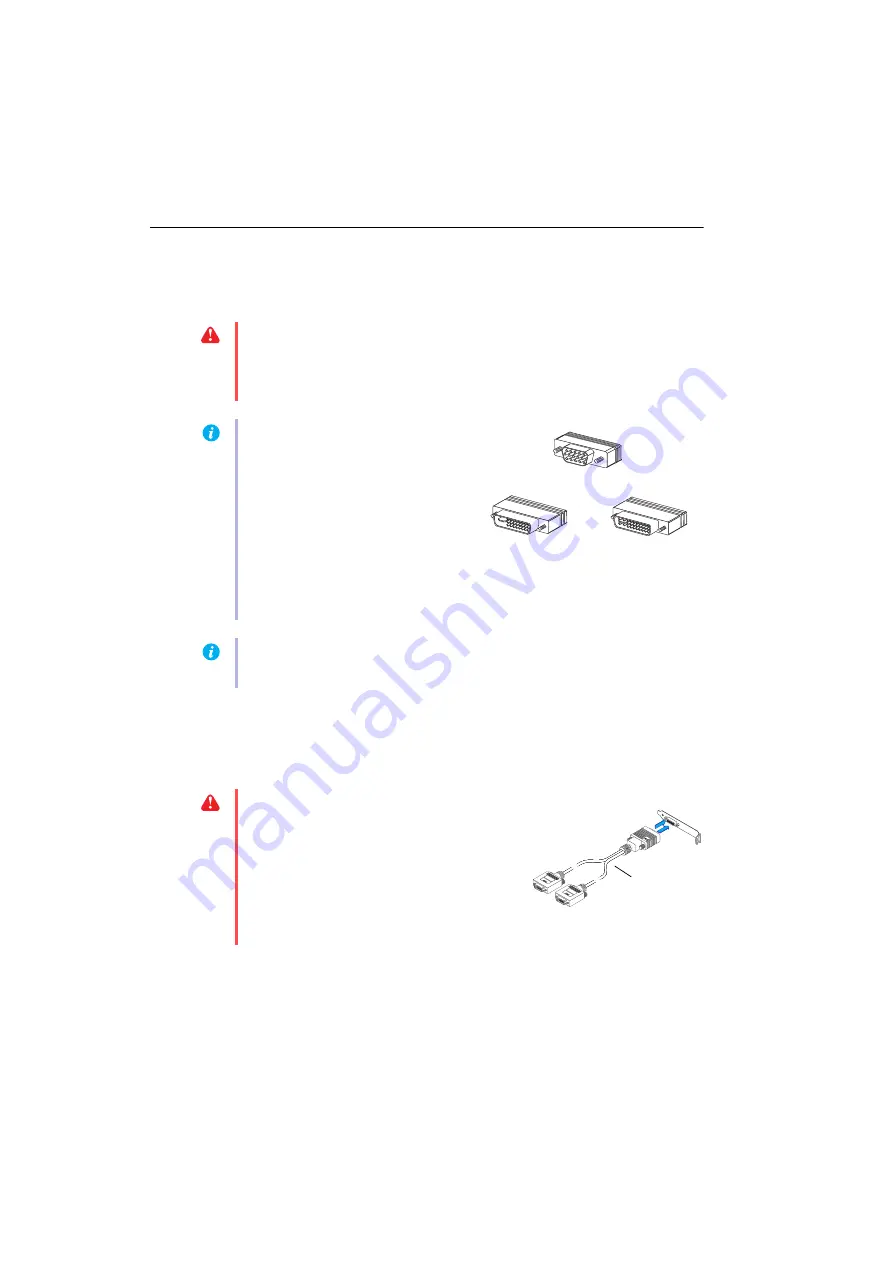
Attach the dual-monitor cable
Attach your Matrox dual-monitor cable to the connector on the bracket of your Matrox card.
Make sure the connectors are properly fastened.
WARNING:
Don’t change monitor connections while your computer is turned on. While
your computer is turned on, it may be using monitor settings that are specific to the current
monitor connections.
Some
devices may be permanently damaged if incorrect settings are
used.
Note:
Whenever you change your connection setup, make sure you’re using the correct
connectors and that all connectors are properly fastened.
Note:
To connect a
digital
monitor (a
monitor that uses digital input, usually a
flat panel monitor) to your Matrox
product, your monitor must have a DVI
connector.
Some monitors with DVI connectors
support both digital and analog input. If
you’re using one of these monitors with
your Matrox product, make sure it’s configured to use the correct type of input. For more
information, see your monitor documentation.
DVI connector
(DVI-D: digital)
HD-15 connector (analog)
DVI connector
(DVI-I: analog/digital)
WARNING:
To avoid damaging the LFH-60
connector on your dual-monitor cable or on your
graphics card, carefully insert the connector on your
dual-monitor cable as straight as possible into the
connector on your graphics card. Specifically,
inserting the connectors into each other at an angle is
likely to bend and damage the pins on the connector
of the dual-monitor cable.
Dual-monitor
cable


