SkyRaider DS432 TEC User Manual
September 18, 2019
SkyRaider DS432 TEC User Manual
Page 20
As the
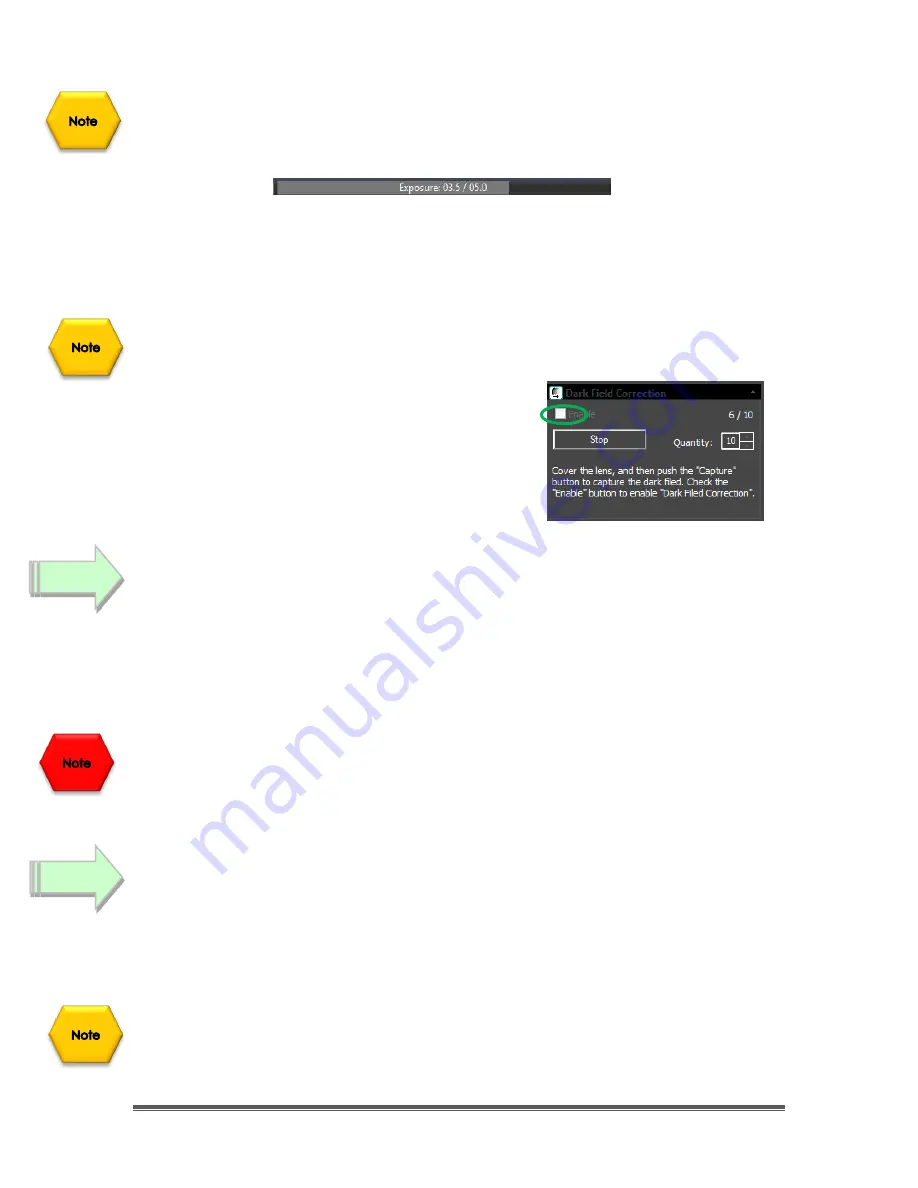
Dark Fields
are being exposed, you can watch the
exposure counter
in
the
Dark Field Correction Tab
go up, and on the bottom of the MallincamSky
window, you will see a counter letting you know the exposure progress.
Once the
Dark Fields
have been taken, you have the option of saving them (so
you can use then again on another night) with the
Export button
in the
Dark Field
Correction
Tab.
You can import previously saved
Dark Fields
by using the
Import Button
.
Now, simply
Left-Click
in the
Enable check box
in
the Dark Field Correction’s box to have
Dark
Fields
applied in real time to your images.
Reduce Exposure Time to Align Telescope
As you will most likely use the camera to align and focus your Telescope, now is
the time to reduce the
Exposure Time
to
1
or
2
seconds, and if not already
attached to the Telescope,
remove the lens cap
from the
SkyRaider Camera
and insert the camera into the eyepiece holder of your telescope. The shorter
exposure will make it easier for you to align and focus your telescope.
Left-Click
on the
STOP
button in the
Trigger Mode
screen, and now select
Video
Mode
. Turn off the enable on Dark Fields. In the
Video Mode
, move the slider (or
enter the time) to some value less than 5 seconds (note that the units are in
milliseconds, so 1 second = 1000 ms), and align and focus your telescope. In
Video Mode, images are automatically continuously taken.
Increase Exposure Time to Image
Now is the time to expose some
Deep Sky Objects
or
Planetary Objects
. So, go
back into
Trigger Mode
(if you are imaging
Deep Sky Objects
, else remain in
Video Mode
if imaging
Planetary Objects
) and adjust the
Exposure Time
to
match the current target and the equipment you are using.
If you have enabled the
Dark Field
Corrections
for this session (
Dark Fields
are
stored directly in the
SkyRaider Camera
and will be deleted when the camera is
turned off), the
SkyRaider
will automatically apply the best
Dark Field Correction
to your image when
Dark Field Correction
is
enabled
.
Step 6
Step 7


