45
EN
45
EN
Recording
Basic Setup
Connections
Playback
Editing
Introduction
Function Setup
Others
Español
AUTOSTART RECORDING
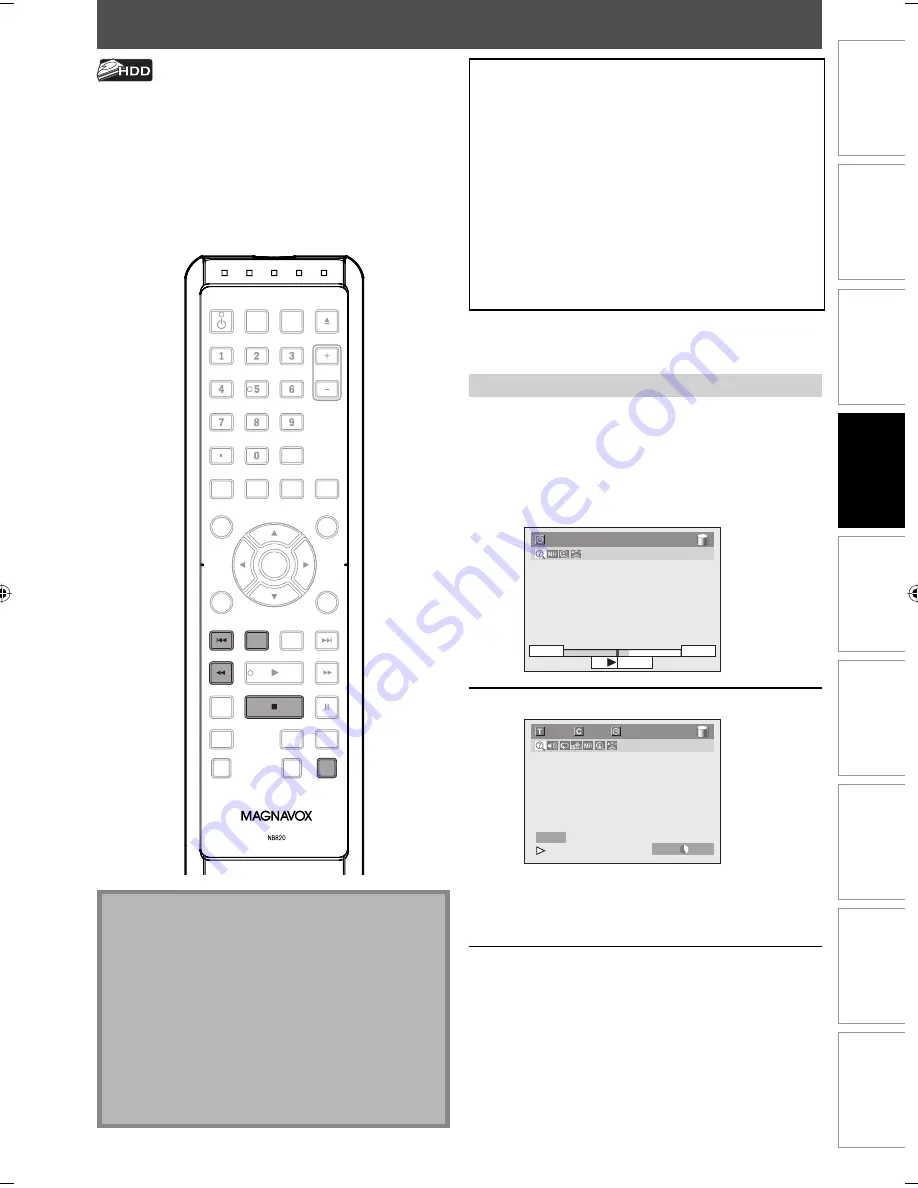
1
When watching TV program through
this unit’s tuner, use [
H
], [
E
] or
[V.REPLAY] to locate your desired
point to start recording.
• The autostart recording information will
appear. Refer to page 23.
2:59:44 / 3:31:31
10:42AM
10:10AM
7:10AM
2
Press [REC] to start recording.
100/100
1/ 1
0:00:34 / 0:32:34
HDD SP
1h53m
HDD
I
From the selected point, the contents of the
autostart recording become a recording title in
the HDD while the unit continues to record the
current content of the channel.
3
Press [STOP
C
] twice to stop
recording.
The recording stops and new autostart recording
begins.
• If you press
[STOP
C
]
once, the image on the
TV screen goes back to current content of the
channel while the recording continues.
Every time you turn on this unit, this unit automatically
records the channel currently viewed and temporarily
stores the recorded content to the HDD (Autostart
recording). By using this function, you can pause or go
back the TV program you are currently watching, and you
can also start recording the whole TV program even at
the middle of the TV program. The temporary recording
can be made up to 6 hours of time range. If the recording
exceeds 6 hours, earliest recording will be overwritten.
Note
• In the autostart recording, when you display the DTV
program information, the information will be
recorded as the part of the picture.
• If there is not enough recordable space on HDD to
record from the selected point to current point, you
cannot record the content of autostart recording.
• When you record the content of the autostart
recording, the recording mode will be SP.
• When you are recording the contents of the autostart
recording, if you record the part that is copy-protected,
“Copy guard detected.” appears and you are not able to
watch the part.
The autostart recording will be stopped, cleared in
following cases:
- Turning the power to the standby mode
- Start recording
- Editing titles or goes into editing menu
- Deleting titles (DVD only)
- Start dubbing
- Changing input channels
- Using any functions in “Disc Edit” or “HDD Menu”
- Selecting following menus:
“General Setting”
➔
“Display”
➔
“V-Chip”
➔
“Downloadable Rating”
“General Setting”
➔
“Channel”
➔
“Auto Channel Preset”
“General Setting”
➔
“Channel”
➔
“Manual Channel Preset”
• The autostart recording will automatically resume for
new recording
For how to playback the autostart recording, refer to
“Playing Back the Autostart Recording” on page 75.
Recording the Contents of the Autostart Recording
OPEN/
CLOSE
SOURCE
HDMI
.@/:
ABC
GHI
PQRS
TUV
SETUP
REPEAT
DISPLAY
AUDIO
DISC MENU
RETURN
TITLE
WXYZ
CLEAR
SPACE
JKL
MNO
DEF
OK
DVD
HDD
D.DUBBING
V.REPLAY
V.SKIP
RAPID PLAY
REC
REC MODE
TIMER
DTV/TV
STANDBY-ON
CHANNEL
REC
V.REPLAY
E2S00UD_H2160MW9_EN_v1.indd 45
E2S00UD_H2160MW9_EN_v1.indd 45
2008/11/20 12:57:06
2008/11/20 12:57:06


