Ultra Electronics Card Systems
Rio Pro Maintenance Manual
- 55 -
SECTION 12
TROUBLESHOOTING
Introduction
This Section is intended as a quick Reference Guide to assist Magicard Rio Pro and Rio Pro Duo user and Dealers when
experiencing difficulties with their Printer. The information below covers most common problems that will be encountered;
compiled from the Magicard Technical Support Helpline records.
Technical Support Web Pages
If having tried all the solutions suggested in this guide, you are still having problems with your Printer, please visit the
Technical Support pages of the Magicard Website at
www.Magicard.com
– you will find lots of technical information and
FAQ help.
Problem Analysis
Follow the Tables and select the problem and the path that most resembles the issue that you are experiencing.
SECTION 12.1
INITIALISATION SEQUENCE
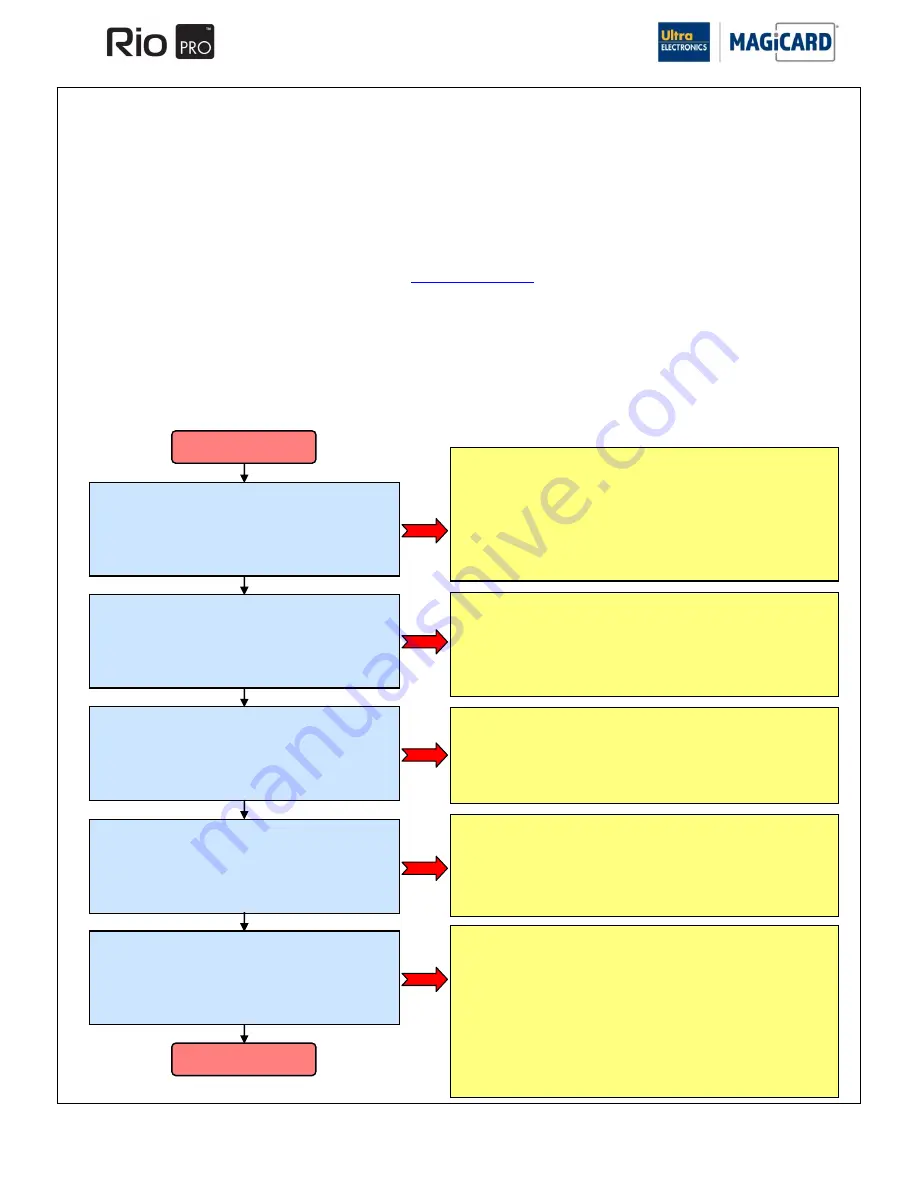
The following section describes the sequence of events that occur when the Rio Pro is powered on. It also describes any
errors that may occur and how to rectify them.
Power the Printer On
Print Head is cycled Up and Down.
1.
Cam Motor is rotated.
2.
Belt and Pulley system drives a Cam Shaft.
3.
Optical Sensor reads Cam motor position.
4.
Cam Shaft drives Cam followers.
5.
Print Head is moved Up and Down.
Dye Film.
1.
Dye Film motor rotates slightly to tension the ribbon.
2.
Dye Film is tensioned to prevent it being trapped if a
Card is stuck in the Printer mechanism.
3.
No information about the Dye Film is read at this
point.
Main Controller PCB is Initialised.
1.
Microprocessor boots up
2.
Flash Memory is checked.
3.
Printer Firmware copied into DRAM.
4.
I/O Status Checked
5.
Hardware Begins to initialise.
Flipper Unit.
1.
The Flipper Unit is rotated by the Flipper Stepper
Motor.
2.
Flipper Unit Position Optical Sensor reads the
position
3.
Flipper Unit should now be horizontal
Card Eject.
1.
Any jammed Cards are moved forward to the front
optical Card Sensor.
2.
Flipper is rotated so it is aligned with the Card feed
mechanism.
3.
Trapped Card is ejected out the front of the Printer.
Printer Ready
Possible Errors.
1.
Nothing Happens:
Check external Power Supply connection into the back of the Printer. Is
the green indicator on the external PSU on ?
2.
LCD is on but information corrupted:
Microprocessor has failed to start, replace controller PCB.
3.
Lid Open Error:
When the lid Sensor is disconnected the Printer will still initialise.
However if the lid Sensor has broken or moved the error will be shown.
Possible Errors.
1.
Continuous Motor Noise is heard:
Cam motor is rotating continuously, check Pulley and Drive Belt
mechanism.
Check Cam Opto Sensor is functioning (see section 9.2.2 Sensor Test).
2.
Error on display RFID PCB Missing:
Dye Film RFID controller is disconnected, check the wiring connections
Possible Errors.
1.
Card or Ribbon is trapped in Printer mechanism:
No Sensors are used at this point of the initialisation cycle. The Tacho
wheel should rotate clockwise (viewed from left hand side) a small
amount to tension the ribbon. If there is no movement then the Dye-Film
may have run-out or Film take-up motor has a problem/disconnected.
Possible Errors.
1.
Flipper Error 18:01:
Check the flipper mechanism is not obstructed by a Card.
Flipper mechanism is initialised using an optical Sensor on the left side of
the Printer at the front. Check connections and functionality using the
Sensor test (see section 9.2.2).
Flipper mechanism Drive Belts can be checked.
Possible Errors.
2.
Flipper Card Jam 04:07:
The front Sensor is blocked or not working, check the Sensor
functionality or wiring using the Sensor test (see section 9.2.2).
3.
Flipper Card Jam 04:11:
A trapped Card has not passed through the front Sensor, into the Flipper
mechanism before ejecting out the front. Check the Flipper mechanism
Card drive motor and Drive Belt. This can be found on the right hand
side of the Printer at the front.
4.
Card Inside is not ejected, no errors are seen.
Use the cleaning cycle to check if the internal rollers are rotating. If not
then the main Drive Belt may have fallen off (right hand side of Printer).
Содержание Rio Pro
Страница 27: ...Ultra Electronics Card Systems Rio Pro Maintenance Manual 27 ...
Страница 60: ...Ultra Electronics Card Systems Rio Pro Maintenance Manual 60 ...
Страница 72: ...Ultra Electronics Card Systems Rio Pro Maintenance Manual 72 ...
Страница 105: ...Ultra Electronics Card Systems Rio Pro Maintenance Manual 105 ...
Страница 108: ...Ultra Electronics Card Systems Rio Pro Maintenance Manual 108 ...


