50
SeCtion b
SoFtware Manual
RetuRn to toC
MaCe HydRoMaCe 3000
Product Manual
51
RetuRn to toC
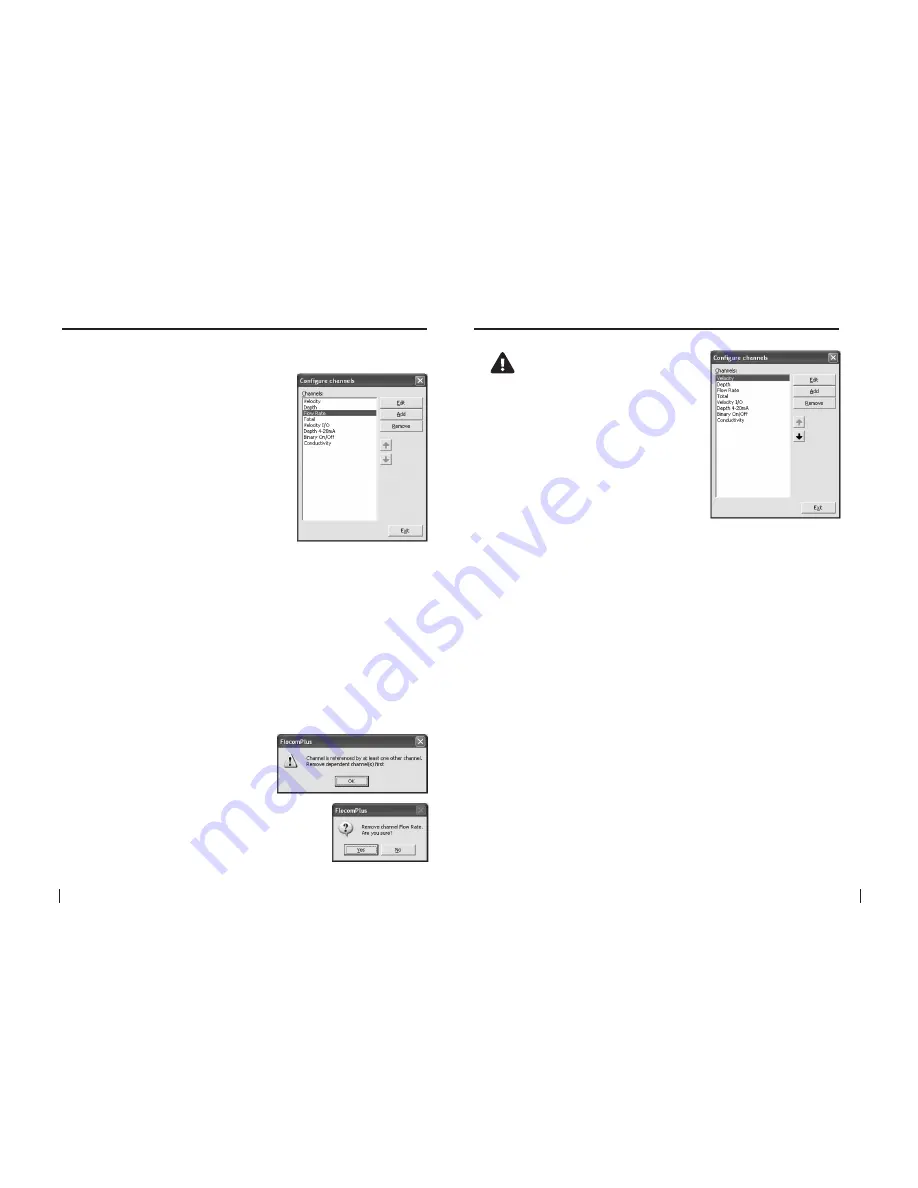
21.2 the order and removal of channels
The channel list after
“Channels”
have
been added reflects the order in which
they were configured and in which the
HM 3000 takes physical measurements.
This also orders the channels in both
the logged data and the HM 3000 LCD.
For example, when scrolling through
the displayed channels on the LCD, the
output order will be the same as the
“Configure channels”
dialogue box.
This order can be changed to suit the
users needs.
1.
Highlight the
“Channel”
in the list you
wish to move and click either the
up
or
down
arrows (where available).
The order is hierarchical and certain
limitations apply. A
“Channel”
that is
dependent on the value of one or more
channels cannot be moved higher in the
list than the lowest
“Channel”
in which
it depends upon. For example, the
“Flow
Rate”
channel is dependent on both
“Velocity”
and
“Depth”
measurements.
1.
Highlight the
“Channel”
in the list you
wish to remove and click
“Remove”
.
The removal is hierarchical and certain
limitations apply. A
“Channel”
that
is referenced by at least one other
“Channel”
cannot be removed unless
the dependent
“Channel”
is removed
first. For example, the
“Velocity”
channel
is referenced in the
“Flow Rate”
channel
and cannot be removed unless the
“Flow
Rate”
is removed first.
21.2.1 Ordering configured channels
21.2.2 Removing configured channels
WarNINg: all configured
channels MUSt be edited
prior to starting the hM 3000.
editing the channel/s enables
the correct configuration
information to be sent to the
controller module.
21.3 editing a channel
From the
“HM 3000 Settings”
dialogue box
click
“Configure channel”
and the
“Configure
channels”
dialogue box will appear.
1.
Highlight the channel you wish to edit and
click
“Edit”
. An input specific
“Edit channel”
dialogue box will appear.
2.
Edit the settings in the
“Edit channel”
dialogue box to suit your application
as per the recommendations on the following pages. Click
“Apply”
to save
the settings and return to the
“Configure channels”
dialogue box.


