7
luminancebrands.com
Please contact 1-800-777-4440 for further assistance
ETL Model No.: HF1161
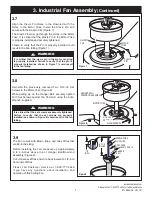
MOTOR
YOKE
HAIRPIN
CLIP
CLEVIS
PIN
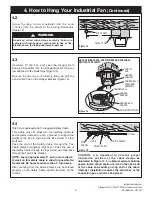
Figure 7
3.7
Align the Clevis Pin Holes in the Downrod with the
Holes in the Motor Yoke. Install the Clevis Pin and
secure with the Hairpin Clip (Figure 7).
The Clevis Pin must go through the Holes in the Motor
Yoke. It is critical that the Clevis Pin in the Motor Yoke
is properly installed and securely tightened.
Failure to verify that the Pin is properly installed could
result in the Fan falling (Figure 7).
It is critical that the clevis pin in the motor coupling
is properly installed. Failure to verify that the pin is
properly installed (as shown in Figure 7) could result
in the fan falling.
WARNING
!
MOTOR YOKE
5/16-18 SET
SCREW (2)
ALLEN WRENCH
HANGER BALL/
DOWNROD ASSEMBLY
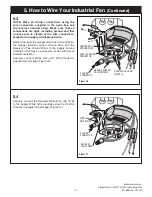
Figure 8
3.8
Reinstall the previously removed Two 5/16-18 Set
Screws in the Motor Yoke (Figure 8).
While pulling up on the Hanger Ball, securely tighten
both Set Screws against the Downrod using the Allen
Wrench, supplied.
It is critical that the set screws are securely tightened.
Failure to verify that the set screws are properly
installed (as shown in Figure 8) could result in the fan
falling.
WARNING
!
3. Industrial Fan Assembly
(Continued)
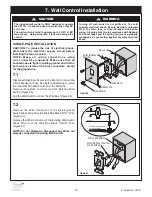
3.9
The Fan comes with Brown, Blue, and Grey Wires that
are 80-inches long.
Before installing the Fan, measure up approximately
6 to 9-inches above top of Hanger Ball/Downrod
Assembly (Figure 9).
Cut off excess Wires and strip back insulation 1/2-inch
from end of Wires.
Please call Customer Service at 1-800-777-4440
if you have any questions about installation and
operation of this Ceiling Fan.
BROWN WIRE
6 TO 9
INCHES
BLUE WIRE
GREY WIRE
HANGER
BALL
1/2
INCH
SAFETY CABLE
Figure 9

