0
8.2 Change of oil
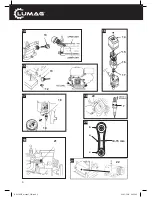
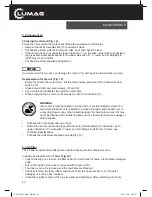
Checking the oil level (Fig. 14)
Check the oil level with the motor shut off and the equipment in horizontal.
• Remove the refill screw/dip stick (13) and wipe it clean.
• Put back the screw, without turning it in, take it out and check the level.
• If the level is close to or under the lower indication “L” on the stick, refuel with oil of advised
type (see technical specifications) to the upper indication “H”. (= lower end of windings in
refill hole). Do not overfill!
• Put back the screw/dip stick and tighten it.
An oil level which is too low, can damage the motor. This will result in all warranties are void.
Replacement of motor oil (Fig. 15)
• Empty the oil with the motor warm. Let the motor temperature cool off to hand warm and
switch it off.
• Clean around refill- and drain screws. (13 and 12)
• Put a container of suitable size under the drain hole.
• When emptying the oil, remove the screws for refill (13) and drain (12)
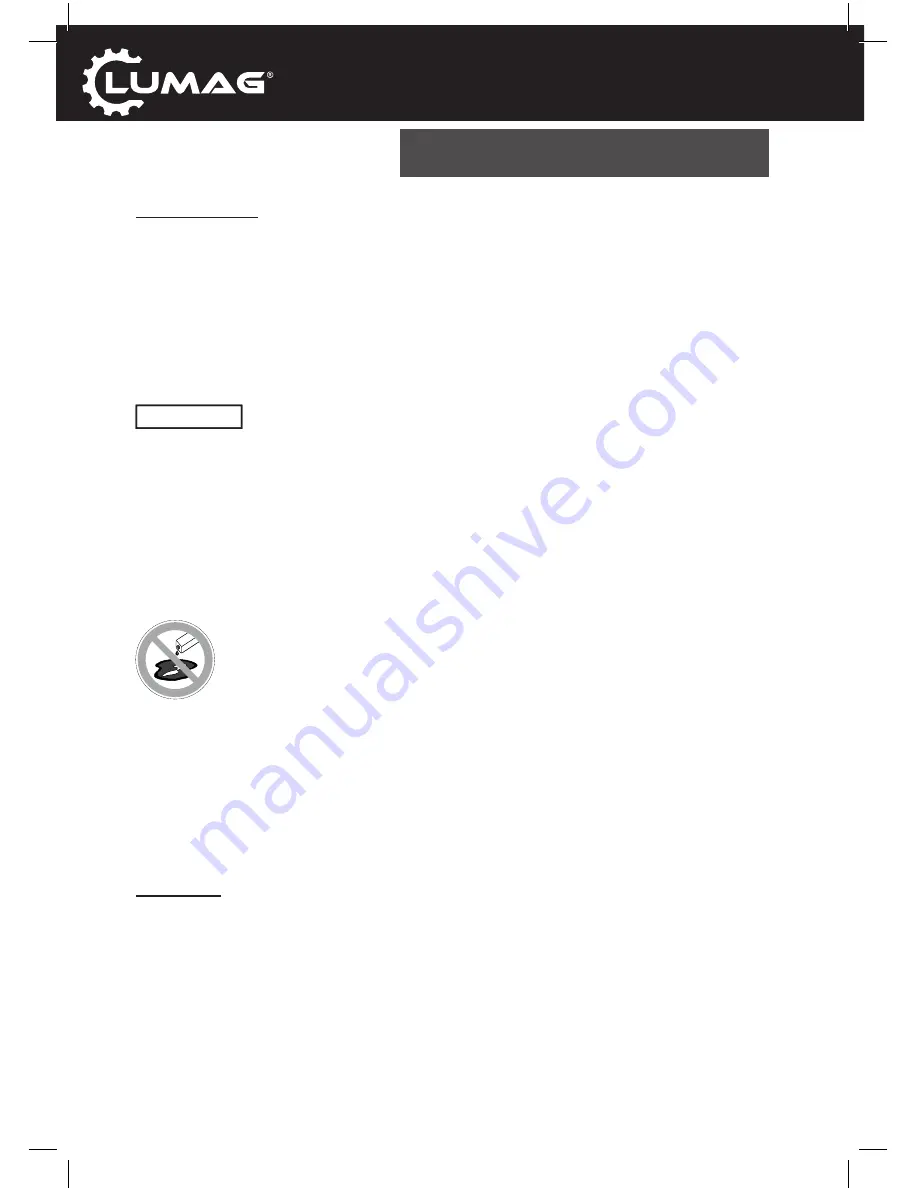
WARNING
Old motor oil must be treated in a way which is environmentally correct. We
recommend that old oil is collected in a closed container and handed over to
a recycling depot or any other collecting depot for chemicals and oils. Oil may
never be disposed of in moldering beds or any other water streams, sewage or
earth deposits.
• Put back the drain screw and pull it tight.
• Refill with oil of recommended type with the motor (the equipment) in horizontal, up to
upper indication “H” on dip stick (= lower end of windings in refill hole). Volume: see
Technical Specifications
• Put back the refill screw/dip stick and pull tight.(13)
8.3 Air filter
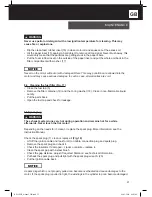
The air filter consists of two filter parts. Careful cleaning avoids carburetor errors.
Cleaning and replacement of filters
(Fig. 16)
• Loosen the wing nut, remove the filter hood (14) and check for holes in it. Replace damaged
parts.
• Dirt on the inside of the hood is removed with a clean cloth.
• The inner wing nut is removed and the two filters are lifted out.
• Carefully remove the foam rubber section (16) from the paper section (15). Check for
damages. In such a case: replace!
• Clean foam rubber section (16) in warm water and mild soap. Rinse carefully and let dry.
NOTICE
NOTICE
OIL
OIL
MAINTENANCE
RP-110HP_manual_GB.indd 20
04.02.2010 09:23:03
Содержание RP-110HP
Страница 4: ...4 6 7 8 5 5 4 9 1 3 4 RP 110HP_manual_GB indd 4 04 02 2010 09 22 48...
Страница 5: ...5 9 10 2 4 11 12 9 1 13 5 RP 110HP_manual_GB indd 5 04 02 2010 09 22 48...
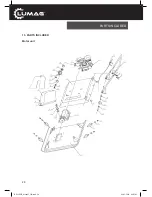
Страница 28: ...28 13 PARTS INCLUDED Motor unit PARTS INCLUDED RP 110HP_manual_GB indd 28 04 02 2010 09 23 05...
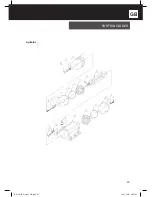
Страница 29: ...29 GB Agitator PARTS INCLUDED RP 110HP_manual_GB indd 29 04 02 2010 09 23 05...
Страница 31: ...31 GB RP 110HP_manual_GB indd 31 04 02 2010 09 23 06...

