210
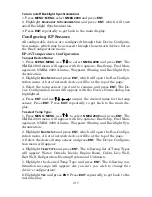
7. Use
↓
↑
,
←
→
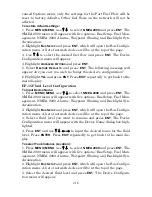
to input the capacity (gallons) of the tank you chose
from the Tank Select menu and press
ENT
.
8. Repeat Steps 5-7 for each remaining tank.
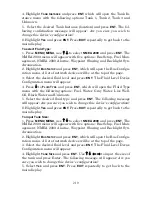
9. When all tanks have been configured, press the
S
ET
C
ONFIGURATION
but-
ton. The following confirmation message will appear:
Are you sure you
wish to change the bus configuration?
Choose
Y
ES
and press
ENT
, Press
EXIT
to get back to the main display.
Device Configuration Menu
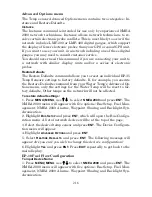
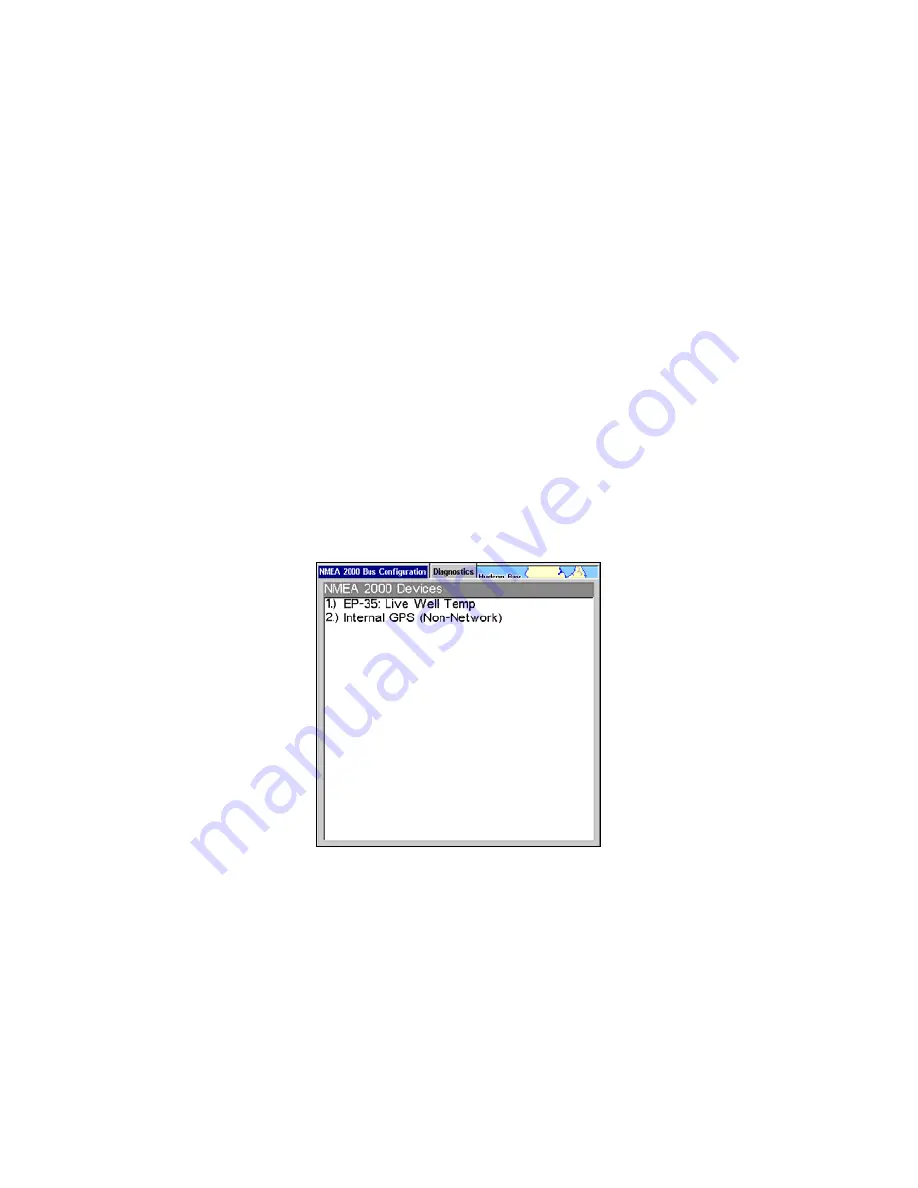
When a device is selected from the network devices list on the Bus Con-
figuration menu, its Device Configuration menu will appear. Device
configuration menus vary among devices. Available functions on device
configuration menus allow you to change device names, tank sizes,
fluid types and provide access to the Advanced Options menu. We will
cover configuration and calibration later in this section.
Device Information and Device Data
The Device information panel, located to the left of the Device Configu-
ration menu, displays information on the selected device that includes,
software version, model, address, serial number, instance and current
status.
If you do not have an EP-15 Fluid Level, EP-10 Fuel Flow or EP-20 En-
gine Interface on the network, the Bus Configuration menu will not
display the Engine-Tank Configuration menu, Tank Select menu, Tank
Size menu or Set Configuration button.
Device Data is shown in the Device Data window at the bottom of the
device configuration menu. The information displayed in the Device
Data window will vary among devices. If, for example, you are viewing
the device configuration menu for an EP-15 Fluid Level, the device
data window will include tank size and the amount of fuel left in the
tank.
Содержание LMS-520C
Страница 10: ...viii Notes ...
Страница 22: ...12 Notes ...
Страница 56: ...46 Notes ...
Страница 114: ...104 Notes ...
Страница 202: ...192 Notes ...
Страница 216: ...206 Notes ...
Страница 246: ...236 Notes ...

