109
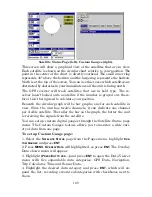
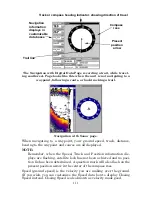
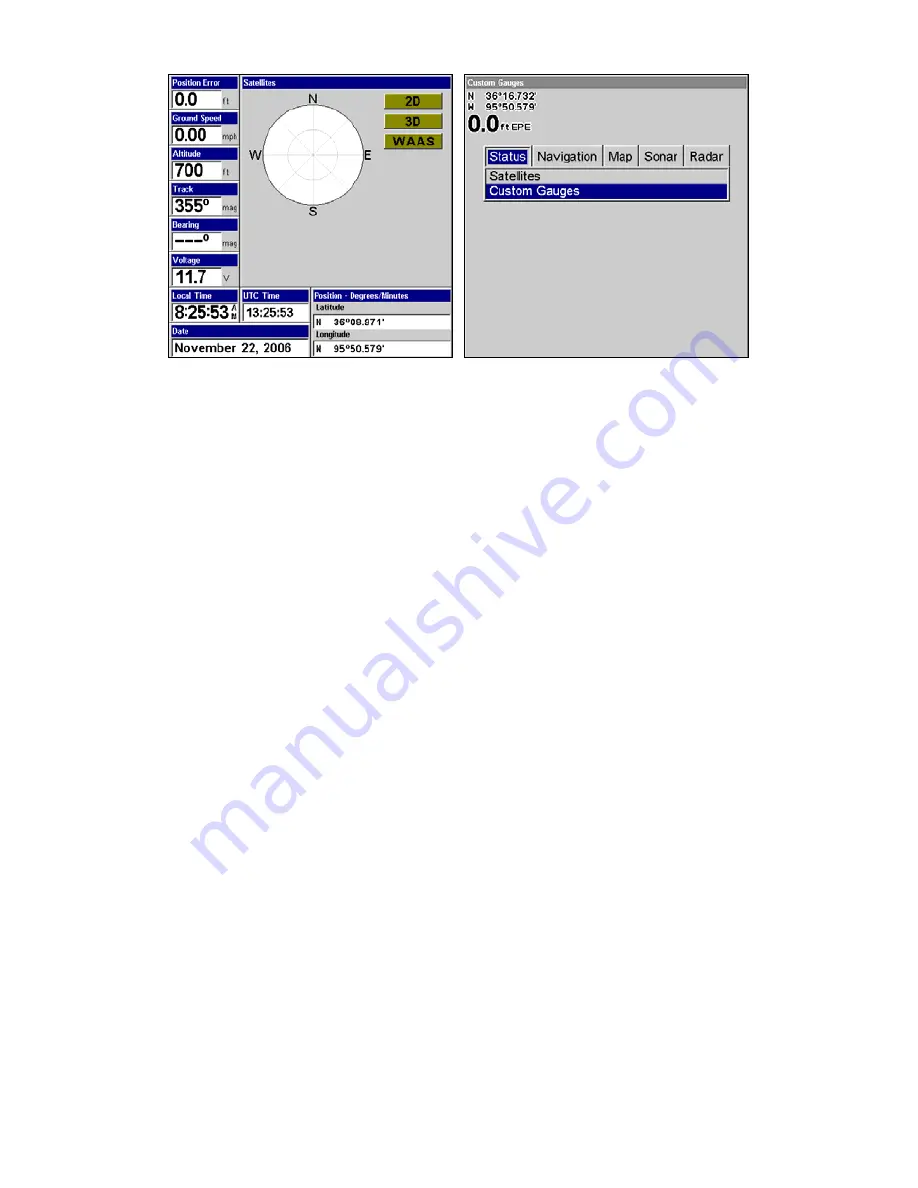
Satellite Status Page (left). Custom Gauges (right).
This screen will show a graphical view of the satellites that are in view.
Each satellite is shown on the circular chart relative to your position. The
point in the center of the chart is directly overhead. The small inner ring
represents 45° above the horizon and the large ring represents the horizon.
North is at the top of the screen. You can use this to see which satellites are
obstructed by obstacles in your immediate area if the unit is facing north.
The GPS receiver will track satellites that are in bold type. The re-
ceiver hasn't locked onto a satellite if the number is grayed out, there-
fore it isn't being used to calculate your position.
Beneath the circular graph will be bar graphs, one for each satellite in
view. Since the unit has twelve channels, it can dedicate one channel
per visible satellite. The taller the bar on the graph, the better the unit
is receiving the signals from the satellite.
You can set up custom digital gauges through the Satellite Status page
menu. The Custom Gauges feature allows you to monitor a wide vari-
ety of data from one page.
To set up Custom Gauge page:
1. Select the
S
ATELLITE
S
TATUS
page from the Pages menu, highlight
C
US-
TOM
G
AUGES
and press
ENT
.
2. Press
MENU
.
O
VERLAY
D
ATA
will highlighted, so press
ENT
. The Overlay
Data shown menu will appear.
3. Highlight
(P
RESS
E
NT TO ADD
…)
and press
ENT
to open the Data Viewer
menu with five expandable data categories: GPS Data, Navigation,
Trip Calculator, Time and Sensor Data.
4. Highlight the desired data category and press
ENT
, which will ex-
pand the list, revealing several subcategories with checkboxes next to
them.
Содержание LMS-520C
Страница 10: ...viii Notes ...
Страница 22: ...12 Notes ...
Страница 56: ...46 Notes ...
Страница 114: ...104 Notes ...
Страница 202: ...192 Notes ...
Страница 216: ...206 Notes ...
Страница 246: ...236 Notes ...

