11
Once the AirMap locks on to the satellites and finds your position, it stores
the satellite data in its memory. The next time you use the unit, it should
take much less time to lock on.
To use your AirMap, first take it outside, away from hangers and buildings.
You need a clear view of the sky.
Open the antenna and adjust it so that it is parallel with the ground. Press
the PWR key. Read the message on the screen, then press the EXIT key
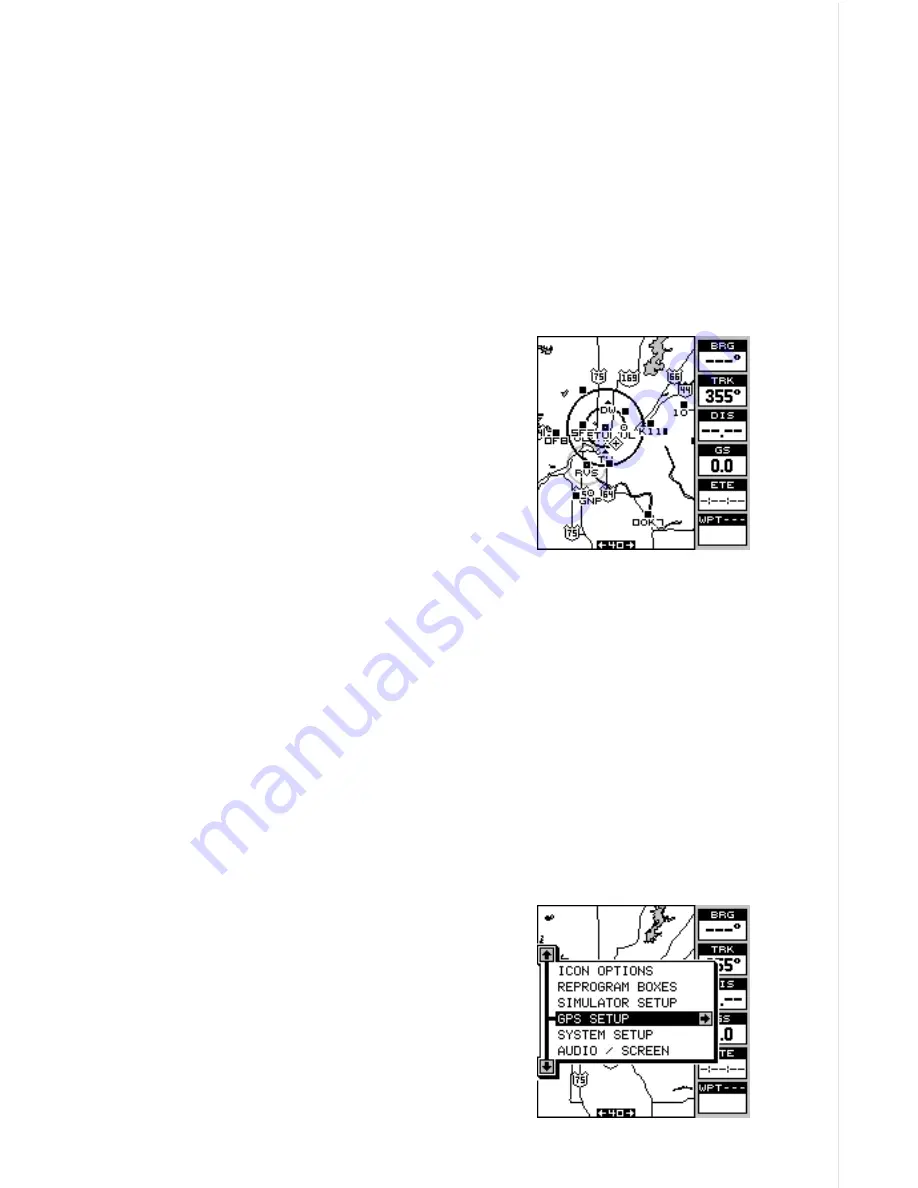
to erase the message. A screen similar to the one at right appears.
This is Map 3. Your present position is shown
as a cross surrounded by a diamond. As you
wait for the AirMap to find your position, you’ll
see numbers flashing on the display. Anytime
you see flashing numbers, it means the Air-
Map does not have a position! Do not rely on
any data that is flashing! When the numbers
stop flashing, the unit has locked on to the sat-
ellites and the position is good.
That’s all you have to do to find your position. The time display may not be
correct when the cold start method is used. See the manual initialization
section for details on changing the time.
Finding Your Position
Initialization
A cold-start as described above can take up to 5 minutes to find your
position. There is another method to initialize the AirMap that may let it
acquire the satellites faster. Manually entering your position, local time
and date will help the GPS receiver determine which satellites are avail-
able and lock on to them faster. There are two ways to input your position.
You can locate your position on the receiver’s map or enter your latitude
and longitude. Remember, once the receiver finds its position, it stores
the position into memory. The receiver won’t
have to initialized the next time you it on.
Enter by Map
To show the receiver your approximate loca-
tion on its map, first press the MENU key, then
the up or down arrow keys until the “GPS
SETUP” menu is highlighted as shown at right.
Now press the right arrow key. The screen
shown at the top of the next page appears.
Содержание AirMap
Страница 1: ...INSTALLATION AND OPERATION INSTRUCTIONS AirMap TM VERSION 3 3...
Страница 82: ...78 WINDOW BOXES These boxes are used on Map 3 and Nav 1 only 1 2 3 4 5 6 7 8 9 10 11 12...
Страница 83: ...79 13 14 15 16...
Страница 84: ...80 WINDOW GROUPS This is a listing of window groups A through O A B C D E F G H I J K L...
Страница 85: ...81 M N O...


