


36
Backing Up Video
3
Enter the NVR’s user name (default:
admin
) and password (default:
000000
) and click
OK
.
4
Click
to when you want the video clip to start. Click
when you want the video clip to
end.
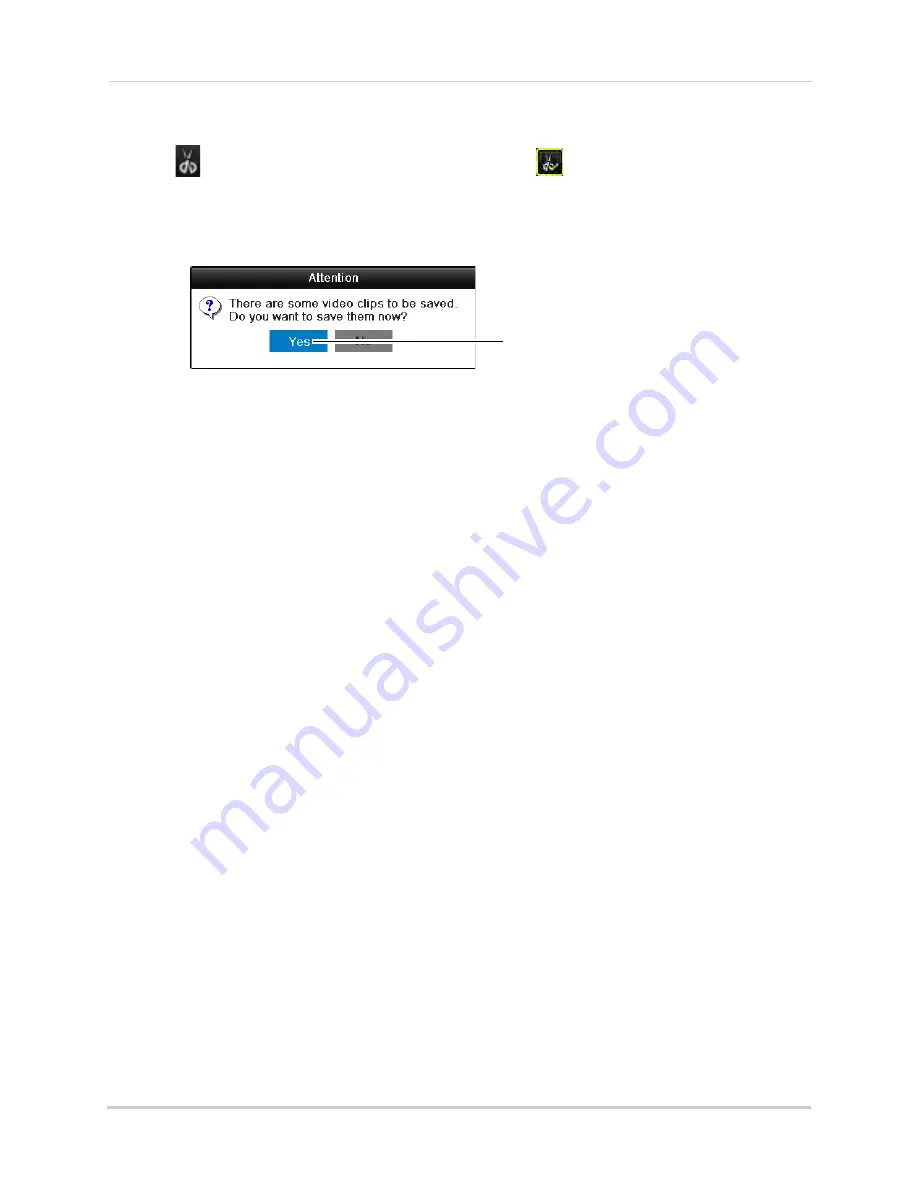
5
When you are done creating clips, right-click and click
Exit
to exit Playback mode. When you
exit, you are prompted to save your video clips. Click
Yes
.
Click Yes
6
Click
Export
to begin backup. Enter the system password (default:
000000
) and click
OK
to
begin backup. Wait for the backup to complete. To view backup files, see “Playing Back Up
Video Files” on page 36.
Playing Back Up Video Files
On PC, a Quick Player is automatically saved to the USB thumb drive (not included) or
external hard drive (not included) when backup files are saved. You may also use the client
software to play back video files (see “Opening Backup Video Files” on page 95).
NOTE:
To play backup video files on Mac, visit
www.lorextechnology.com
for details.
Using the Quick Player to Playback Video Files
NOTE:
The Quick Player is PC-compatible only.
To use the Quick Player:
1
Connect the USB thumb drive (not included) or external hard drive (not included) to the
computer.
2
Open the drive and double-click the
Player.exe
file.
3
Click
File>Open
. Select the video file and click
Open
.
Содержание LNR340
Страница 17: ...xv Web Browser Remote Playback 174 Troubleshooting 176...
Страница 18: ...xvi...


