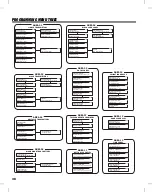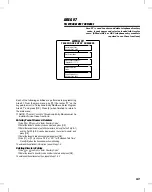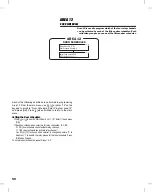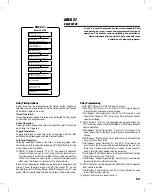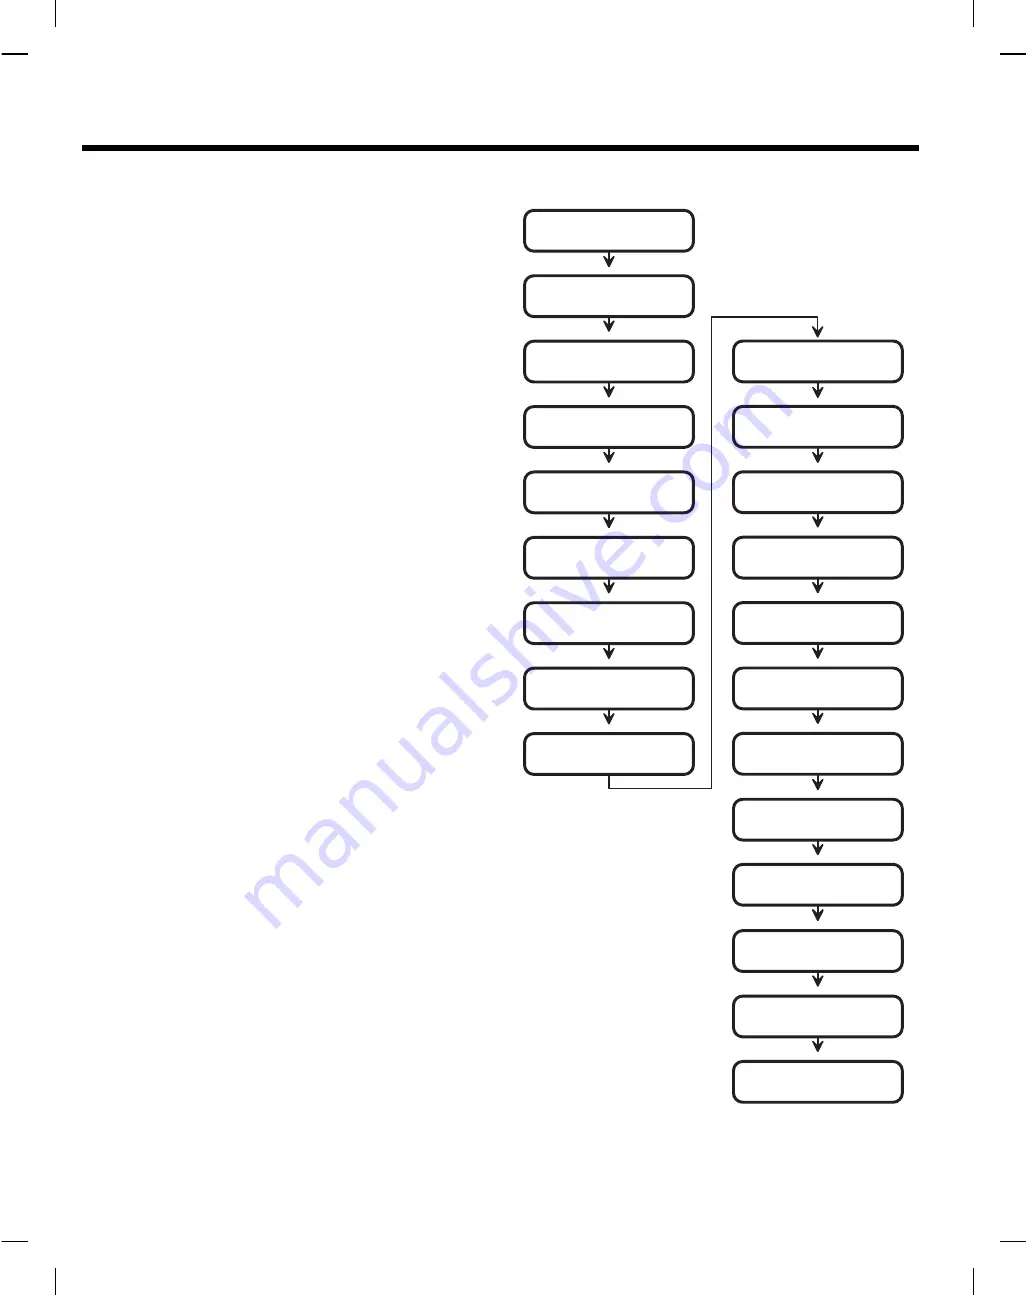
PROGRAMMING OUTLINE
The following outline is intended to guide you through the
programming of an AM/II system. The AM/II is programmed by
setting options in various program “Areas”. Use this outline in
conjunction with the following program area detail pages to set
up the system.
1.
Install and connect the AM/II as previously described.
2.
Fill out the Programming Worksheet (P/N 211677).
3.
Enter program mode (Hold the * key for 5 seconds or press
Esc on programming computer).
4.
Set date and time (standard time) in Time and Calendar
Area 20.
5.
If the system is going to be networked, Area 22 Network
Address must be set. (If AccessBase is used, this is the only
local programing step needed.)
6.
Determine the button configurations and enter them in Button
Schedule Area 11.
7.
Program any time zones in Time Zone Area 13.
8.
Program the door access in Door Schedules Area 12.
9.
Program the validation groups in Validation Group Area 10.
10.
Set all additional system options in the System Setup Area 22.
11.
Program all single transmitters using Single Transmitters
Area 01.
12.
Program all block coded transmitters using Block Area 02.
13.
Program all MGT safety edge obstacle transmitters using
Obstacle Transmitter Area 03.
14.
Program all “MagicWand” transmitters using Magic Wand Xmtr
Area 04.
15.
Program all keypad entry codes using Entry Code Area 05.
16.
Program all block card codes using Block Card Codes Area 06.
17.
Program the relay output options using Relay Setup Area 21.
18.
Program the facility and site codes (if used) using Facility/Site
Codes Area 23.
19.
Set any remote accessory device address and options using
Configure Remote Devices Area 25.
20.
If using the Model AE-1 or AE-2 telephone entry module,
program the telephone entry settings using Telephone Entry
Setup Area 27.
21.
If using the Model AE-1 or AE-2 telephone entry module,
program the telephone and directory numbers and names
using Telephone Entry Numbers Area 07.
22.
Setup the ACCESS OUT terminals if connecting to an external
access control panel using the Configure Access Out Area 26.
23.
Examine the system, single transmitter, block transmitter, entry
code and block card reports for a system programming
overview. Use the System Reports/Utilities Area 30 to view
(using a terminal, computer or printer) the reports.
24.
Test the system and adjust the red RADIO RANGE knob to
determine the optimum range of the receiver.
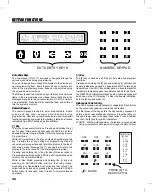
SETUP DATE AND TIME
(AREA 20)
SET NETWORK ADDRESS
(AREA 22)
SET BUTTON SCHEDULE
(AREA 11)
SET TIME ZONES
(AREA 13)
SET DOOR SCHEDULES
(AREA 12)
SET VALIDATION GROUPS
(AREA 10)
SET ALL SYSTEM OPTIONS
(AREA 22)
PROGRAM SINGLE
TRANSMITTERS
(AREA 01)
PROGRAM BLOCK CODED
TRANSMITTERS
(AREA 02)
PROGRAM OBSTACLE
TRANSMITTERS
(AREA 03)
PROGRAM MAGIC WAND
TRANSMITTERS
(AREA 04)
PROGRAM KEYPAD
ENTRY CODES
(AREA 05)
PROGRAM BLOCK
CARD CODES
(AREA 06)
SET RELAY OPTIONS
(AREA 21)
SET FACILITY AND SITE CODES
(AREA 23)
CONFIGURE REMOTE DEVICES
(AREA 25)
CONFIGURE ACCESS OUT
(AREA 26)
PRINT OR VIEW
SYSTEM REPORTS
(AREA 30)
TEST SYSTEM
SETUP TELEPHONE ENTRY
(AREA 27)
PROGRAM TELEPHONE ENTRY
NUMBERS AND NAMES
(AREA 07)
40

